There are just four steps to take to get up and running with Send with Elementor:
- Install and activate the Send with Elementor plugin. See Install and activate Send with Elementor for more details.
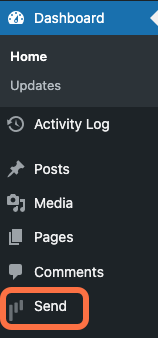
- From WP Admin, navigate to Send.

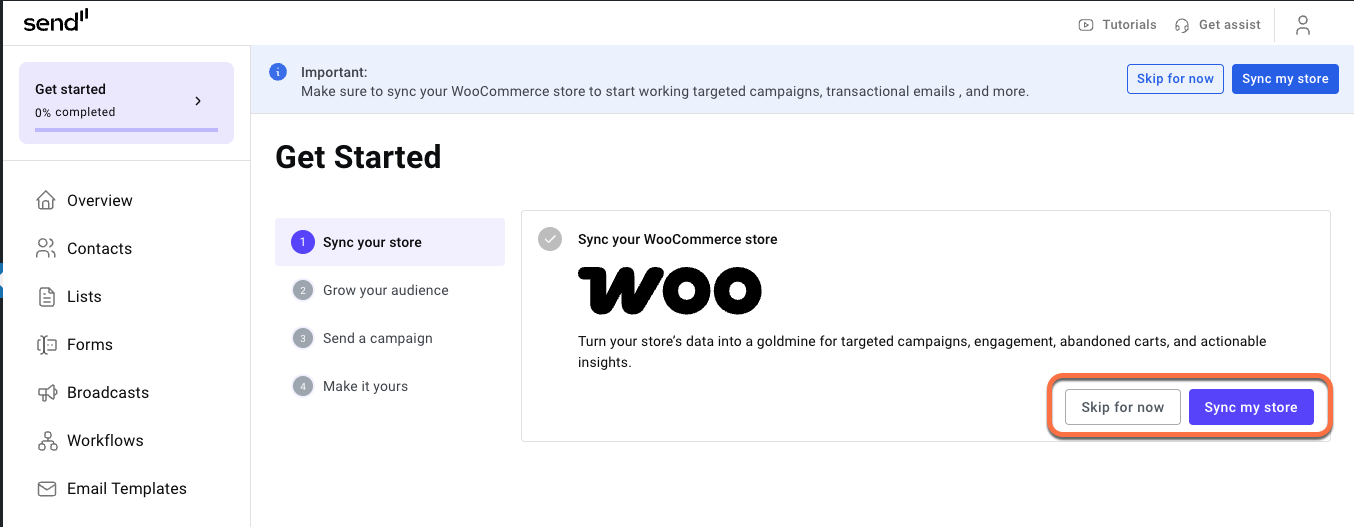
This opens Send. - You’re prompted to select if your site is for a WooCommerce store or a Business website. Click Get started for the relevant option and follow the guide to set things up.
- You can click the X in the top corner if you prefer not to specify right now.
- If you’re selling goods and/or services, you probably have WooCommerce installed. WooCommerce is a good place to start your contact list.
- Click Sync my store to import those contacts, as well as product and order information, into Send. For details about connecting WooCommerce and Send, see the WooCommerce section of Add new contacts.

Note: You can click Skip for now if you prefer to sync your store at a later time or if it’s not relevant. - In addition to your WooCommerce contacts, you may well have other contacts to add. This can be done manually or with a CSV file. For details, see Add new contacts.
- Now it’s time to put those contacts to use. Workflows are the way you send messages to your contacts. You can either create a workflow from a template or from scratch.