If you don’t want to use a workflow template, you can create an original workflow from scratch.
Create a workflow from scratch
- From WP Admin, navigate to Send.
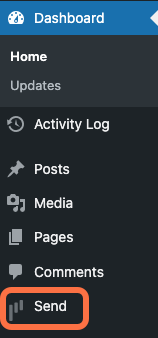
This opens Send.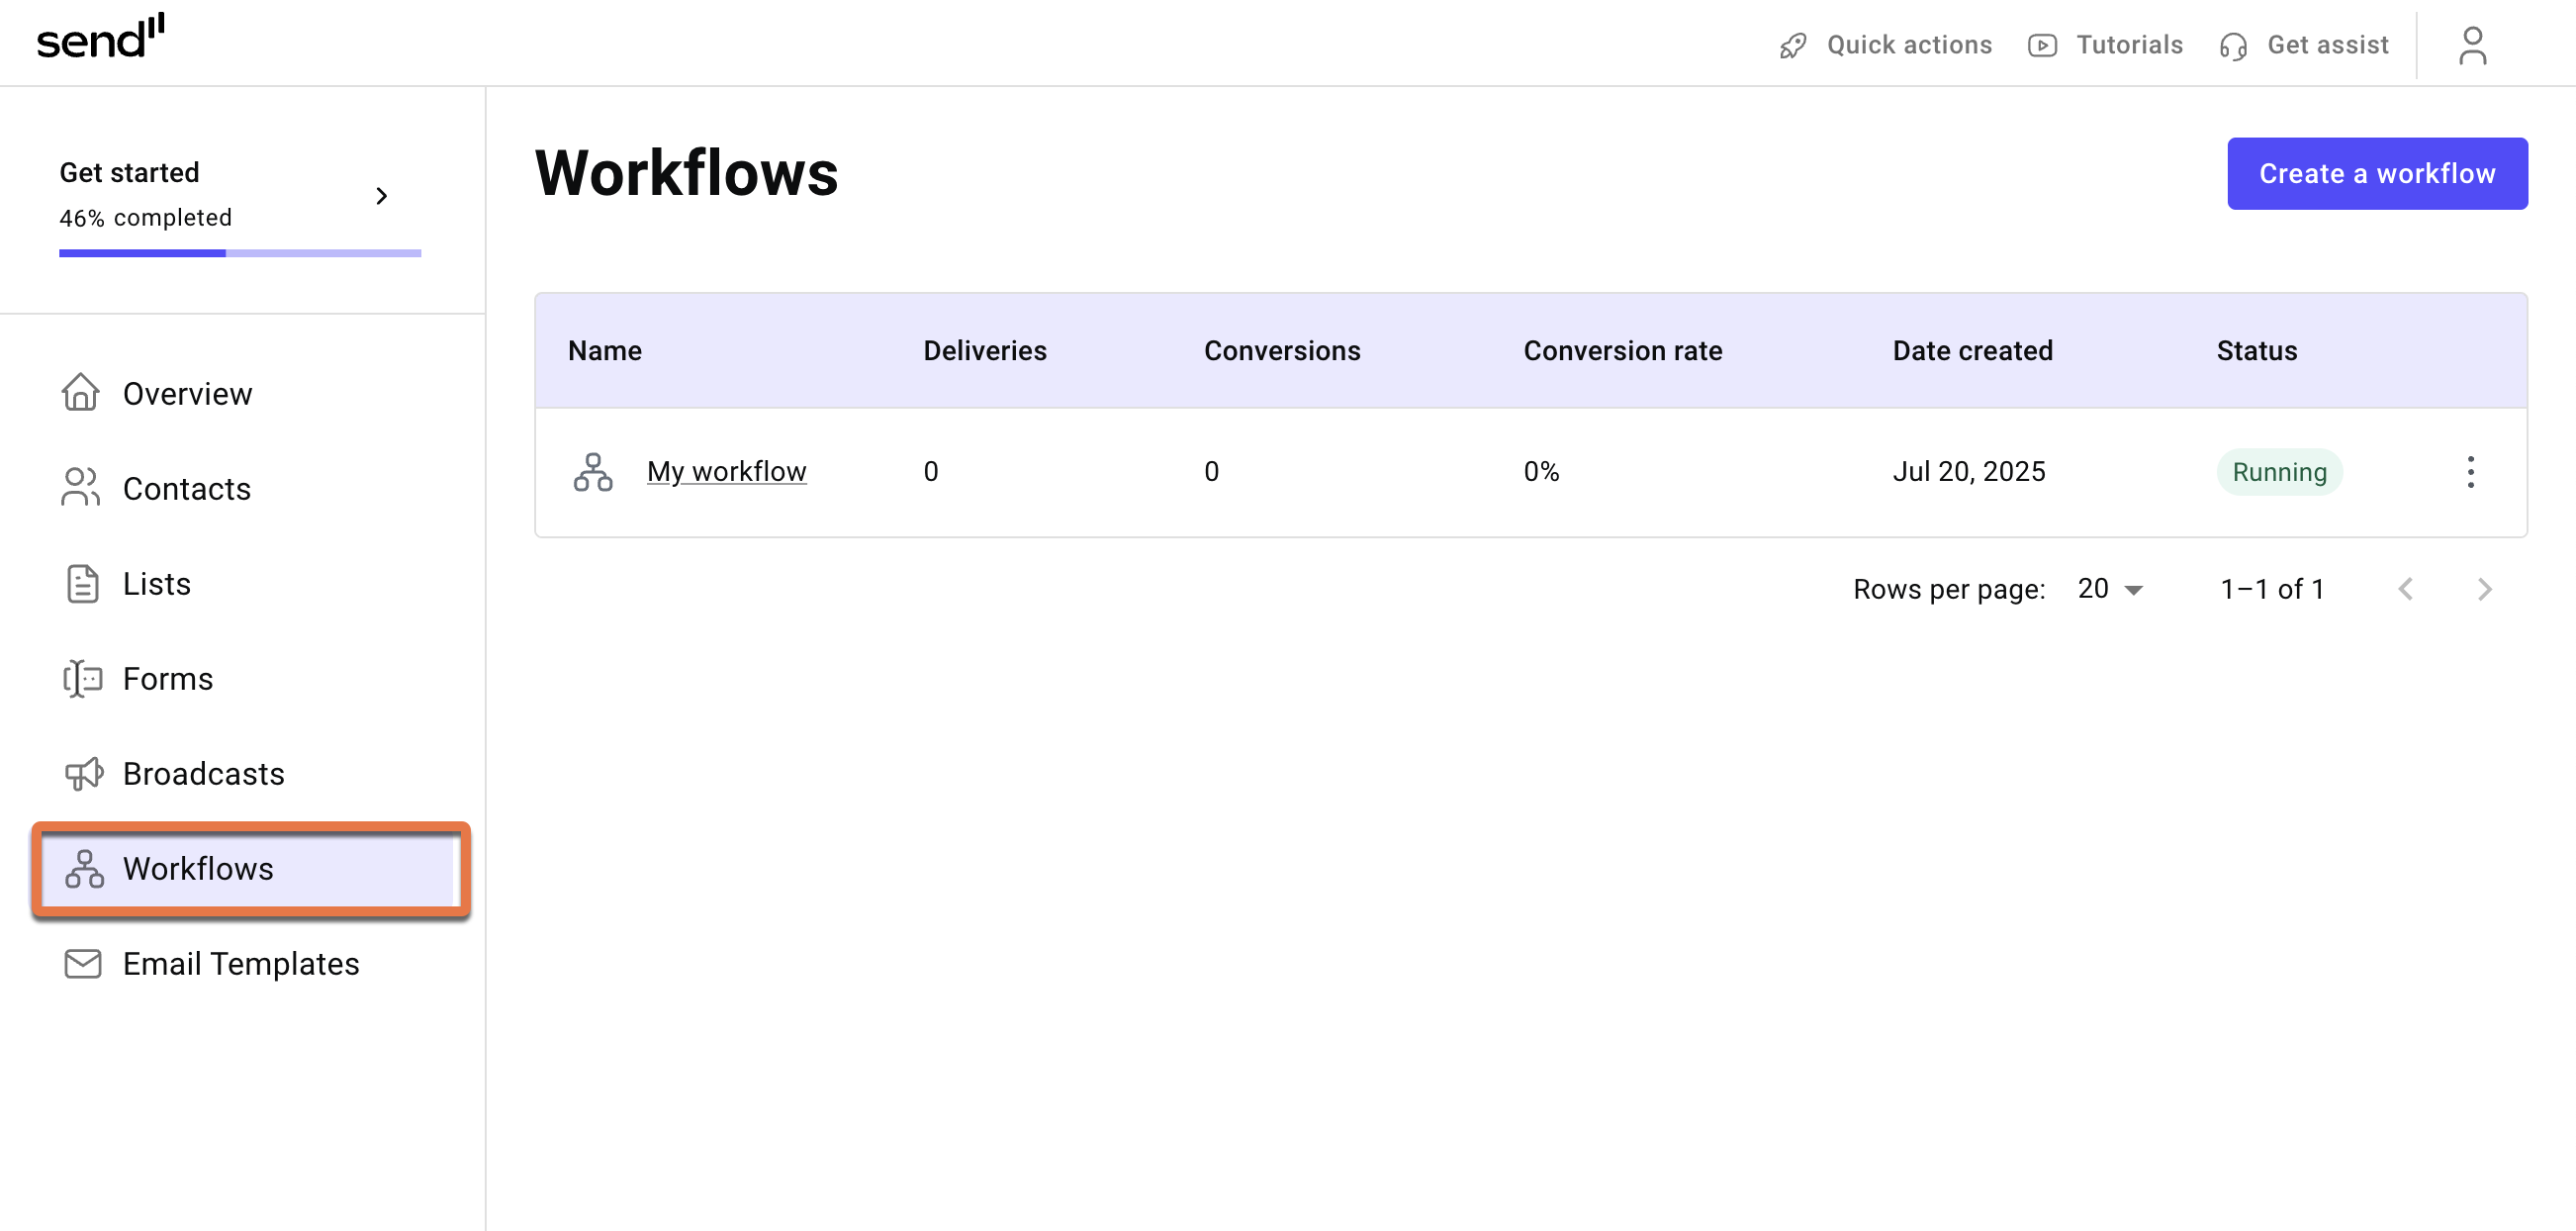
- In the Send panel, click the Workflows tab.
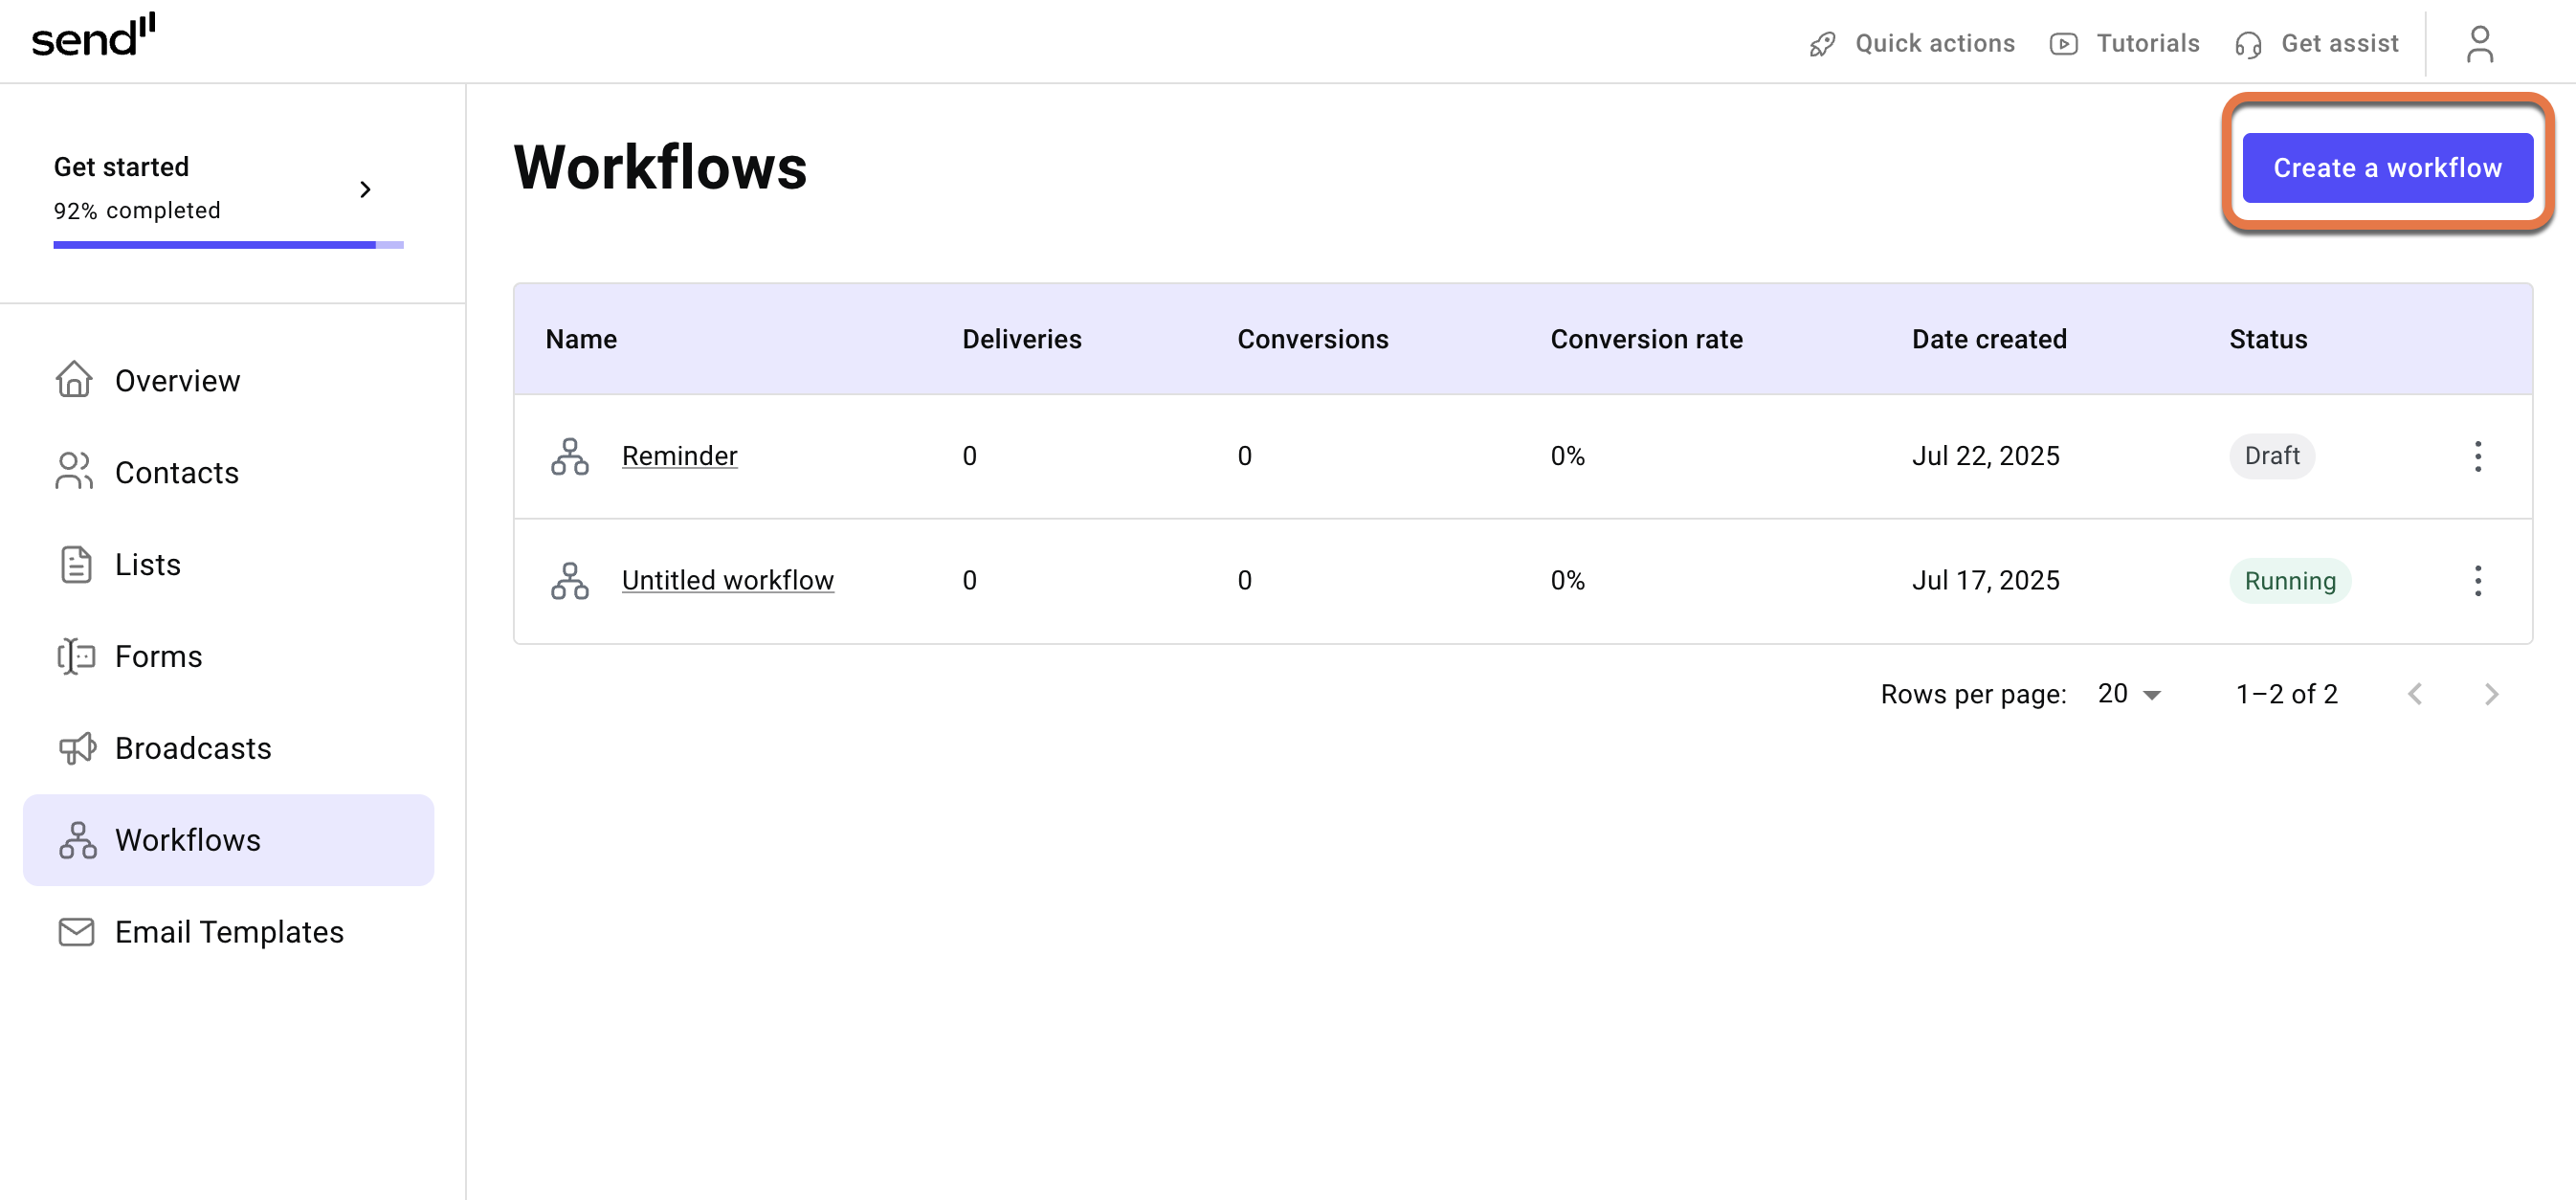
- In the right pane, click Create a workflow.
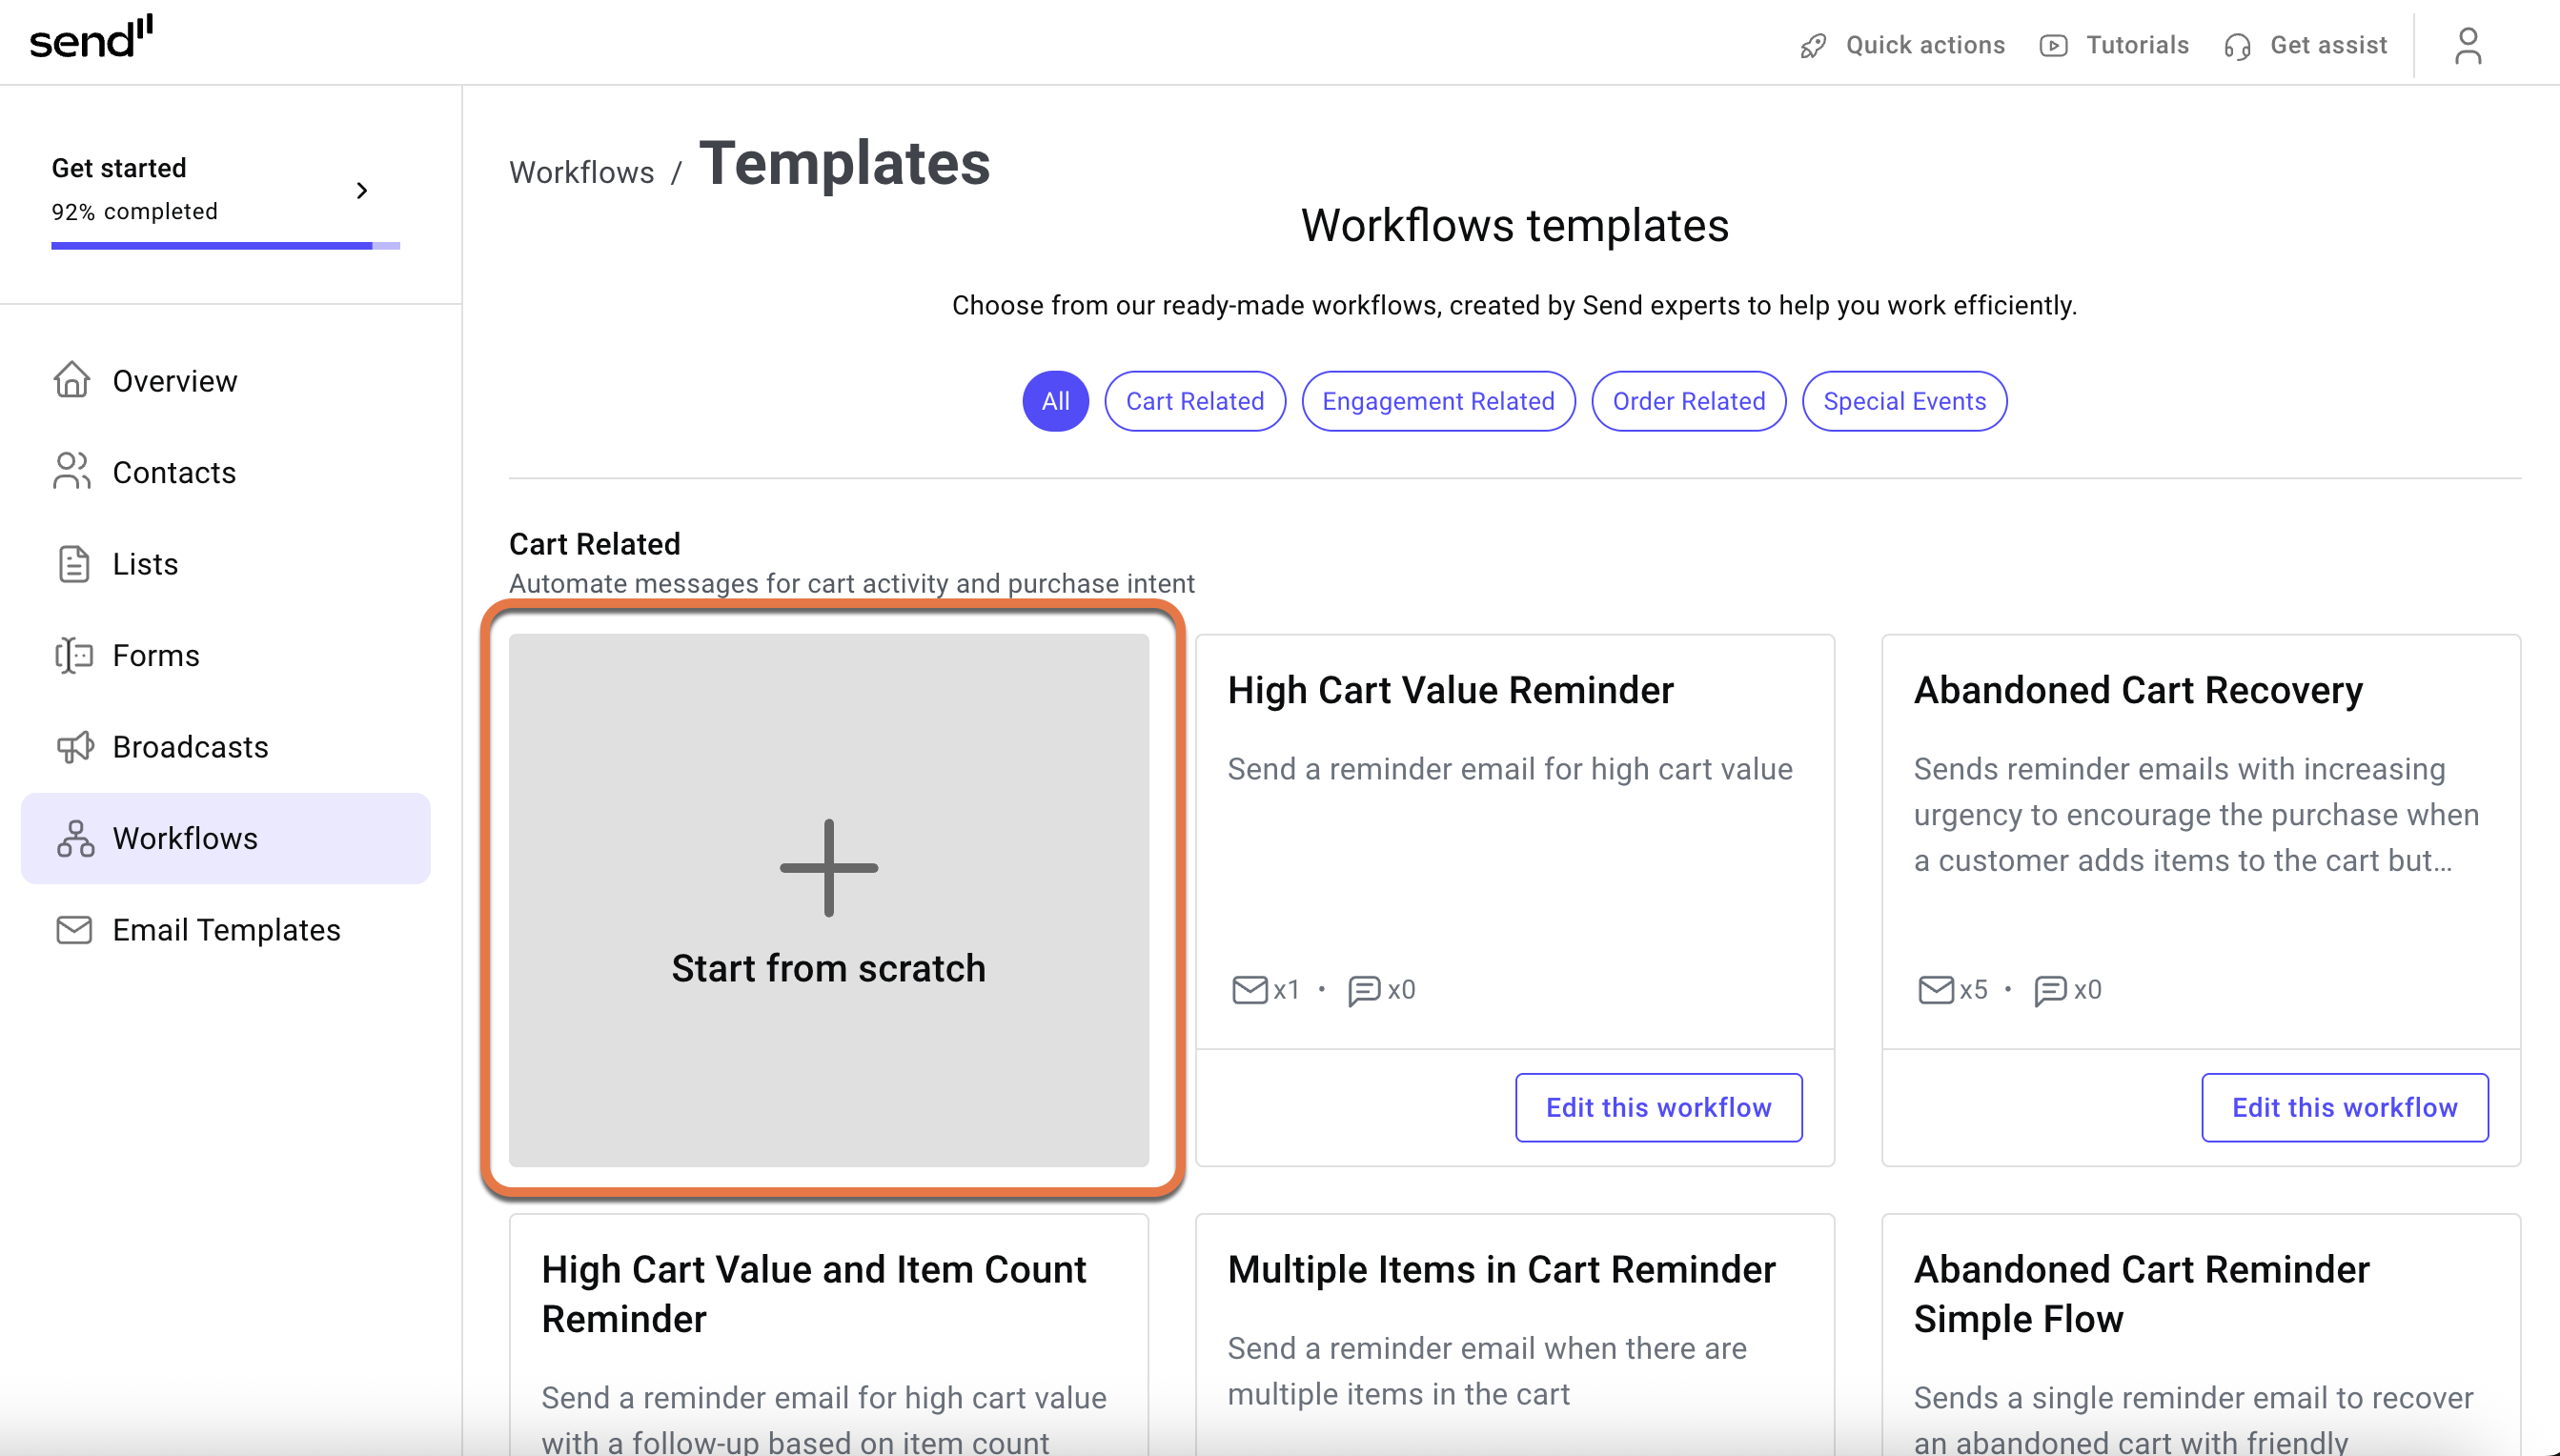
- Click Start from scratch from the list of workflows.
Now, set up the relevant triggers for your workflow.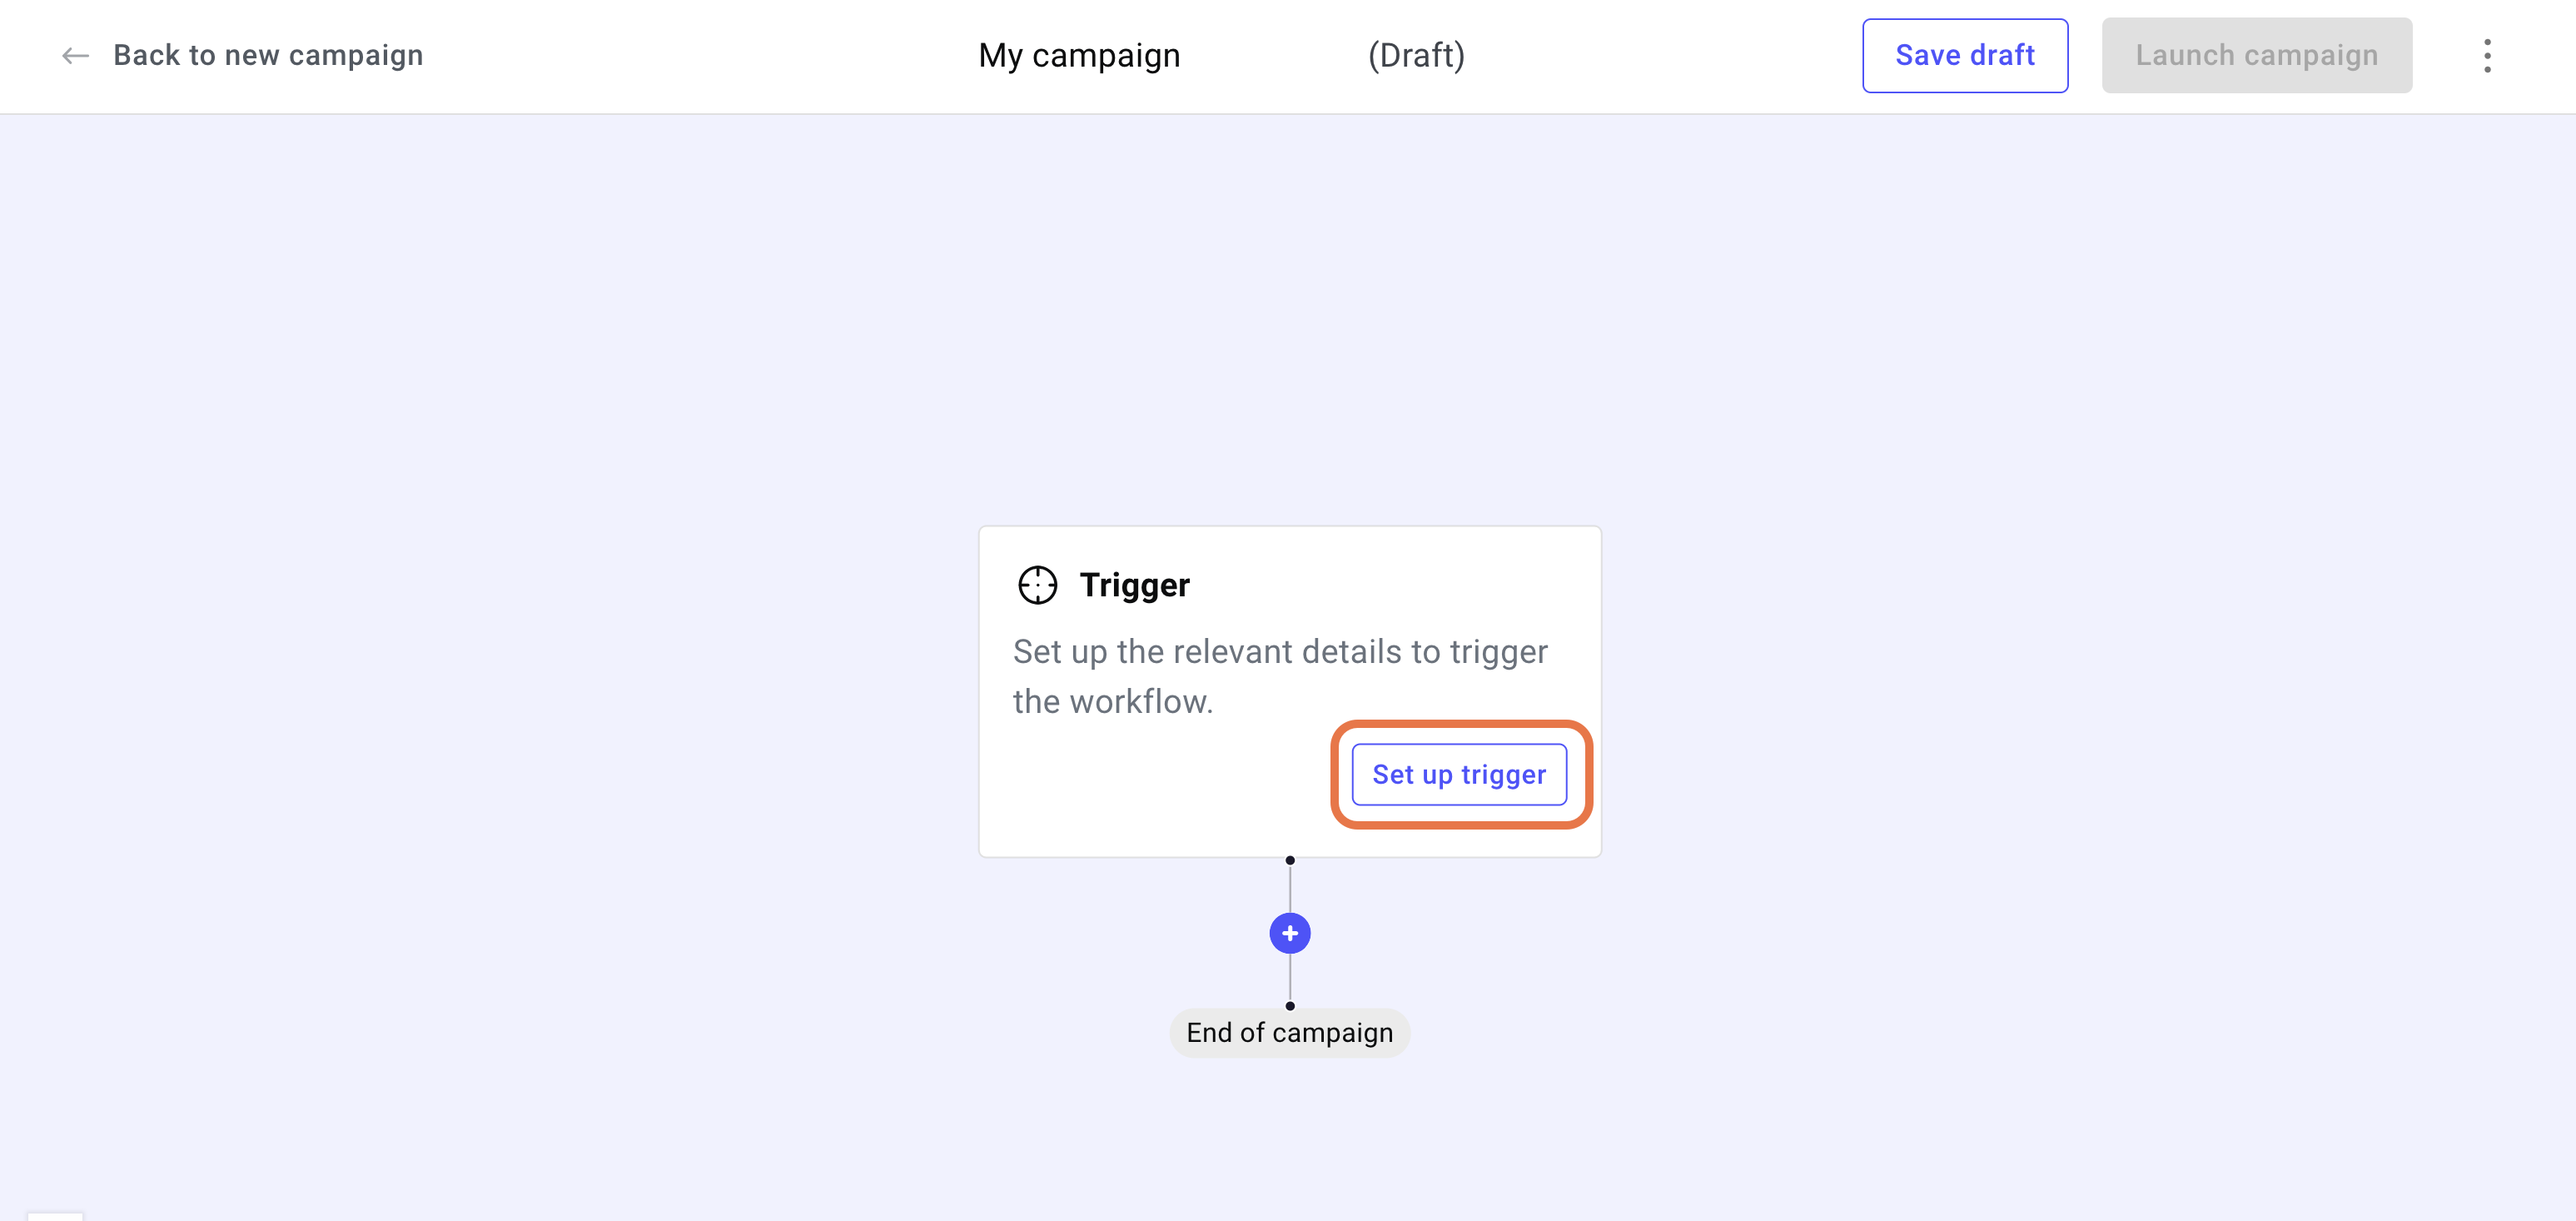
- Click Set up a trigger.
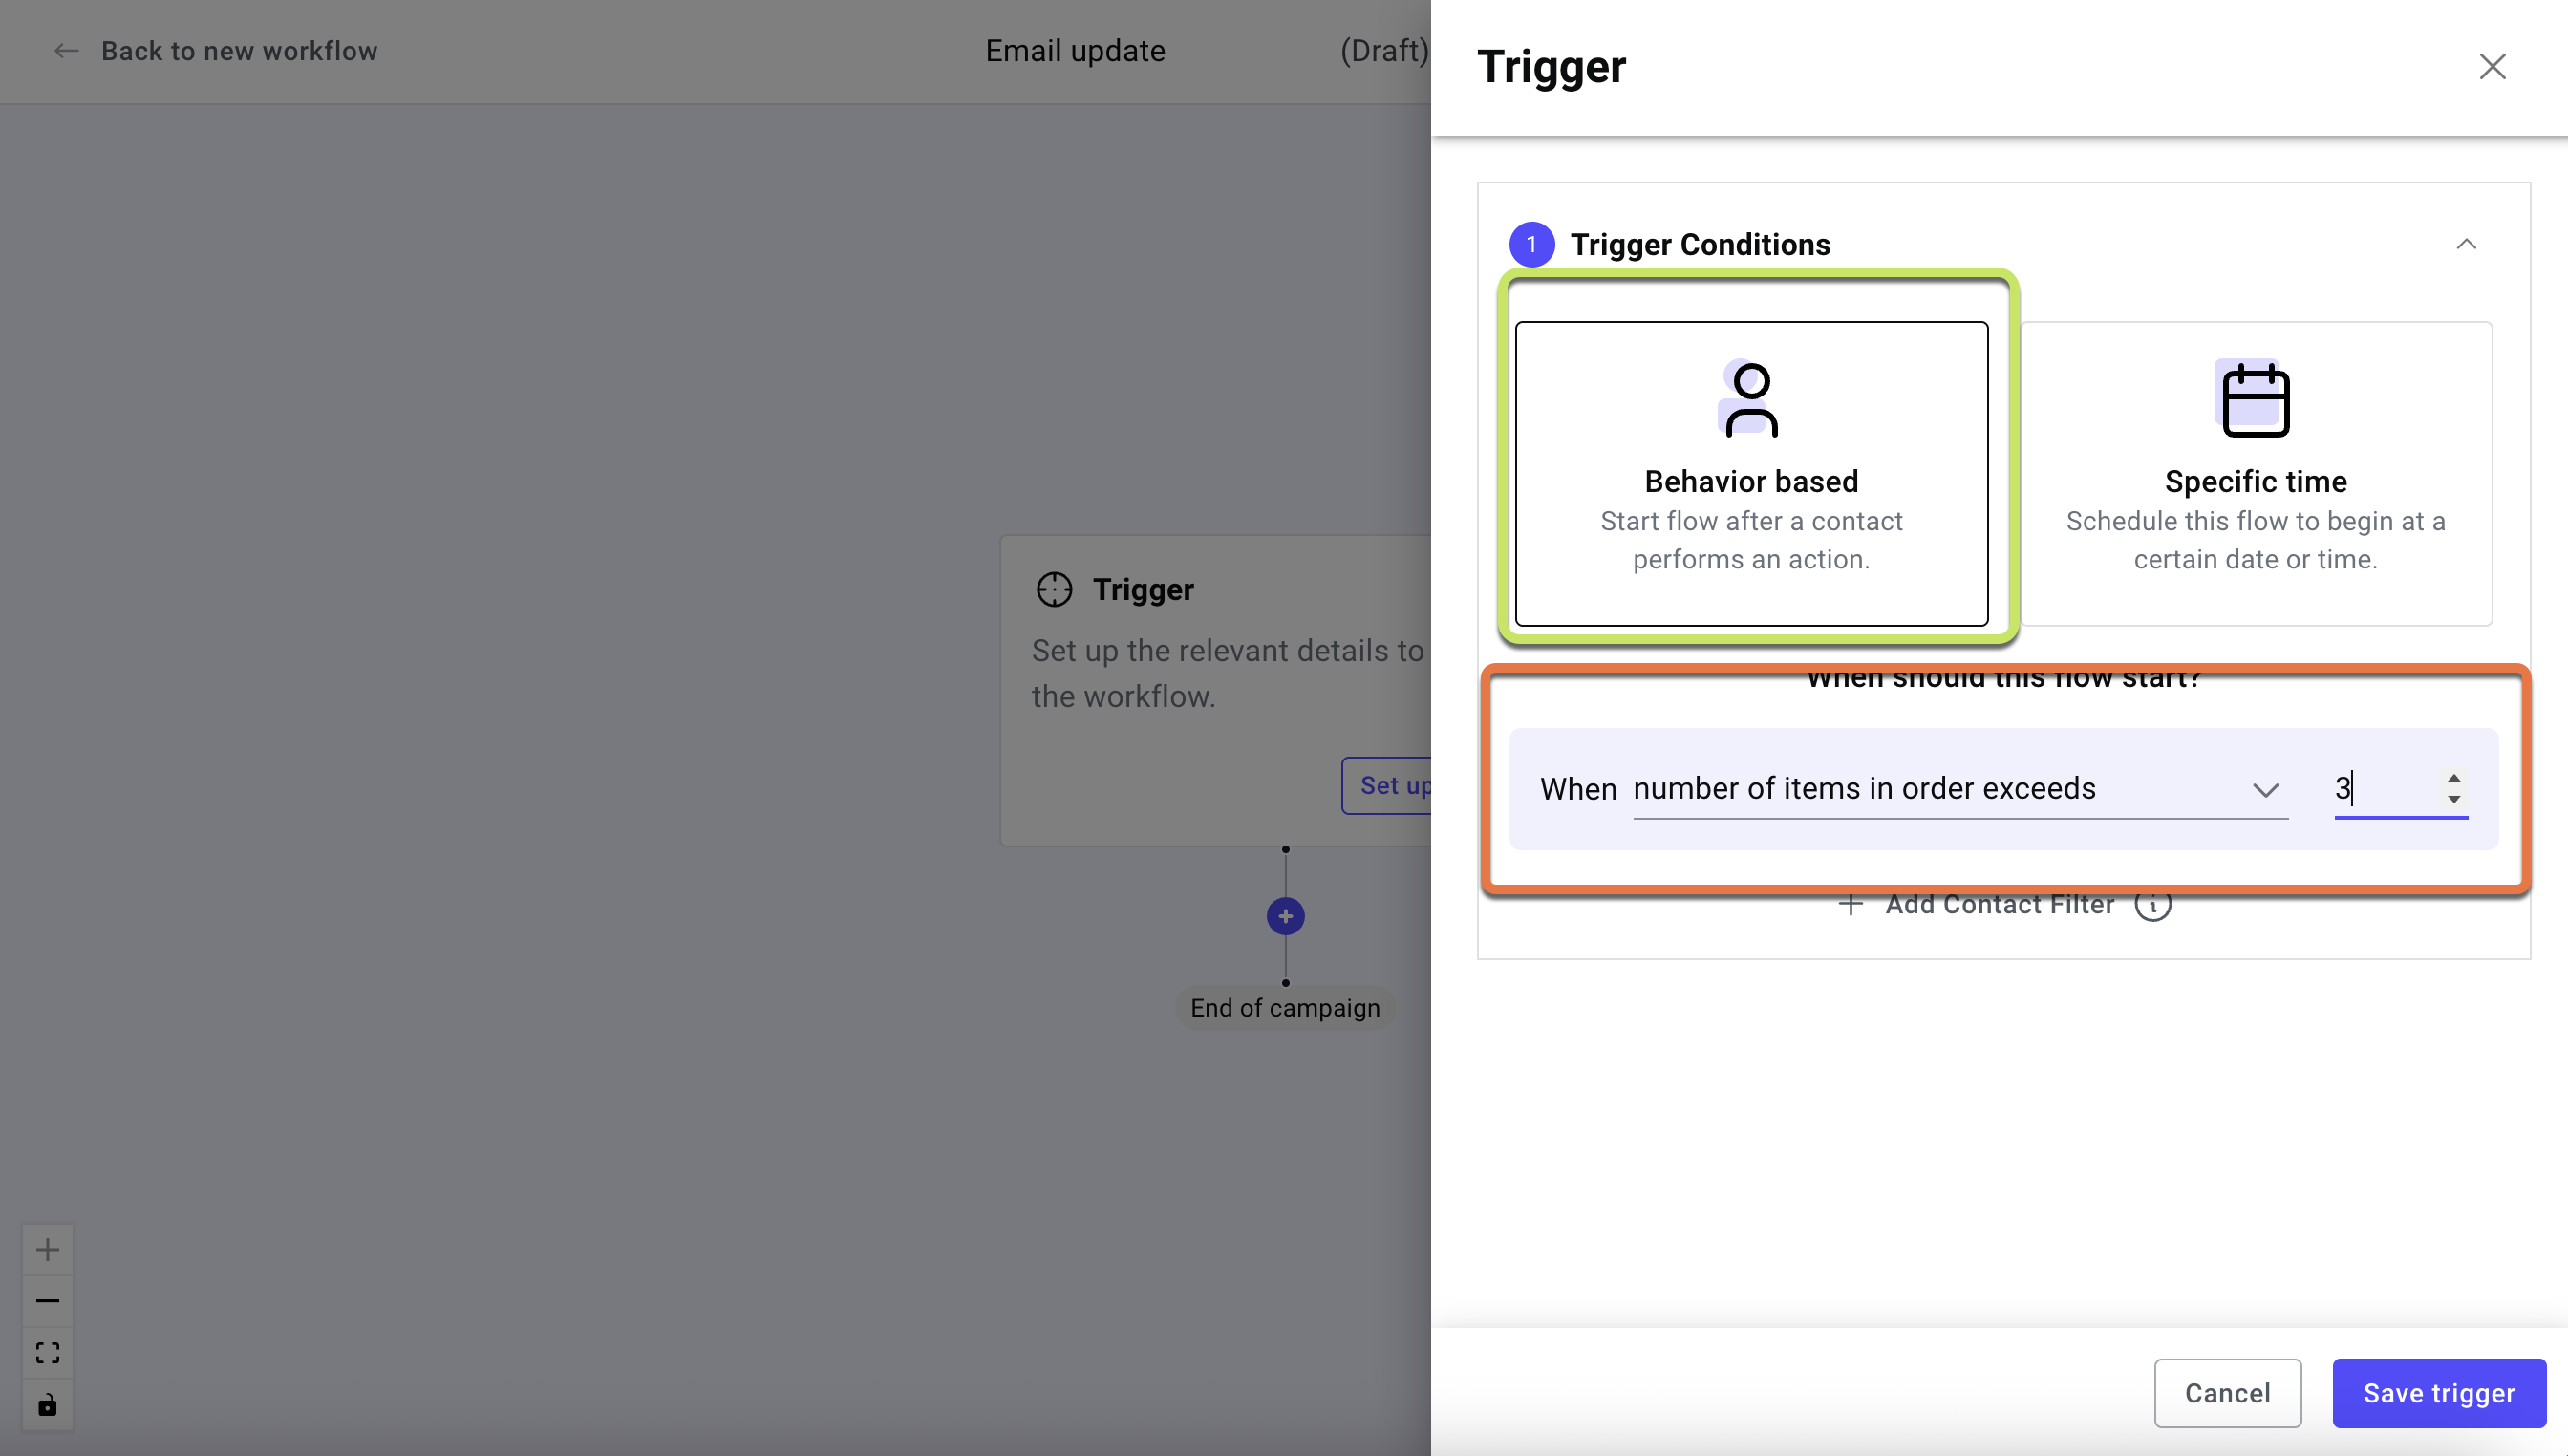
- In the Trigger Conditions, choose Behavior based or Specific time. In this example, we’ll choose Behavior Based – when number of items exceeds 3. You can choose whichever conditions you want to apply.
For details about the various trigger conditions, see Set a trigger condition.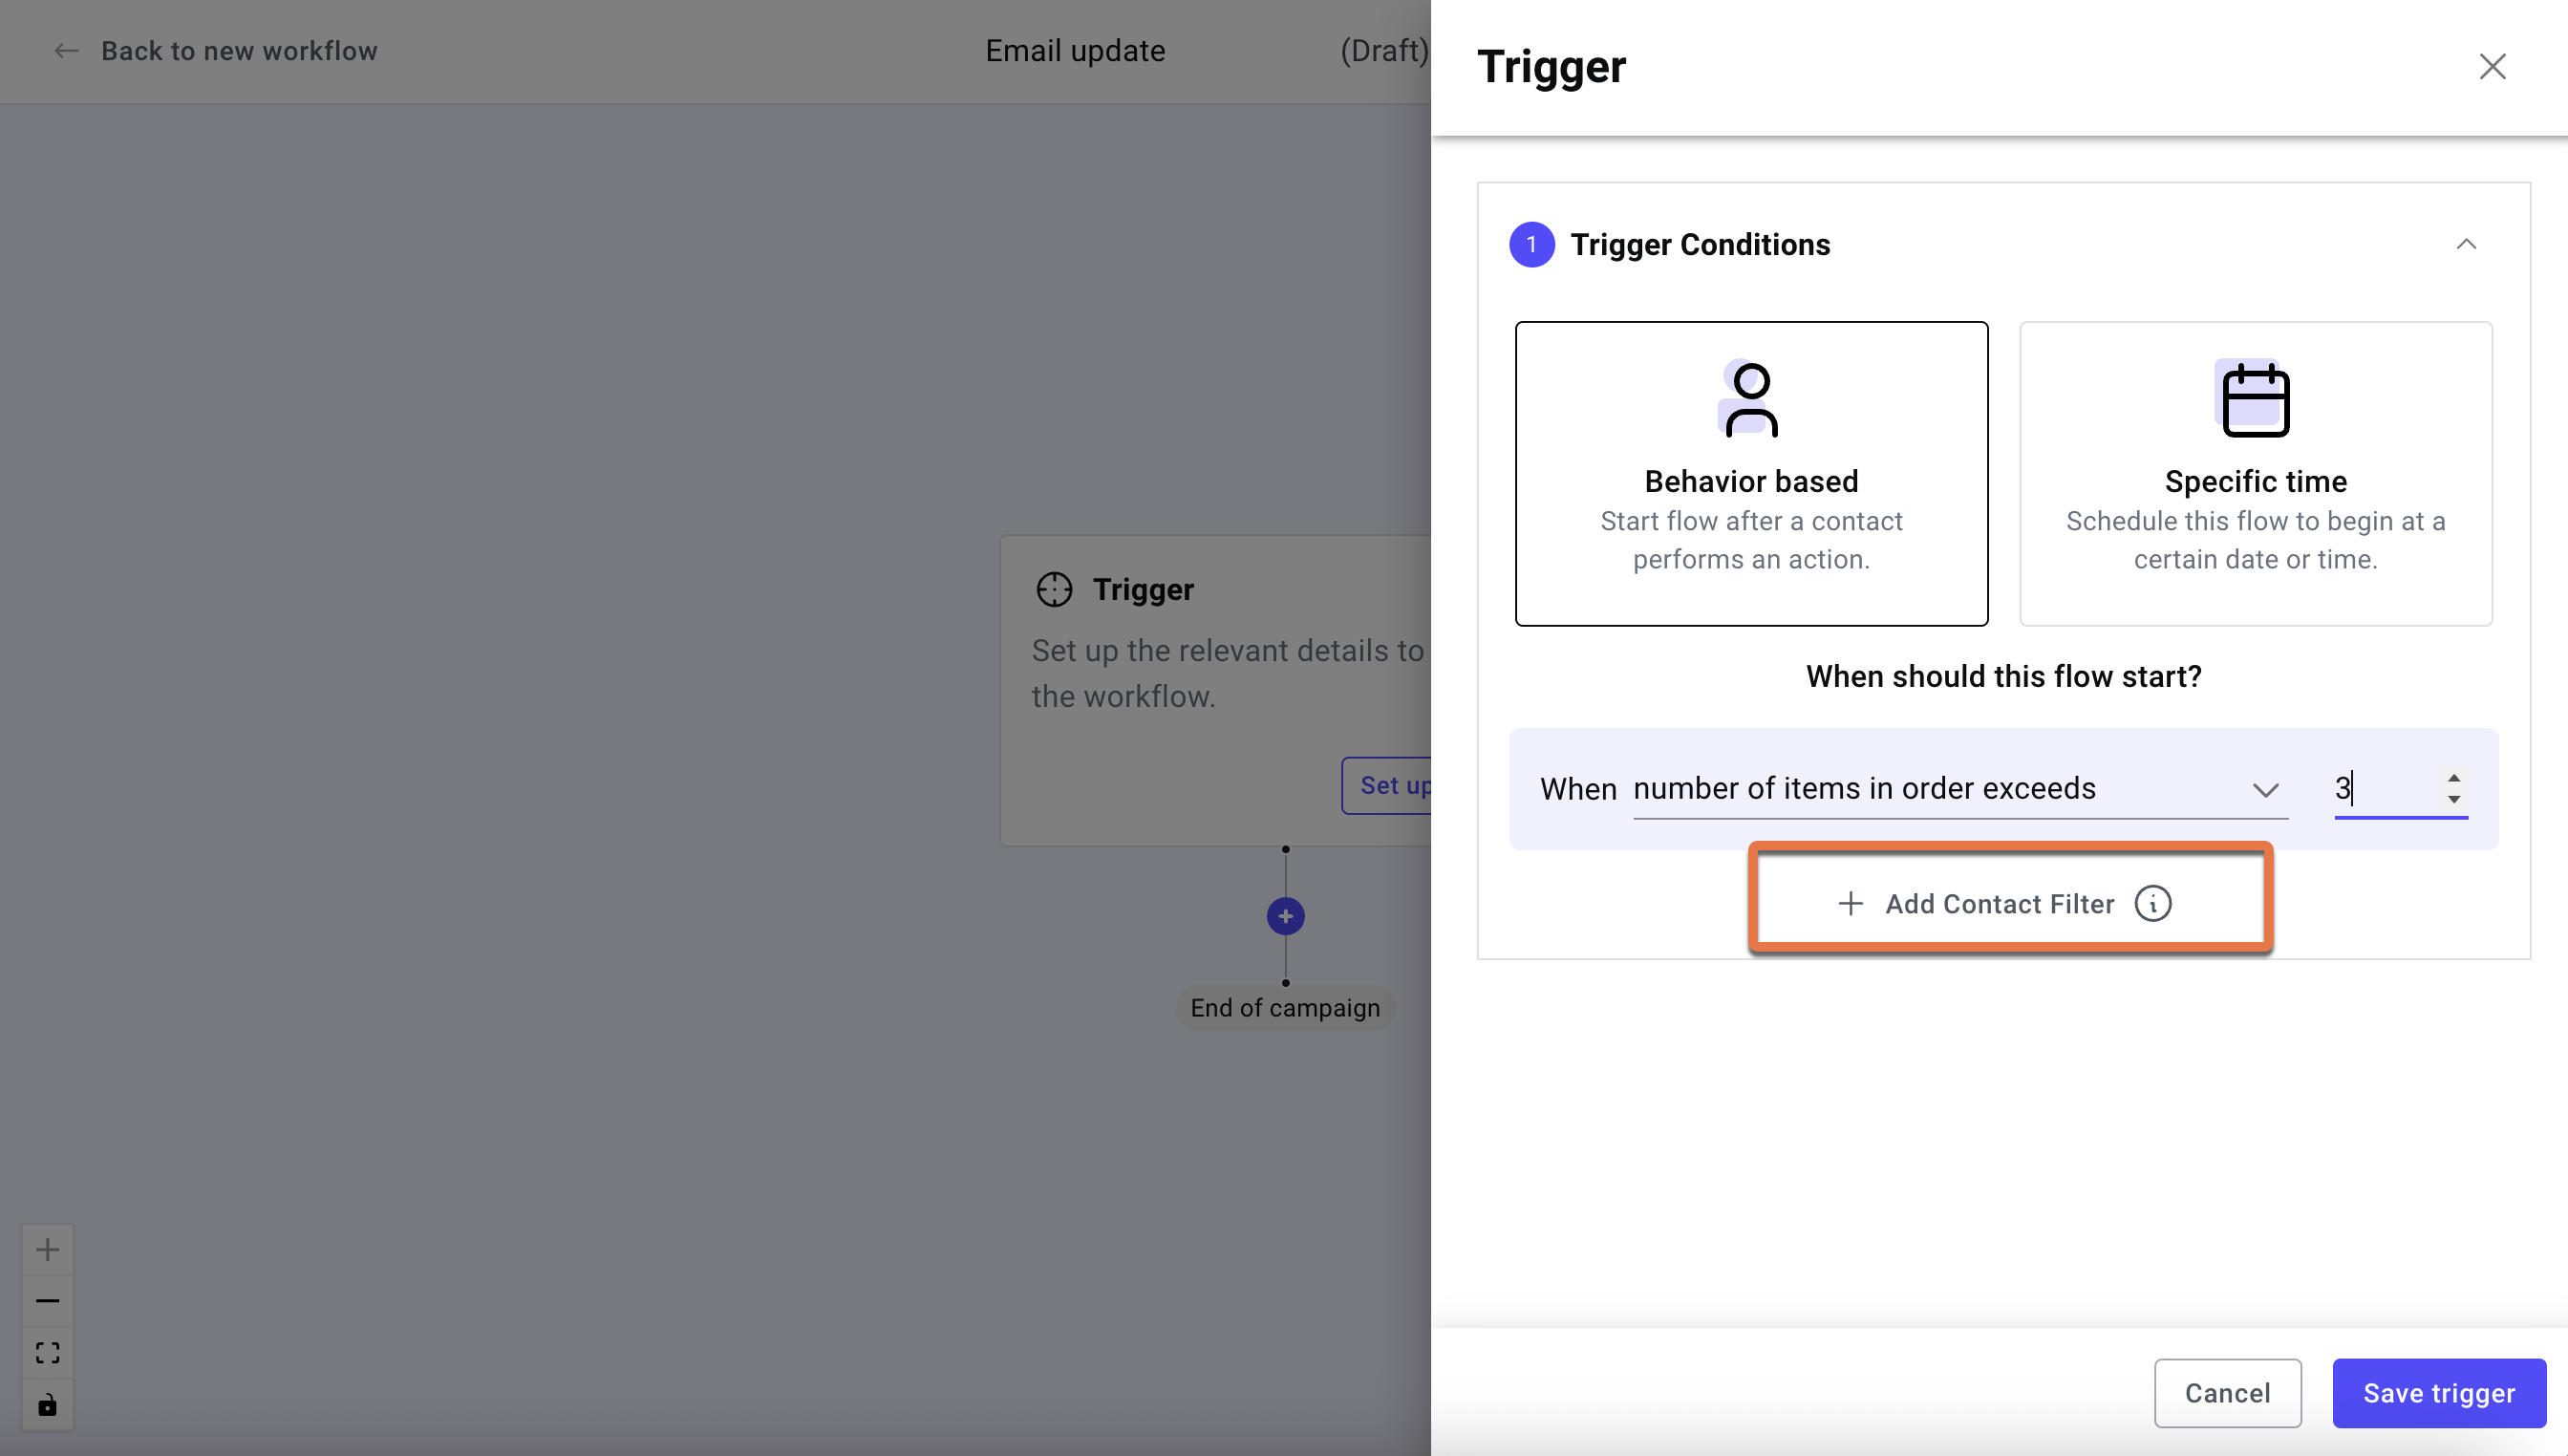
- Click + Add contact filter.
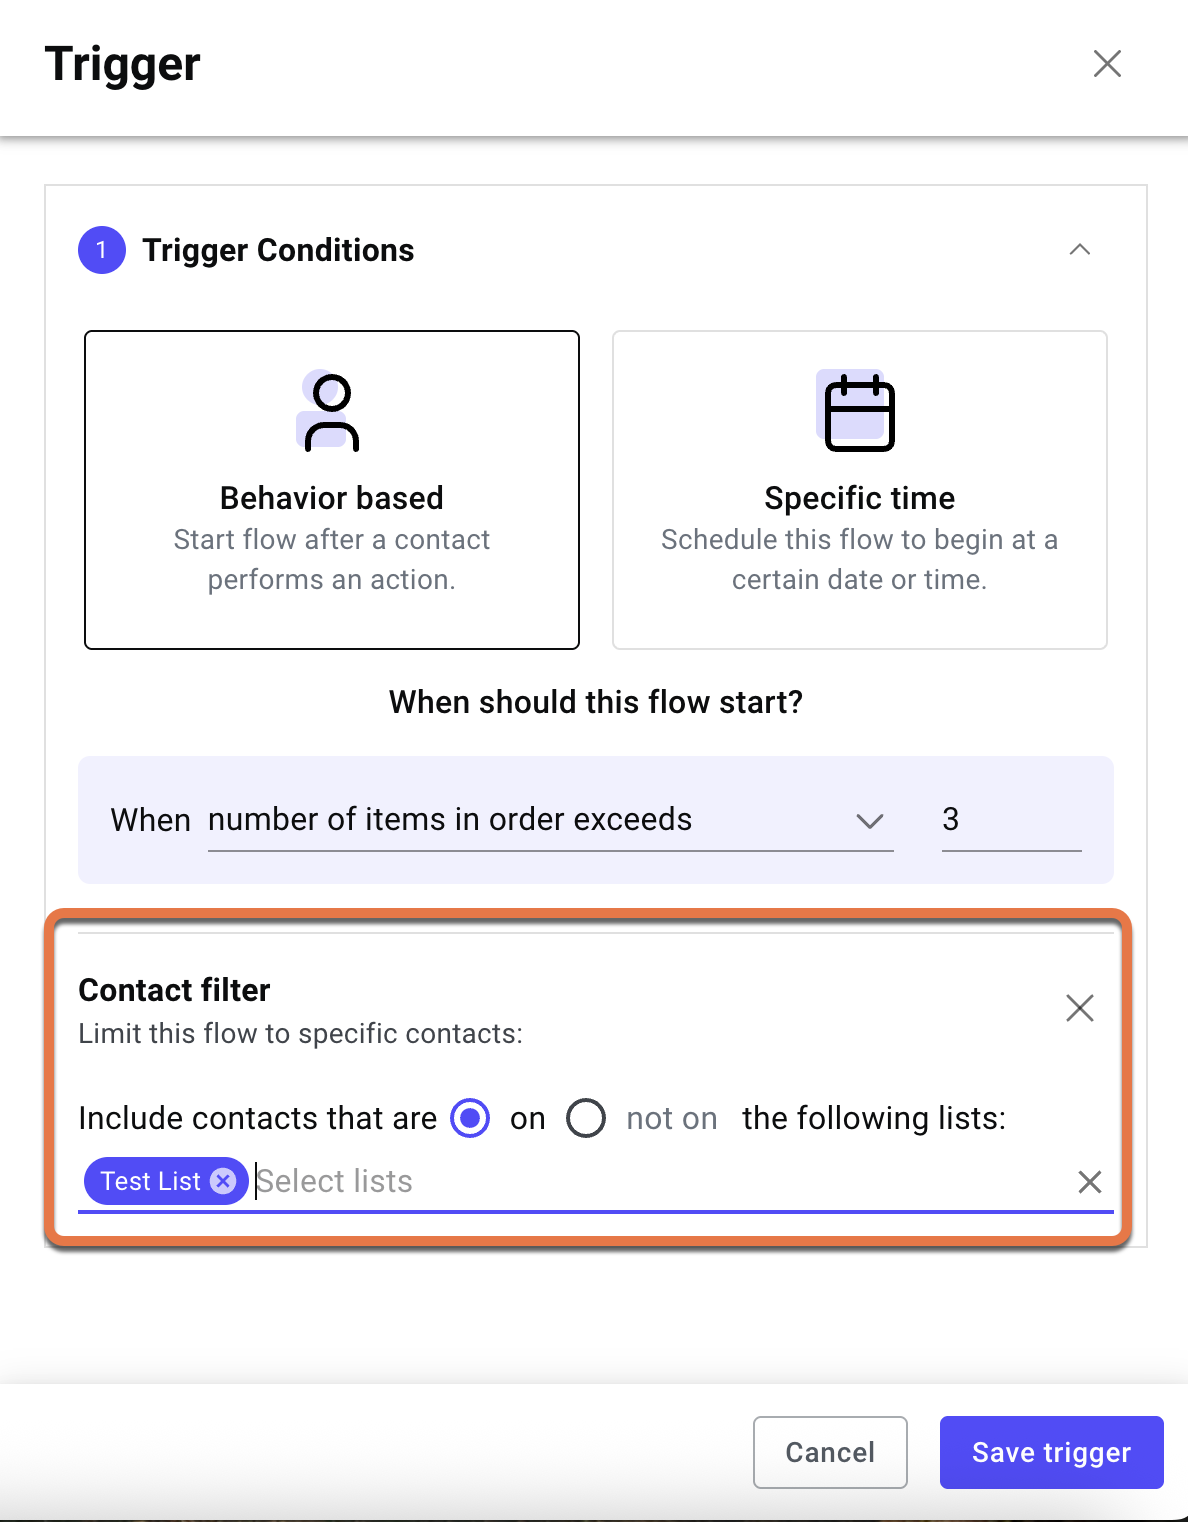
This takes you to the Contact section where you decide who to include in the campaign. In this case, we are choosing a specific list to include.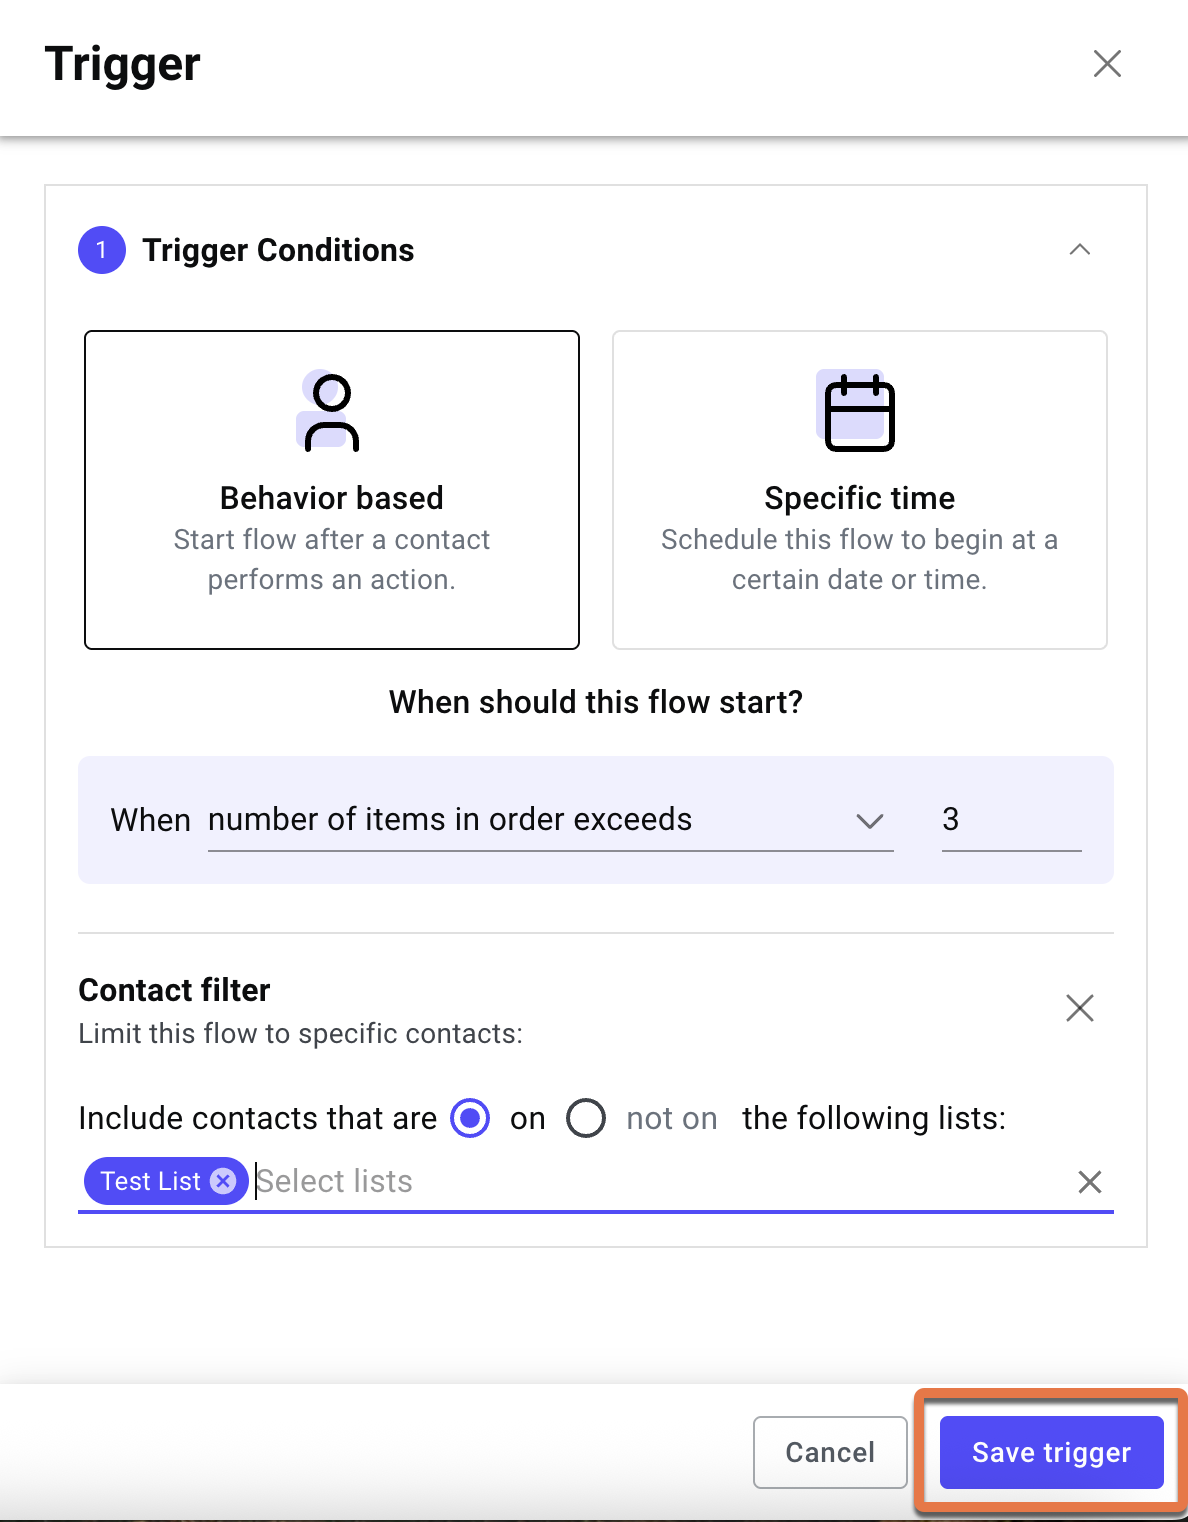
- Click Save trigger.
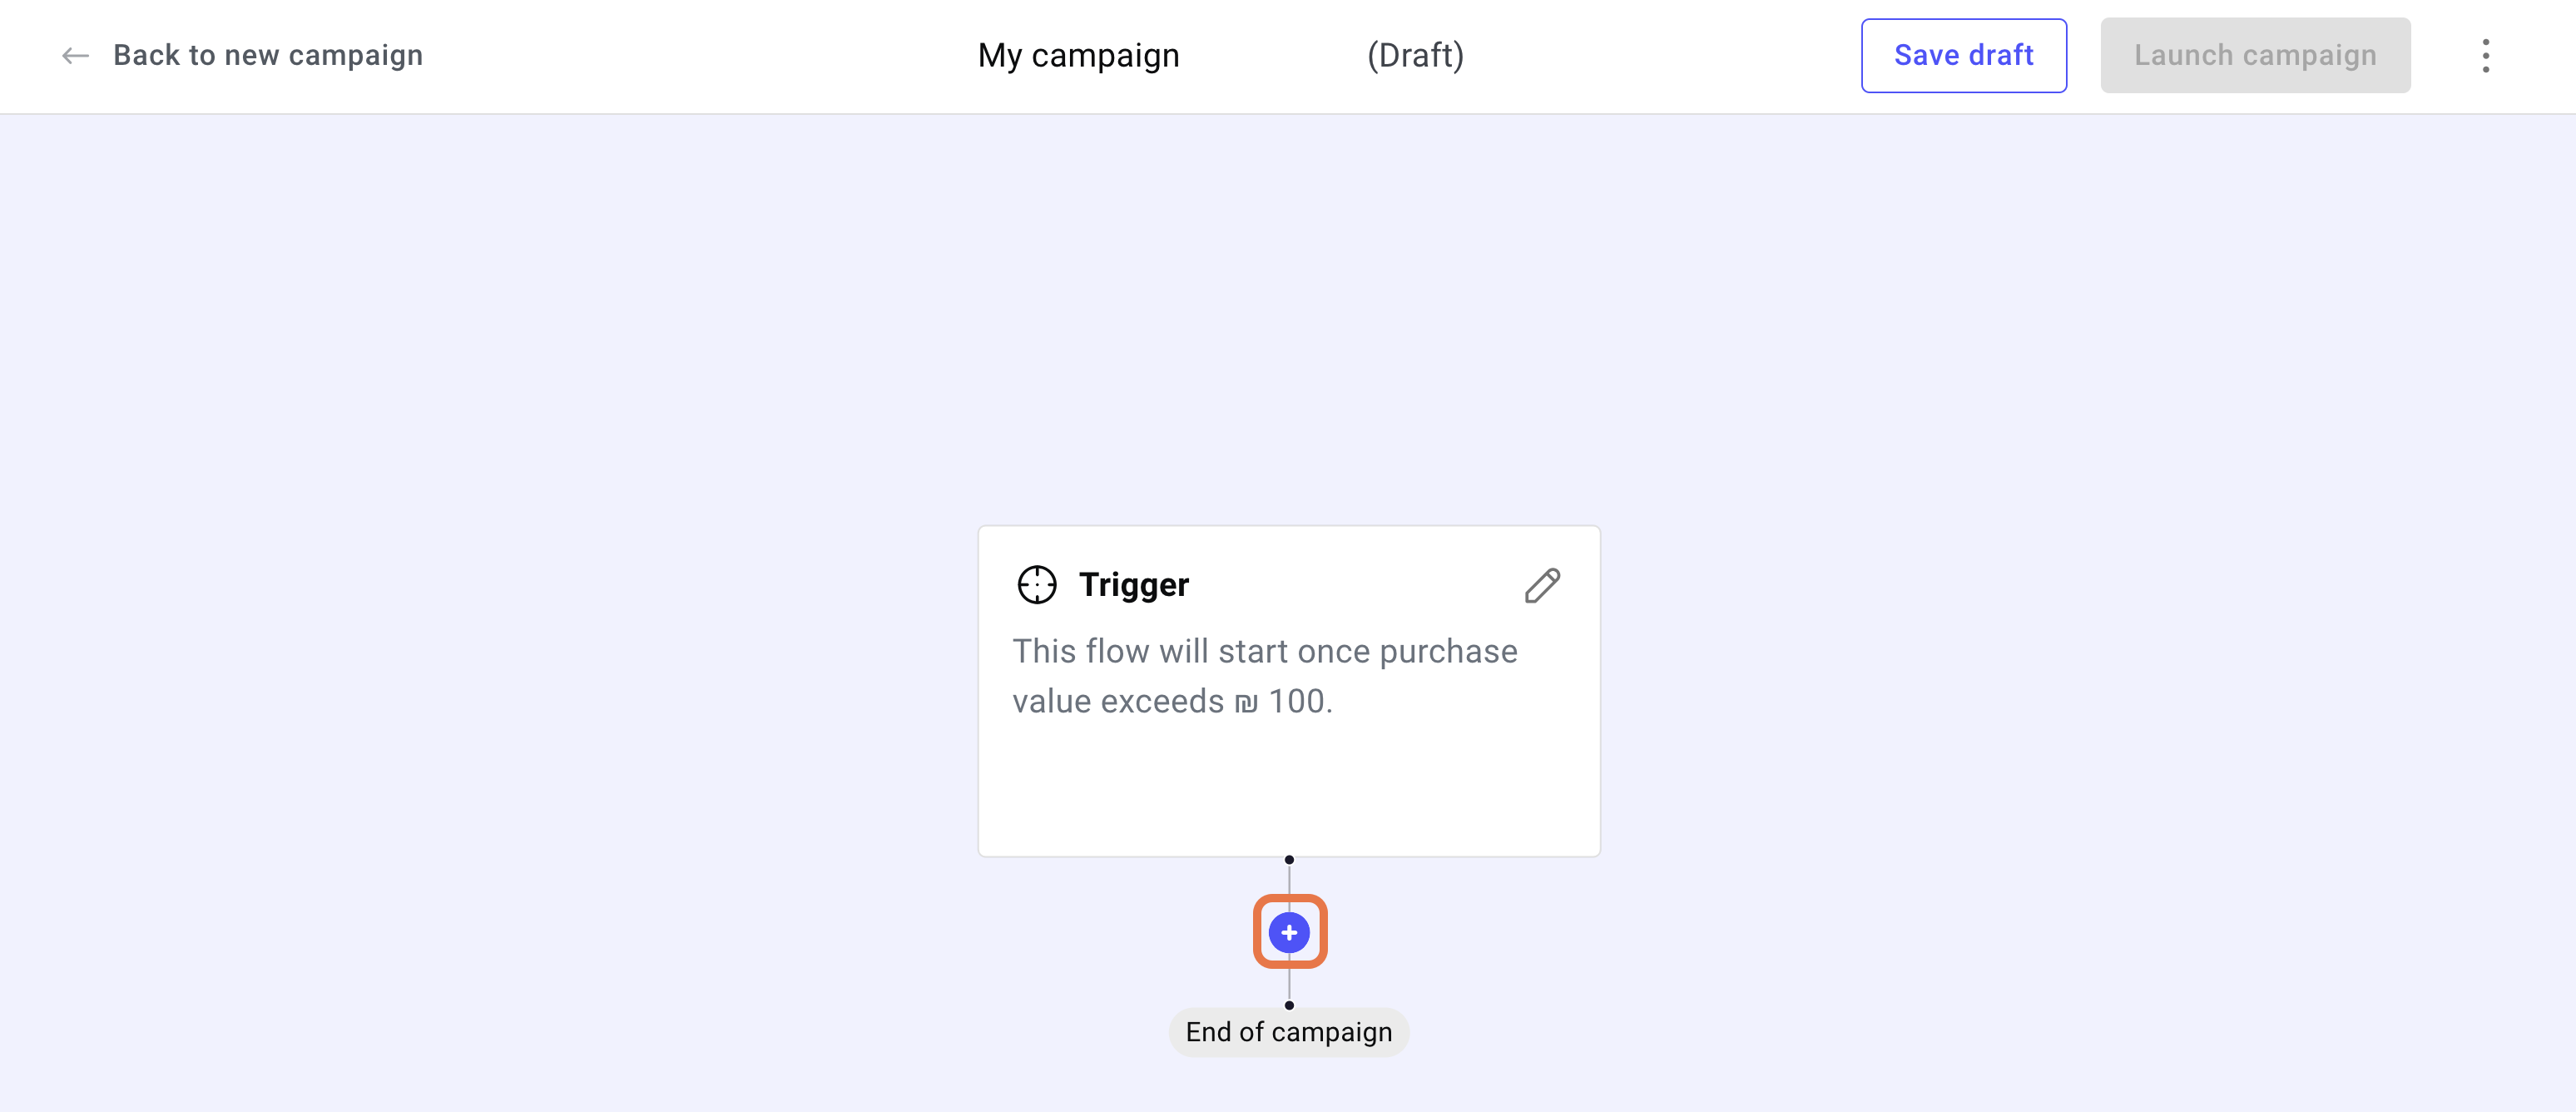
- Click the plus sign to add another step. This time we’ll create the message that will be sent to customers.

- Select Email from the dropdown menu.
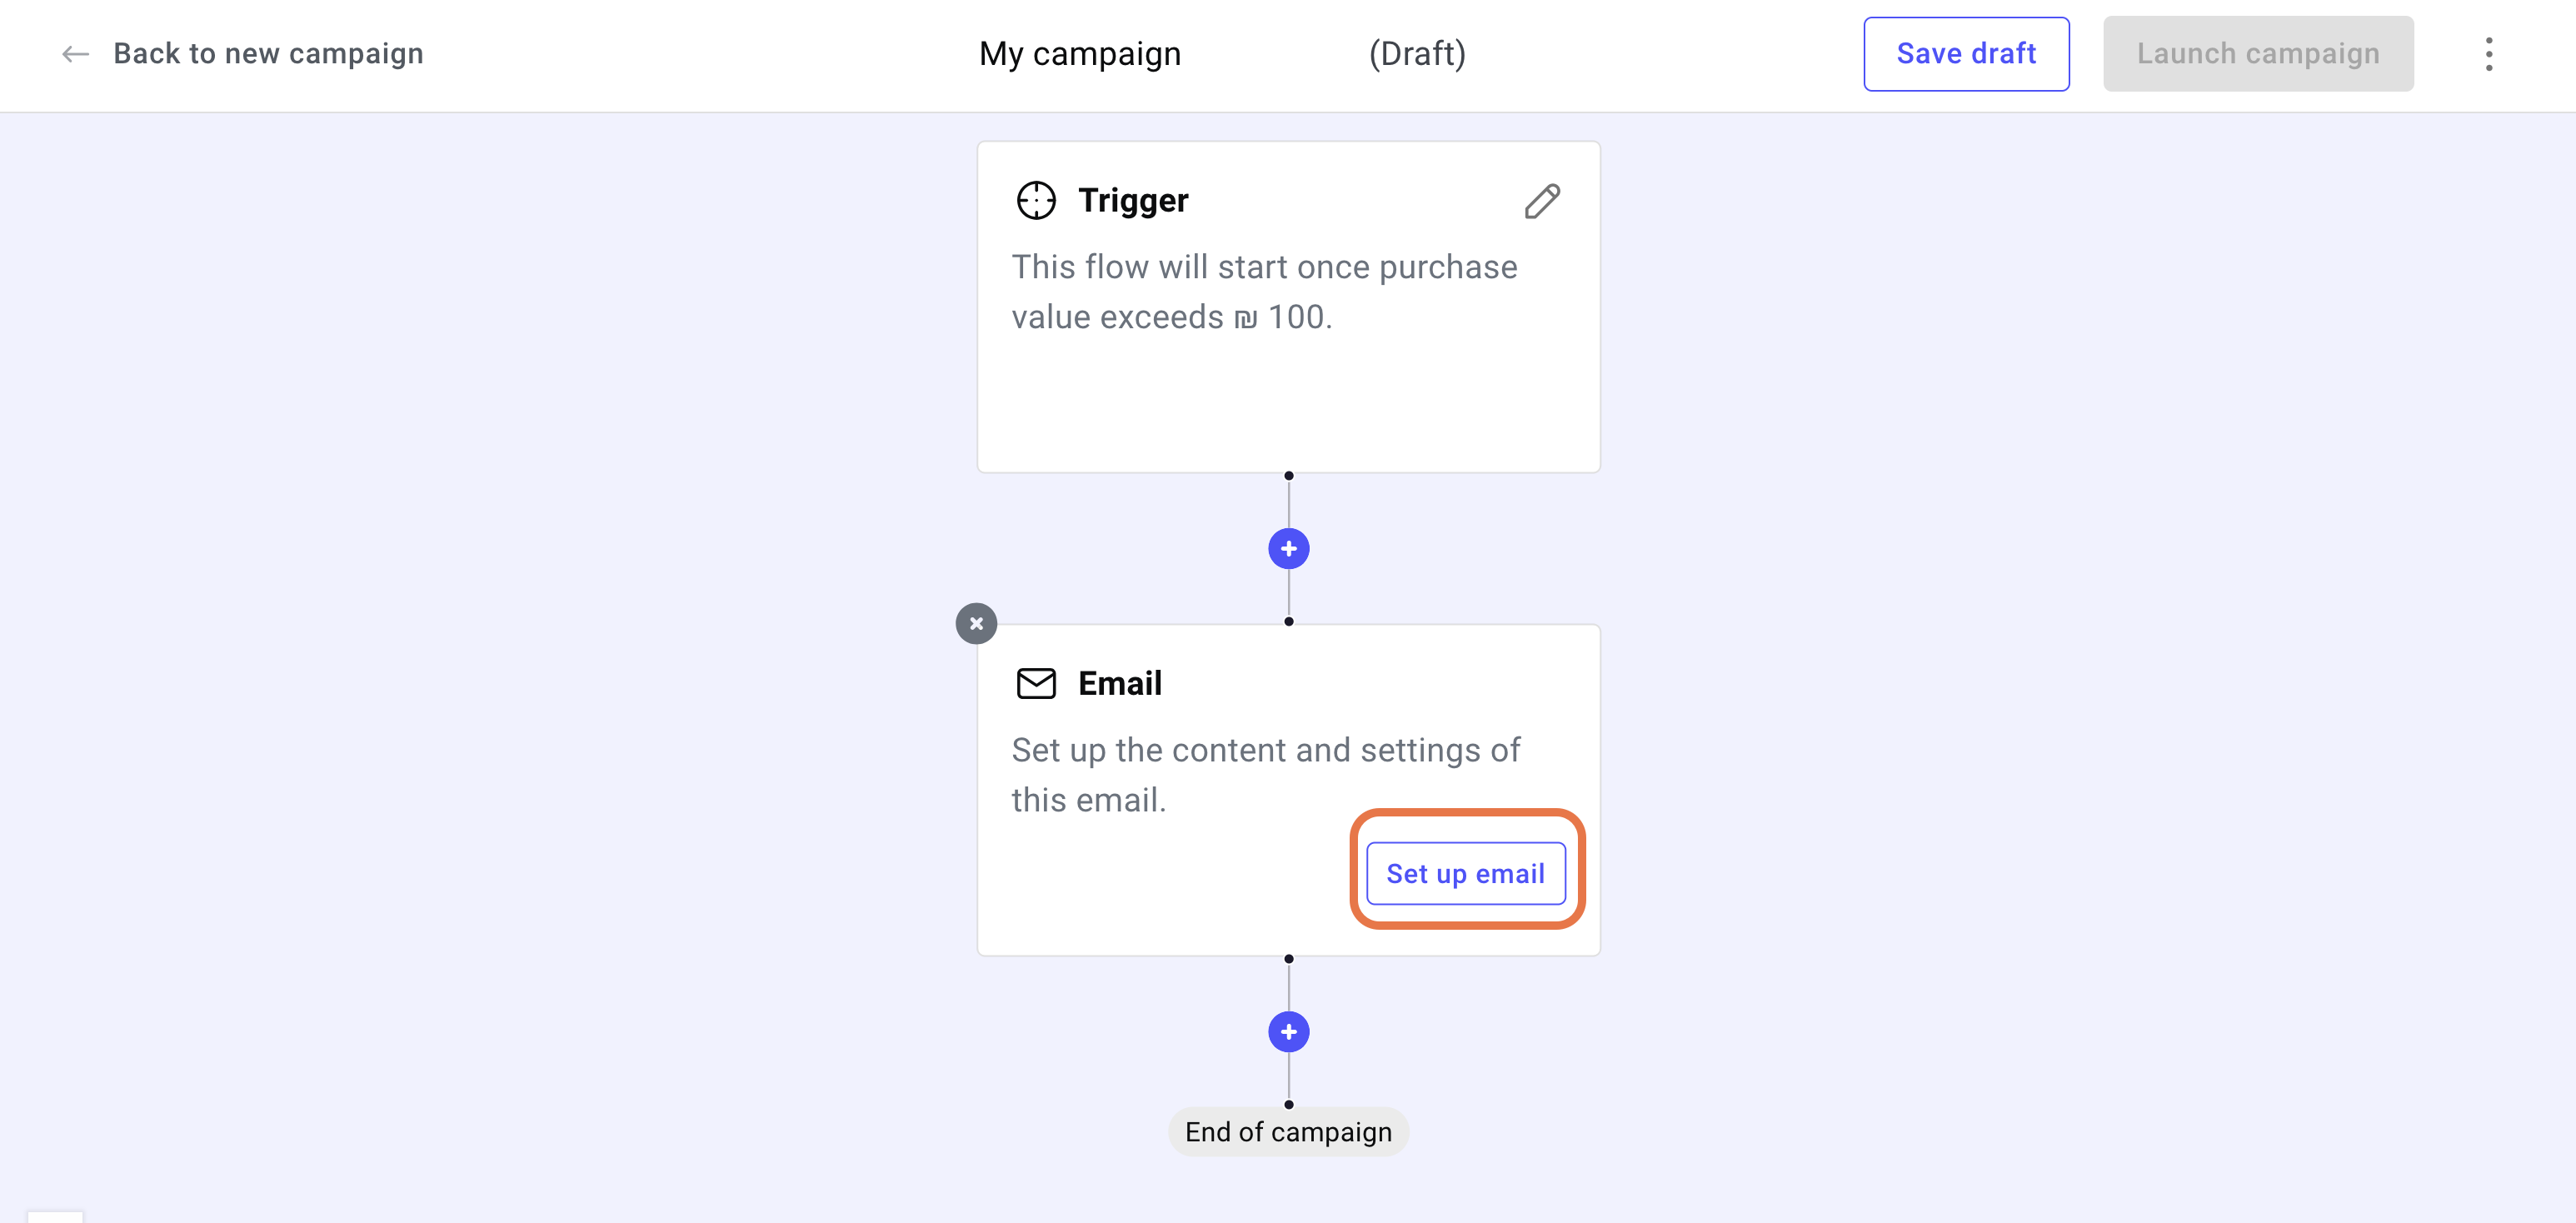
- Click Set up email.
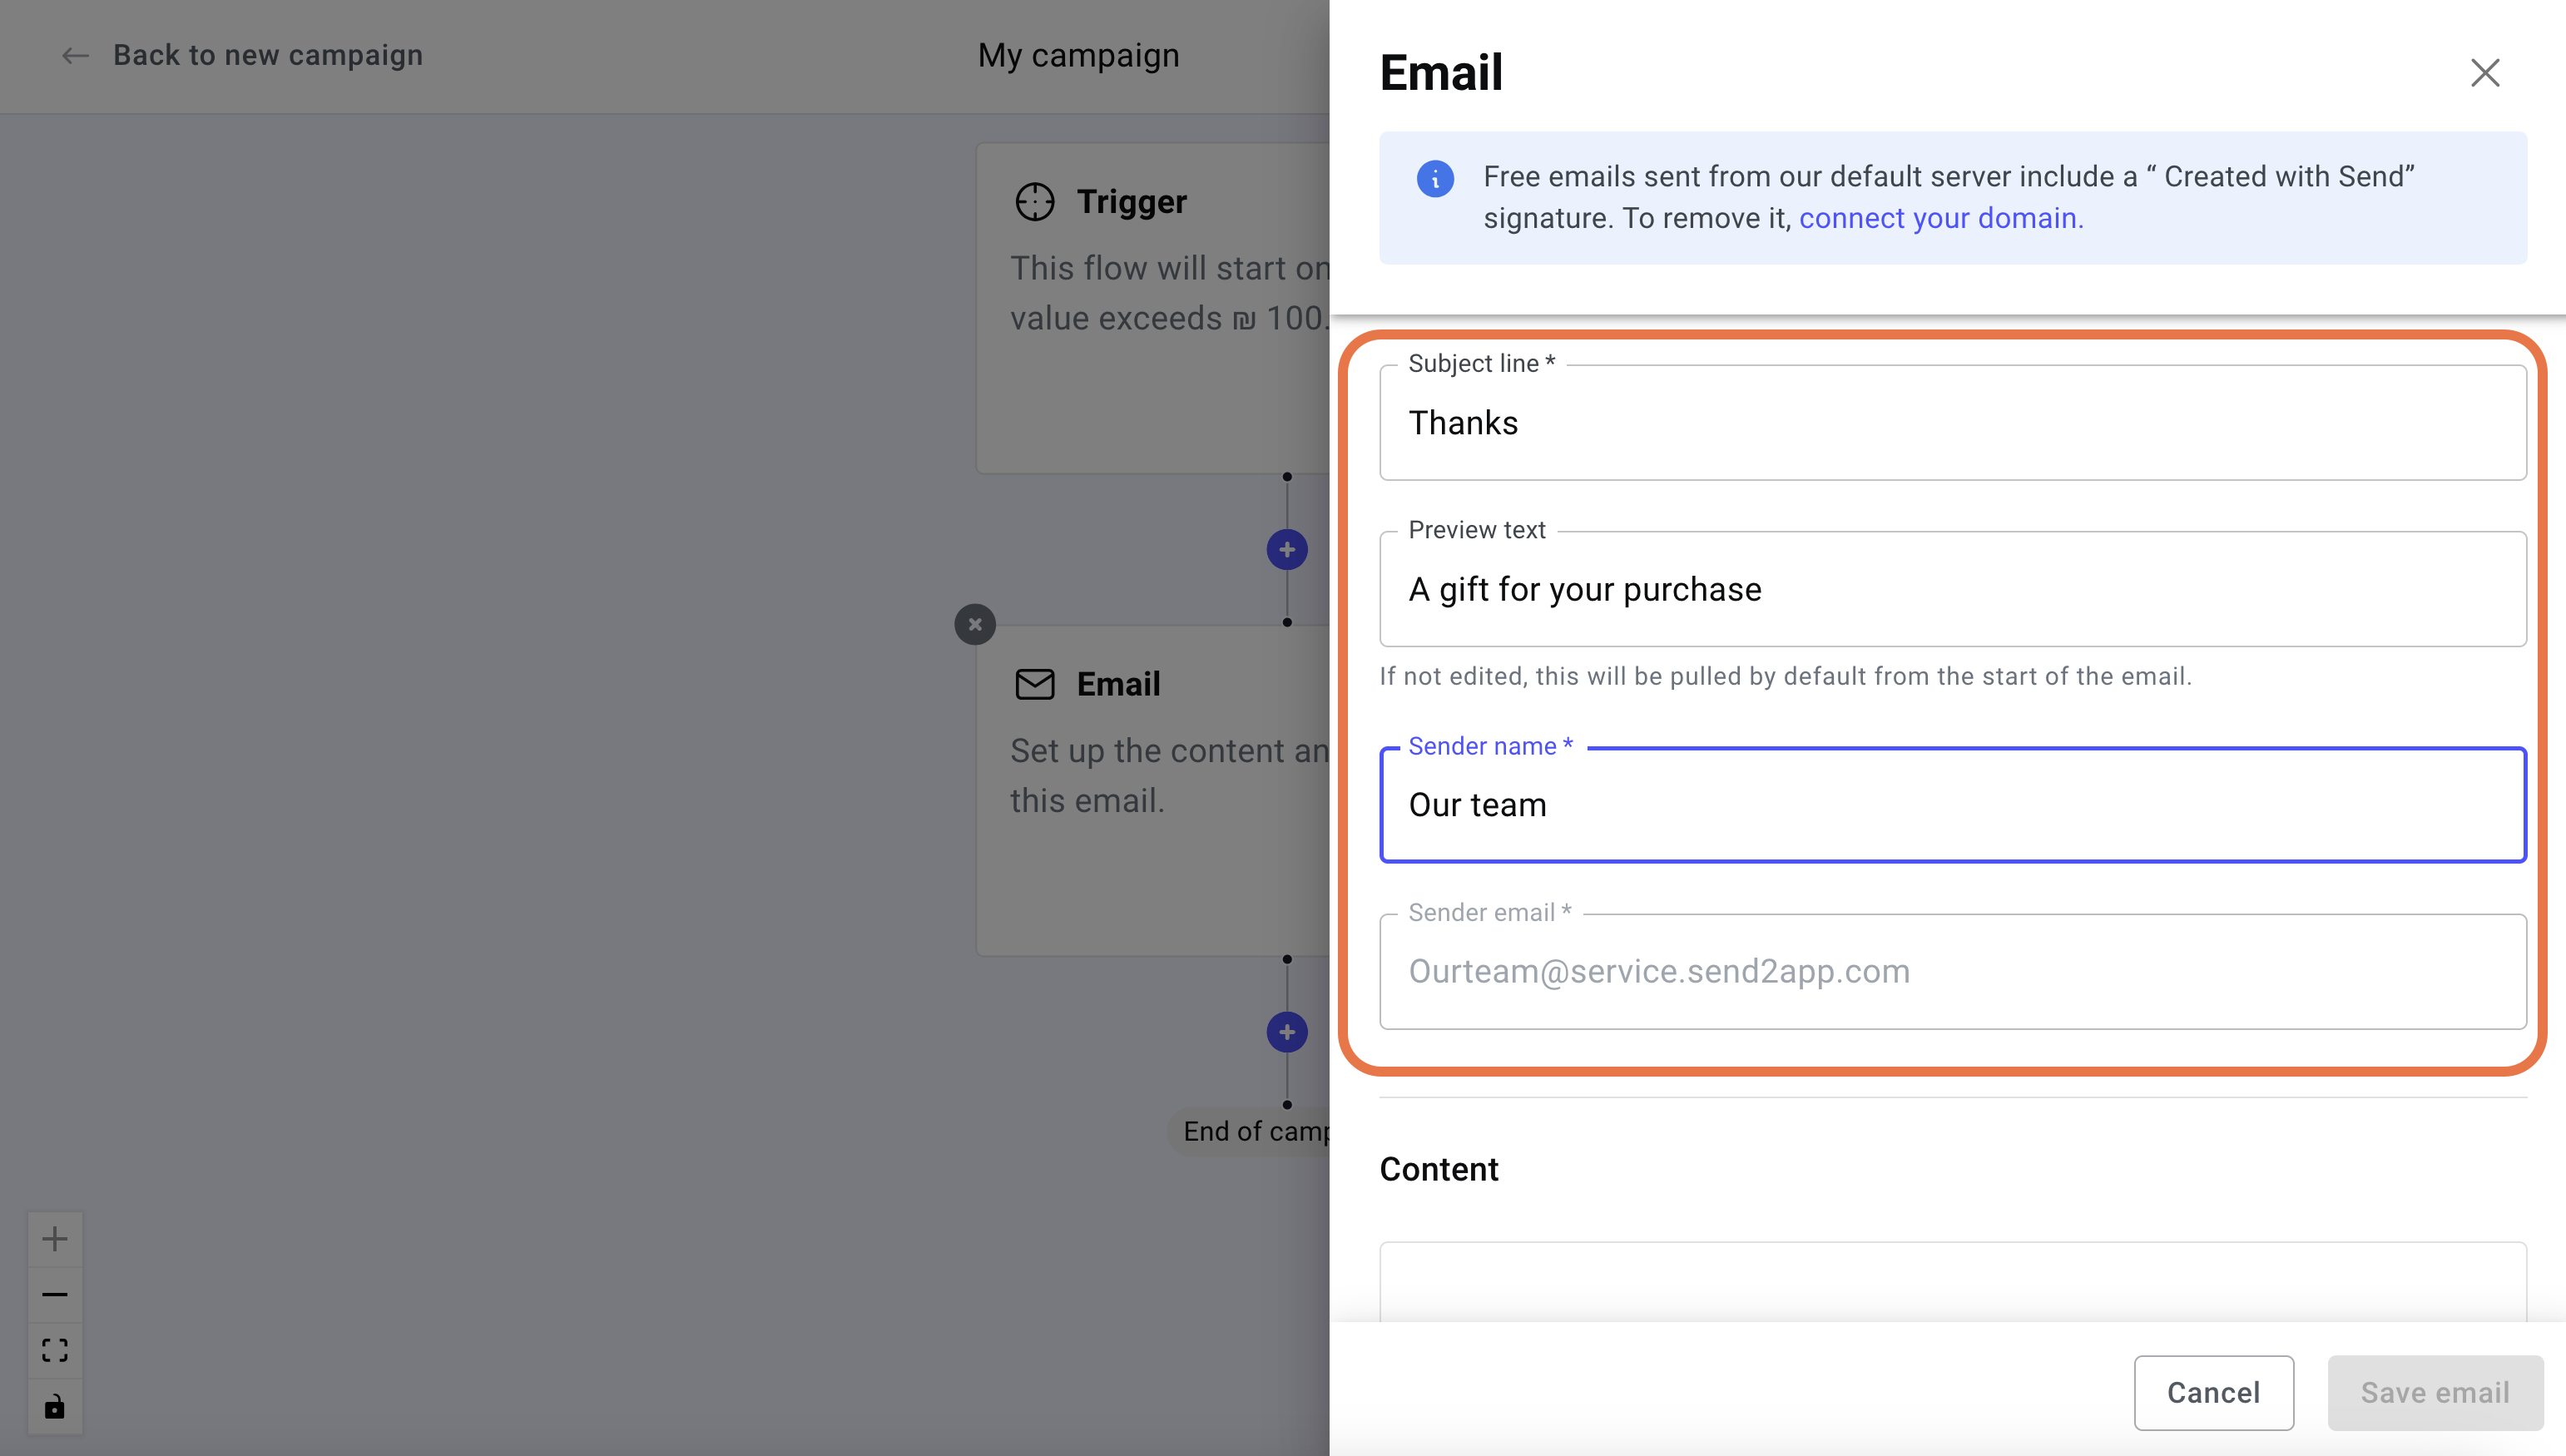
- Add a:
- Subject line: A brief summary of the message content.
- Preview text: The first text customers will see. By default, it is the beginning of the full message.
- Sender name: Who the message is coming from.
- Scroll down and click Choose template to create the content for the email sent by the campaign.
The template library opens.
We’ll create a simple email for this demo, but for a more detailed look at creating email with Send, see Explore the email editor and Email visual editor basics.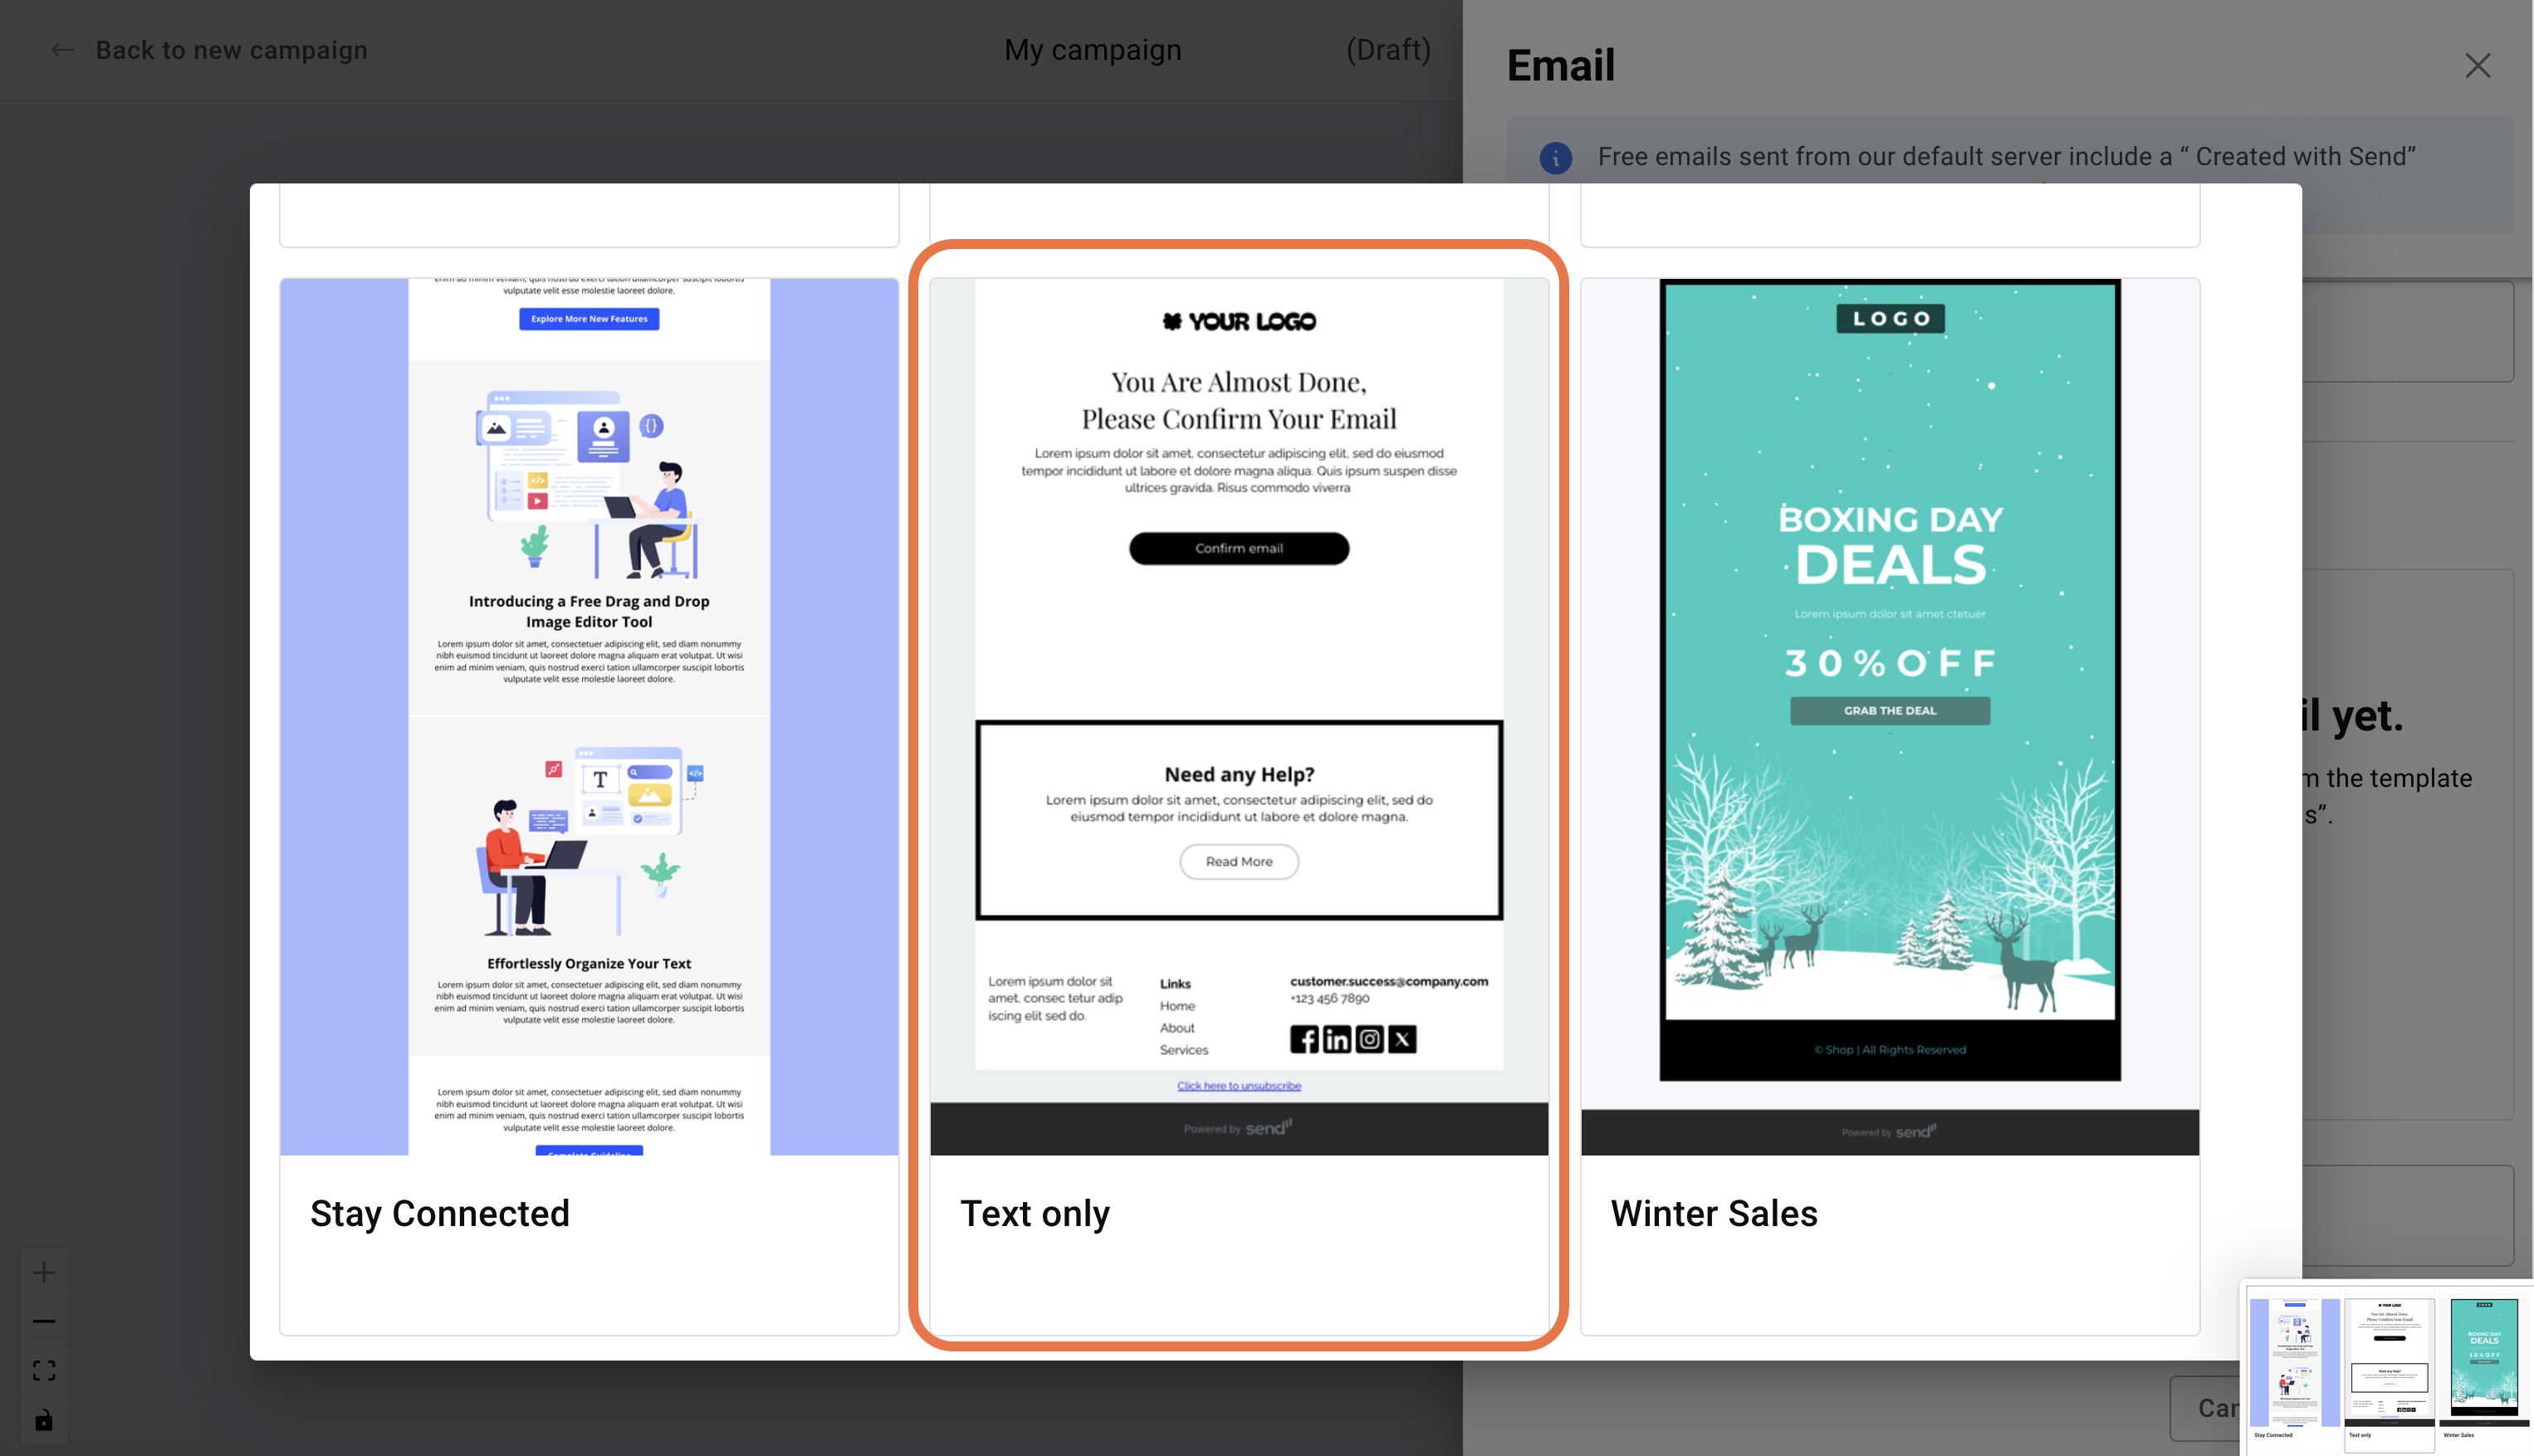
- Select a blank template.
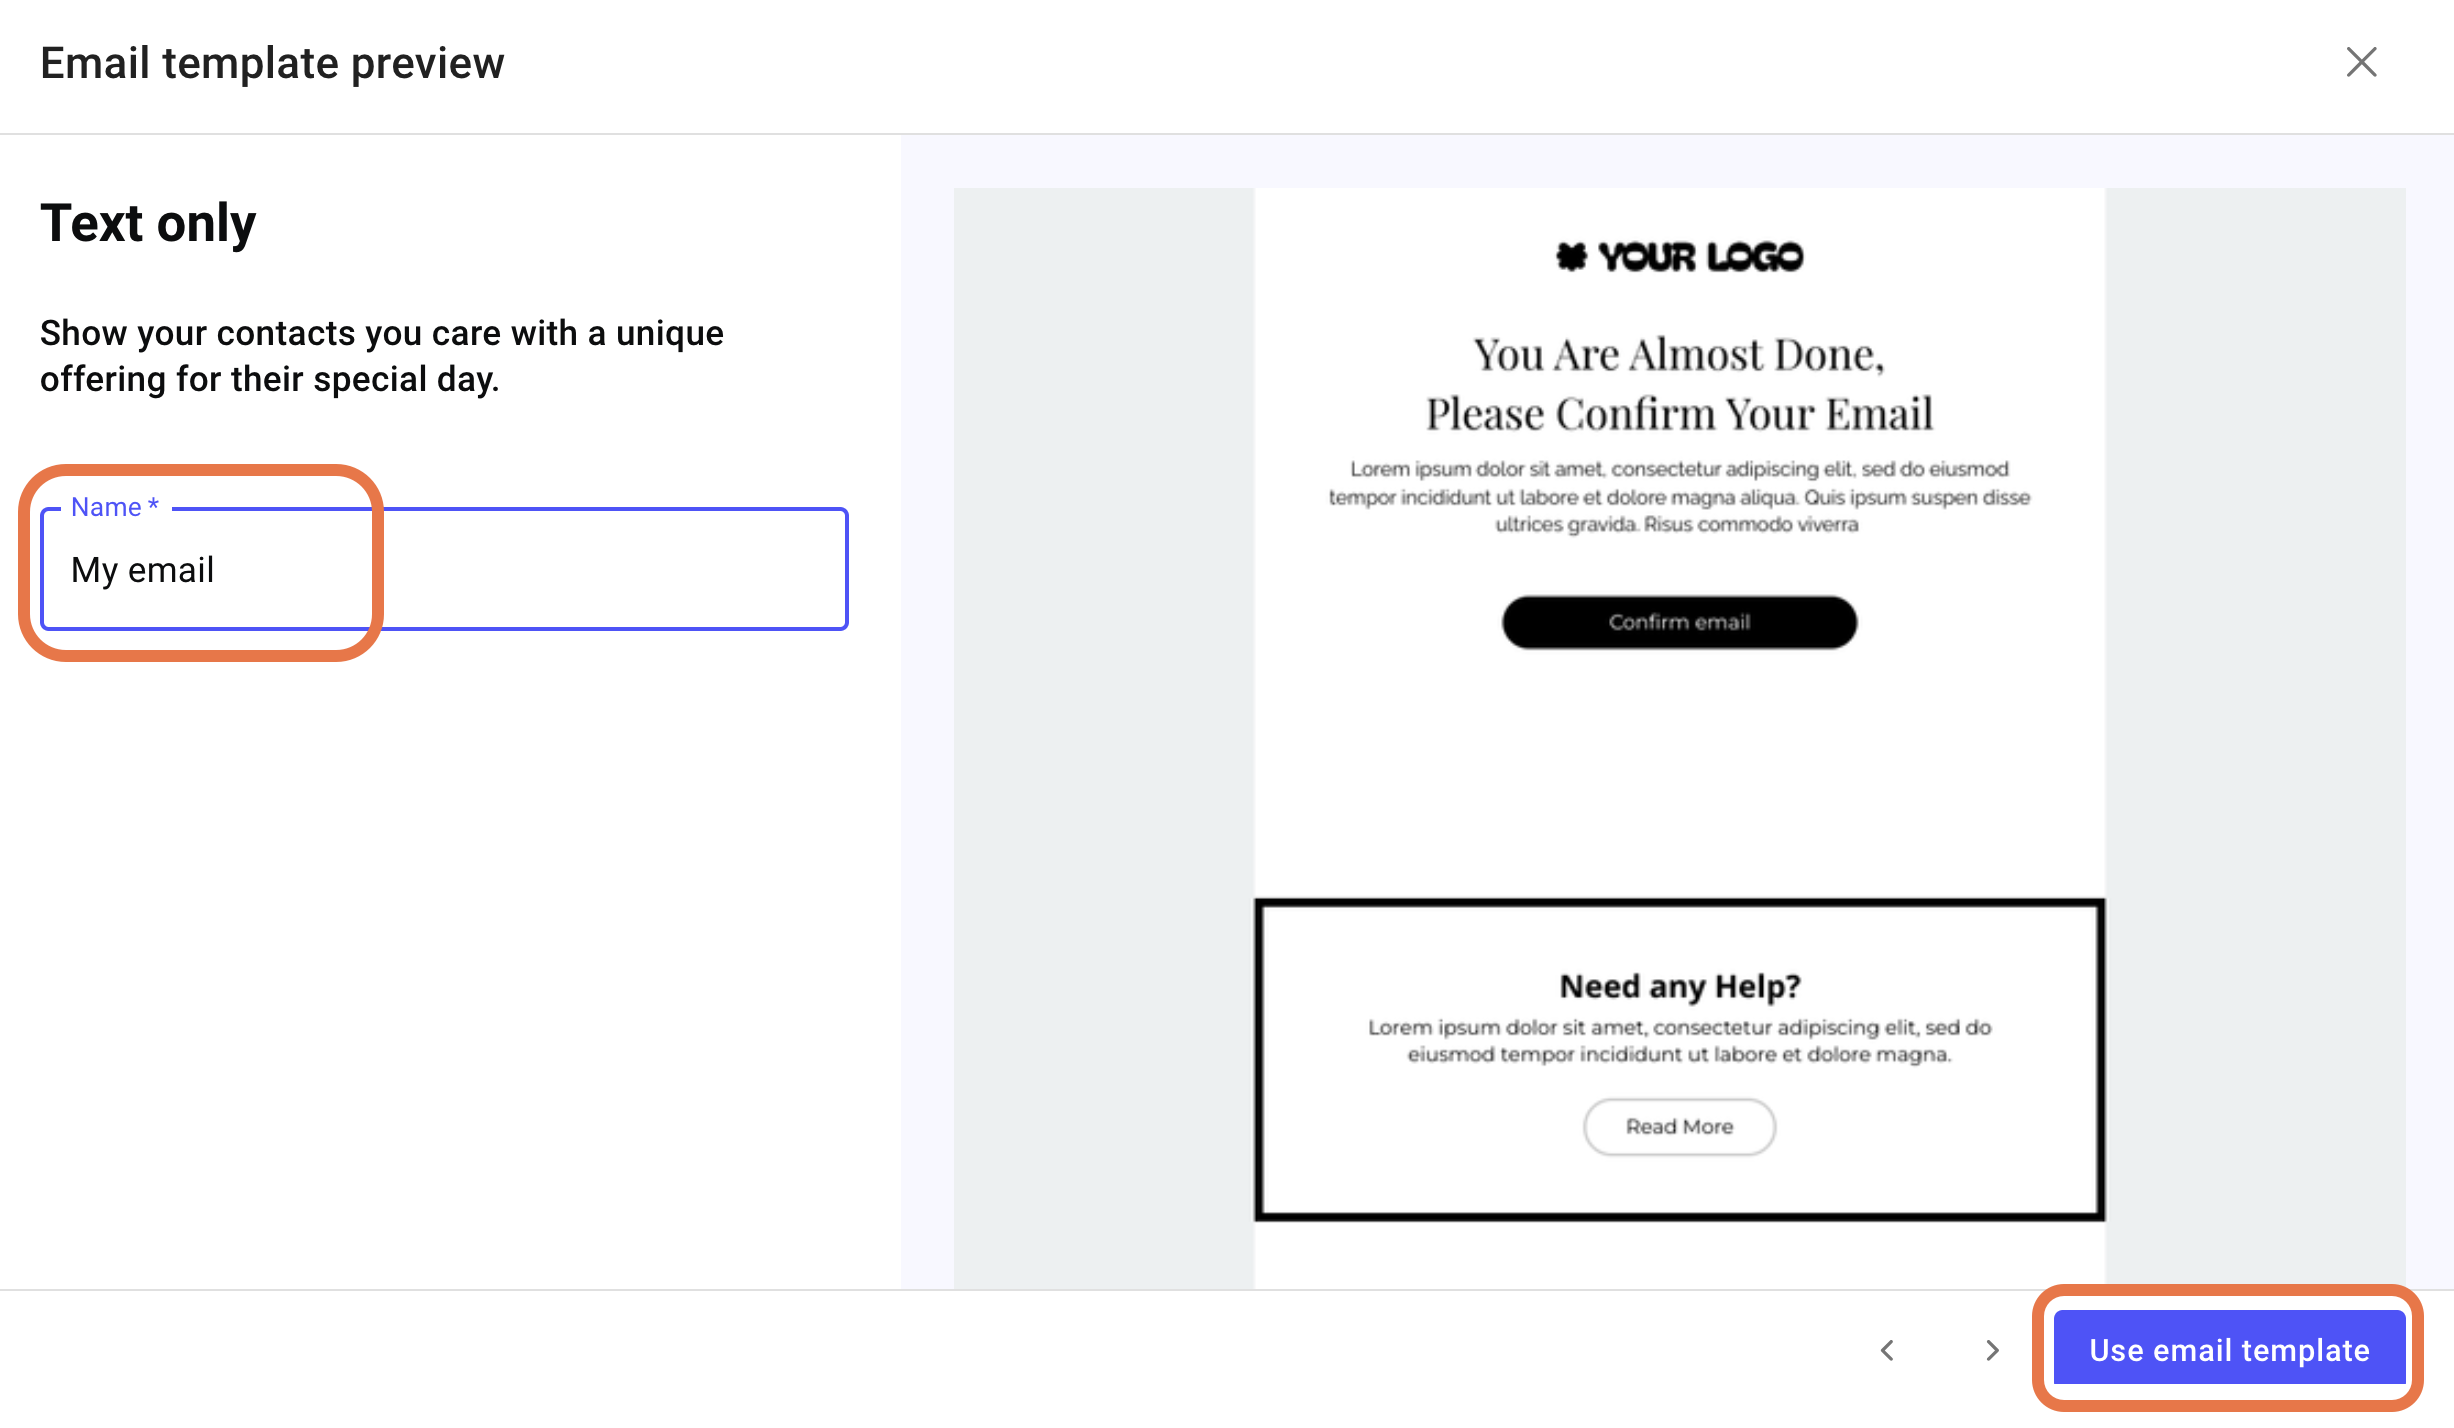
- Name the template and click Use email template.
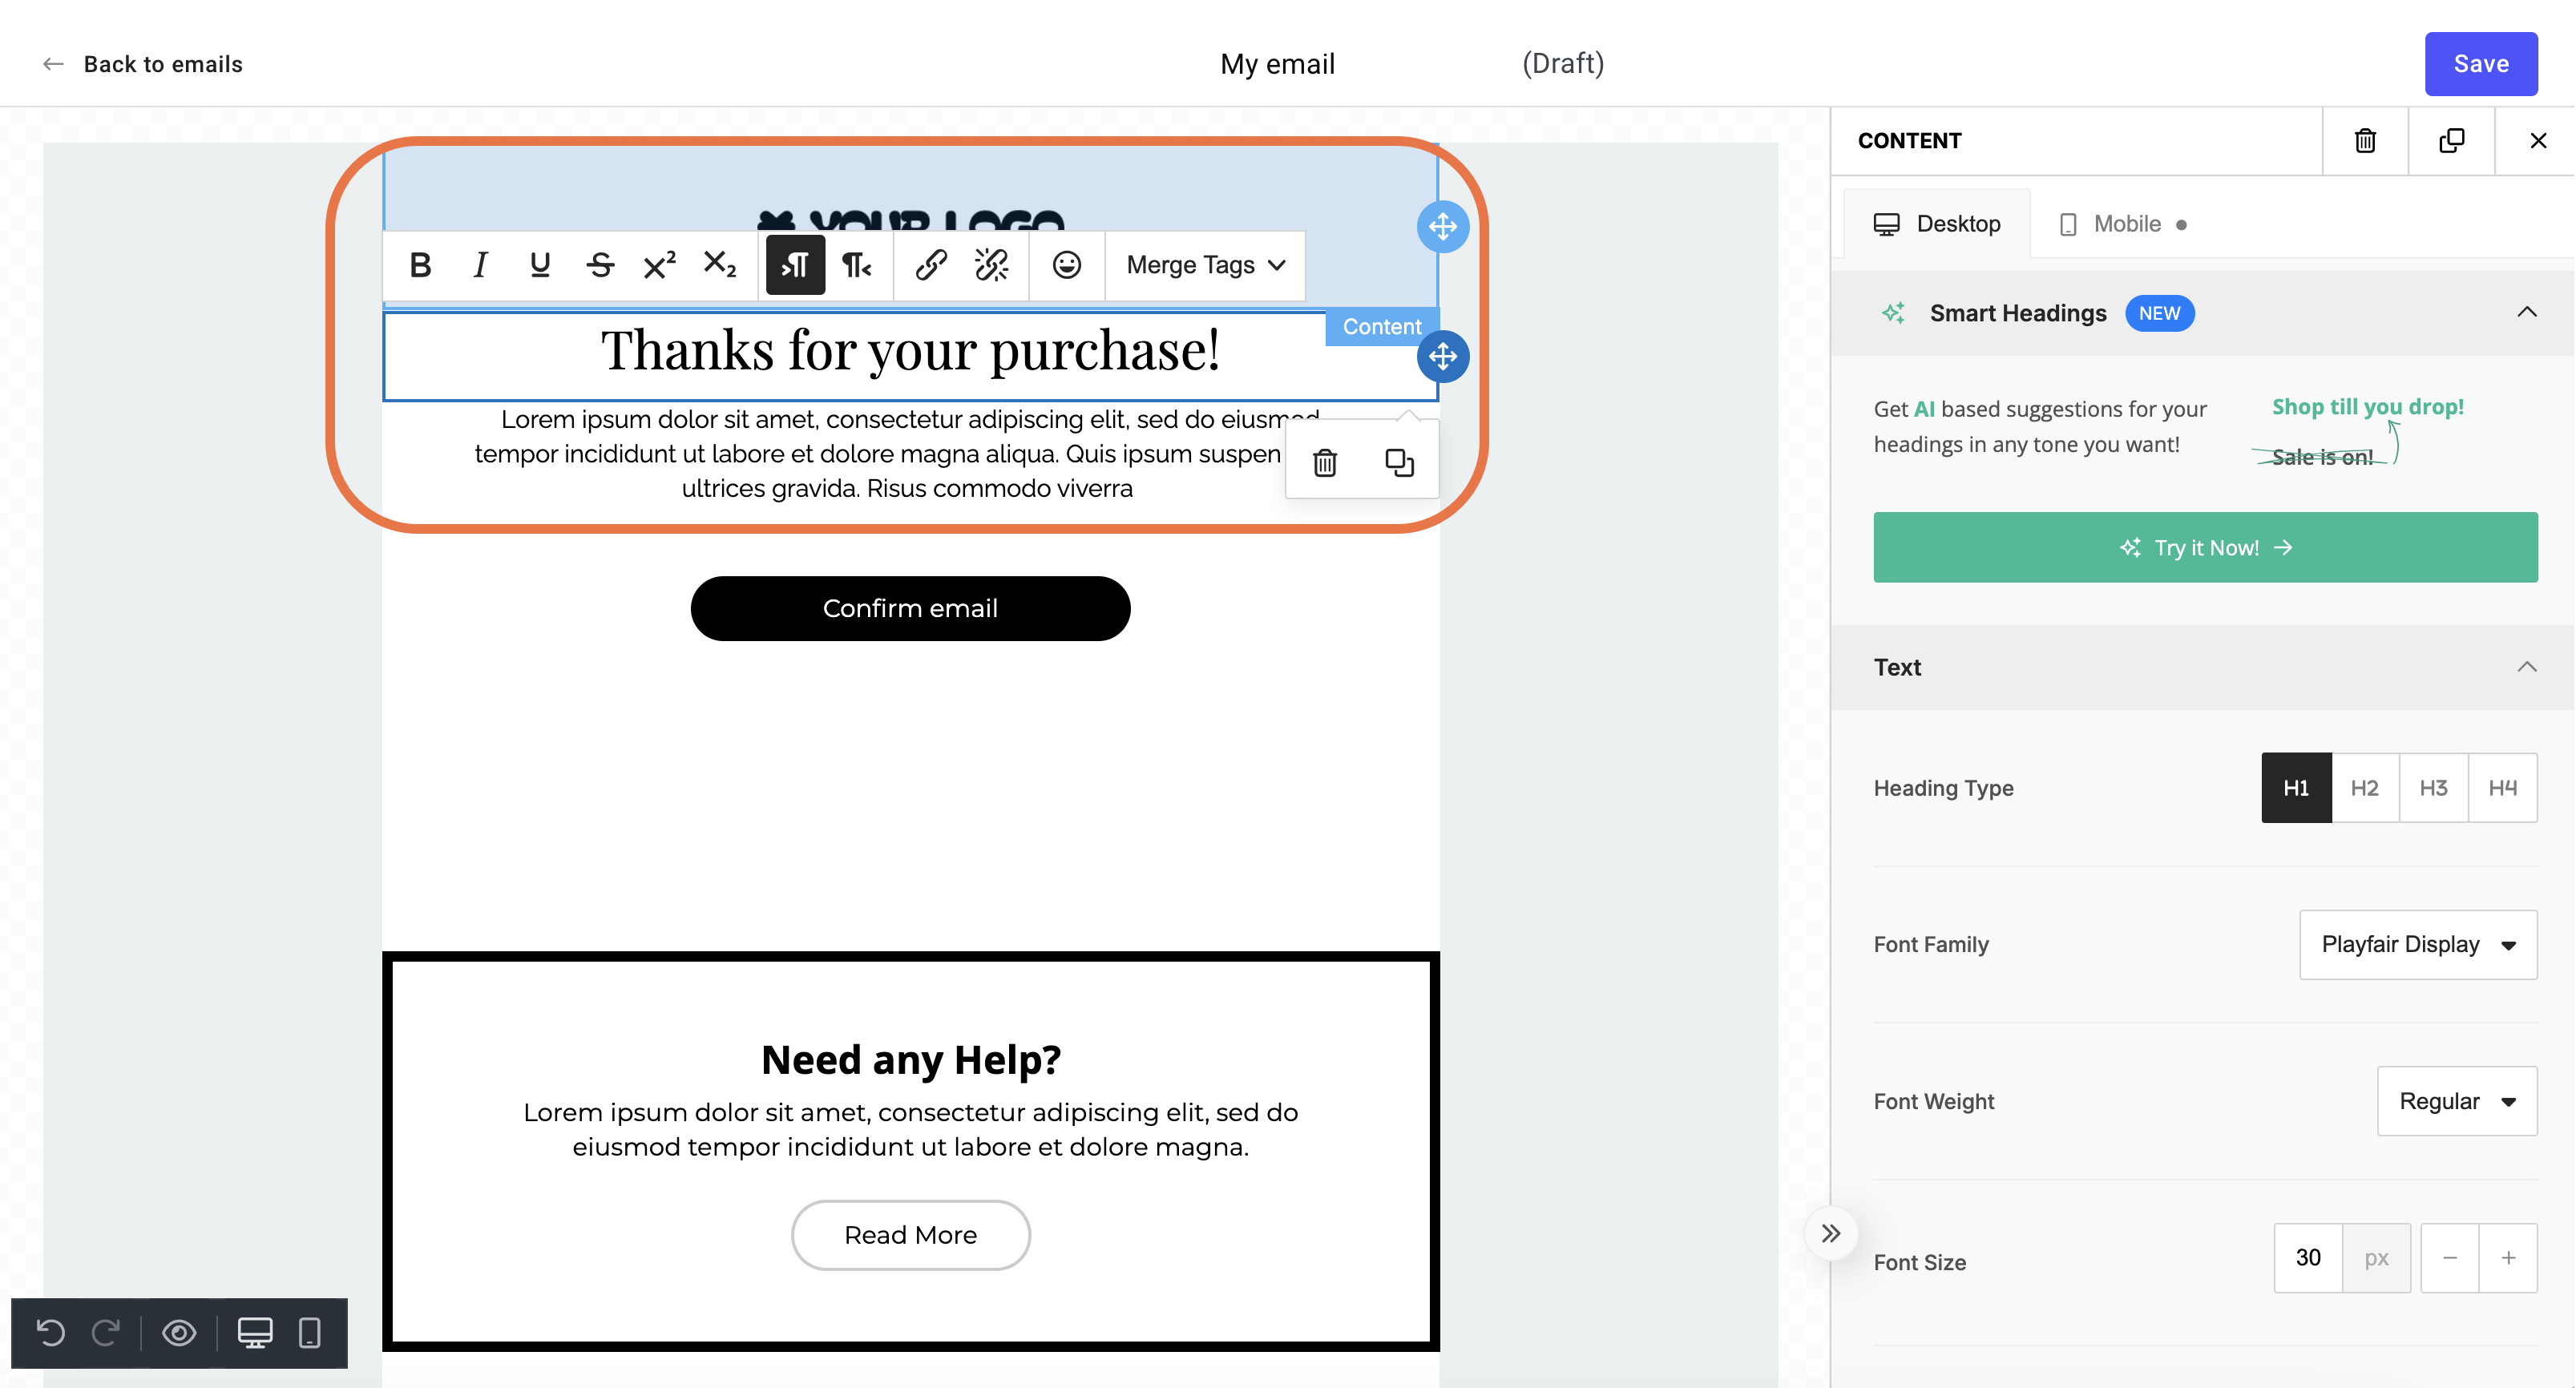
- Fill in the fields, including your brand logo. You can edit any section by clicking on it.
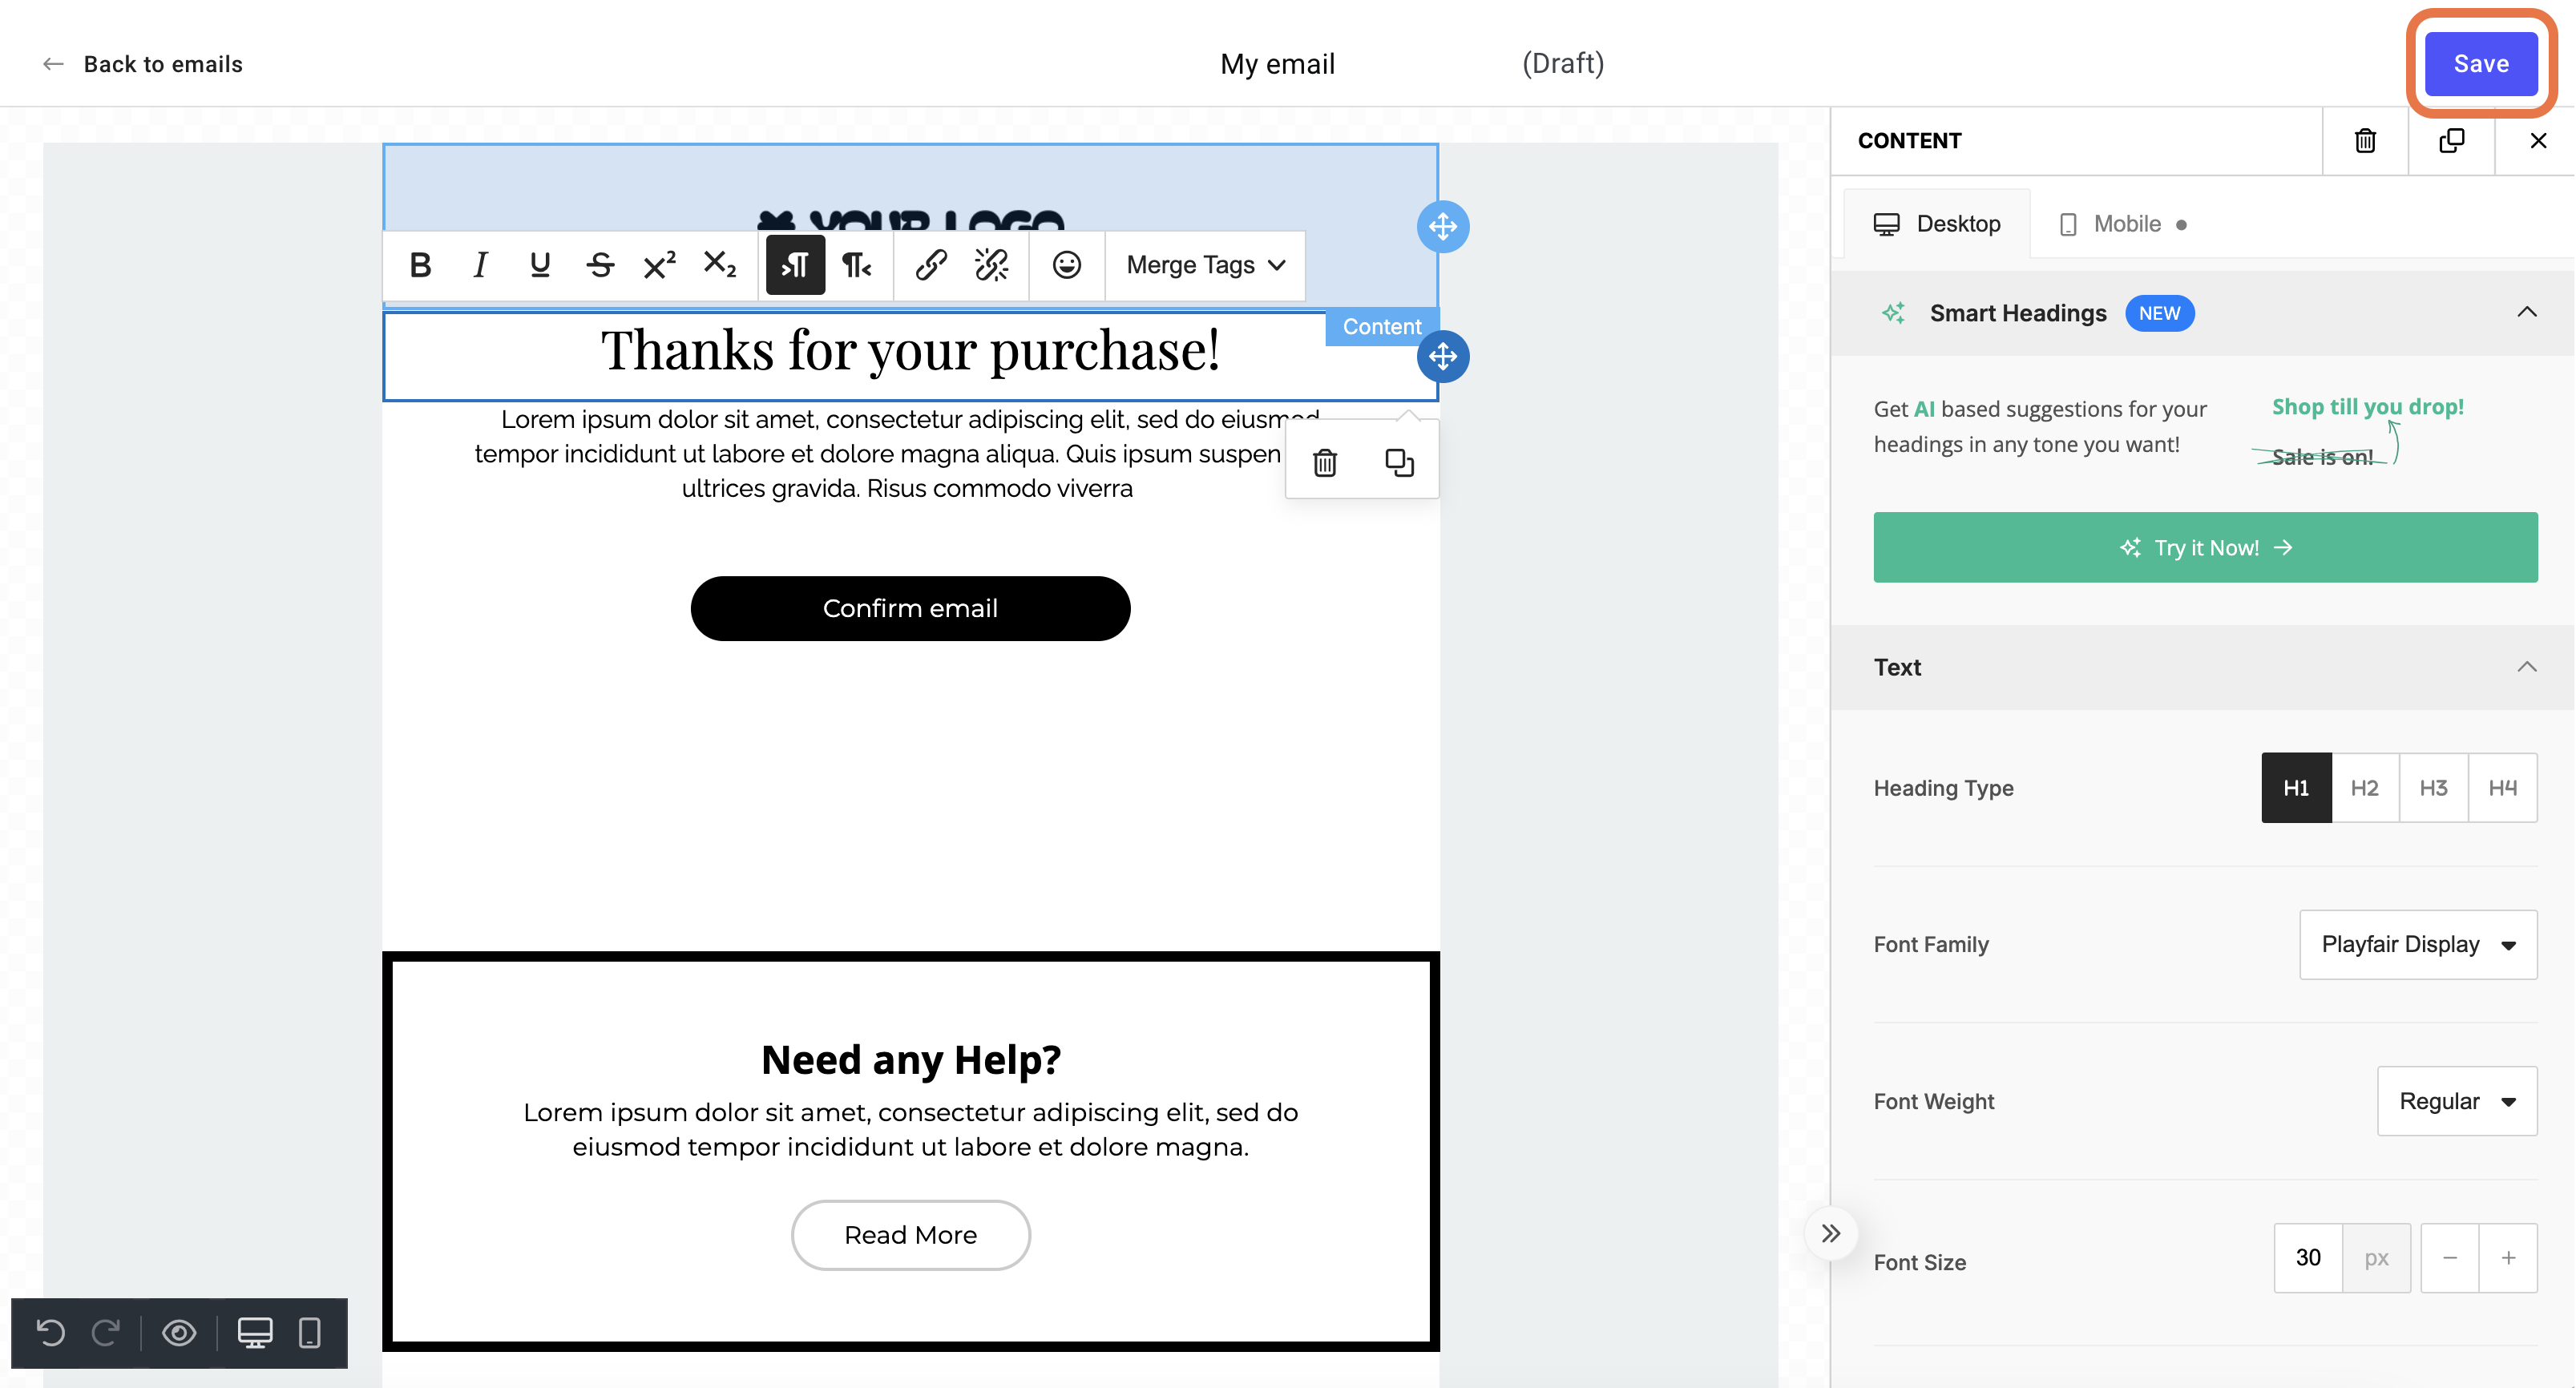
- Click Save.
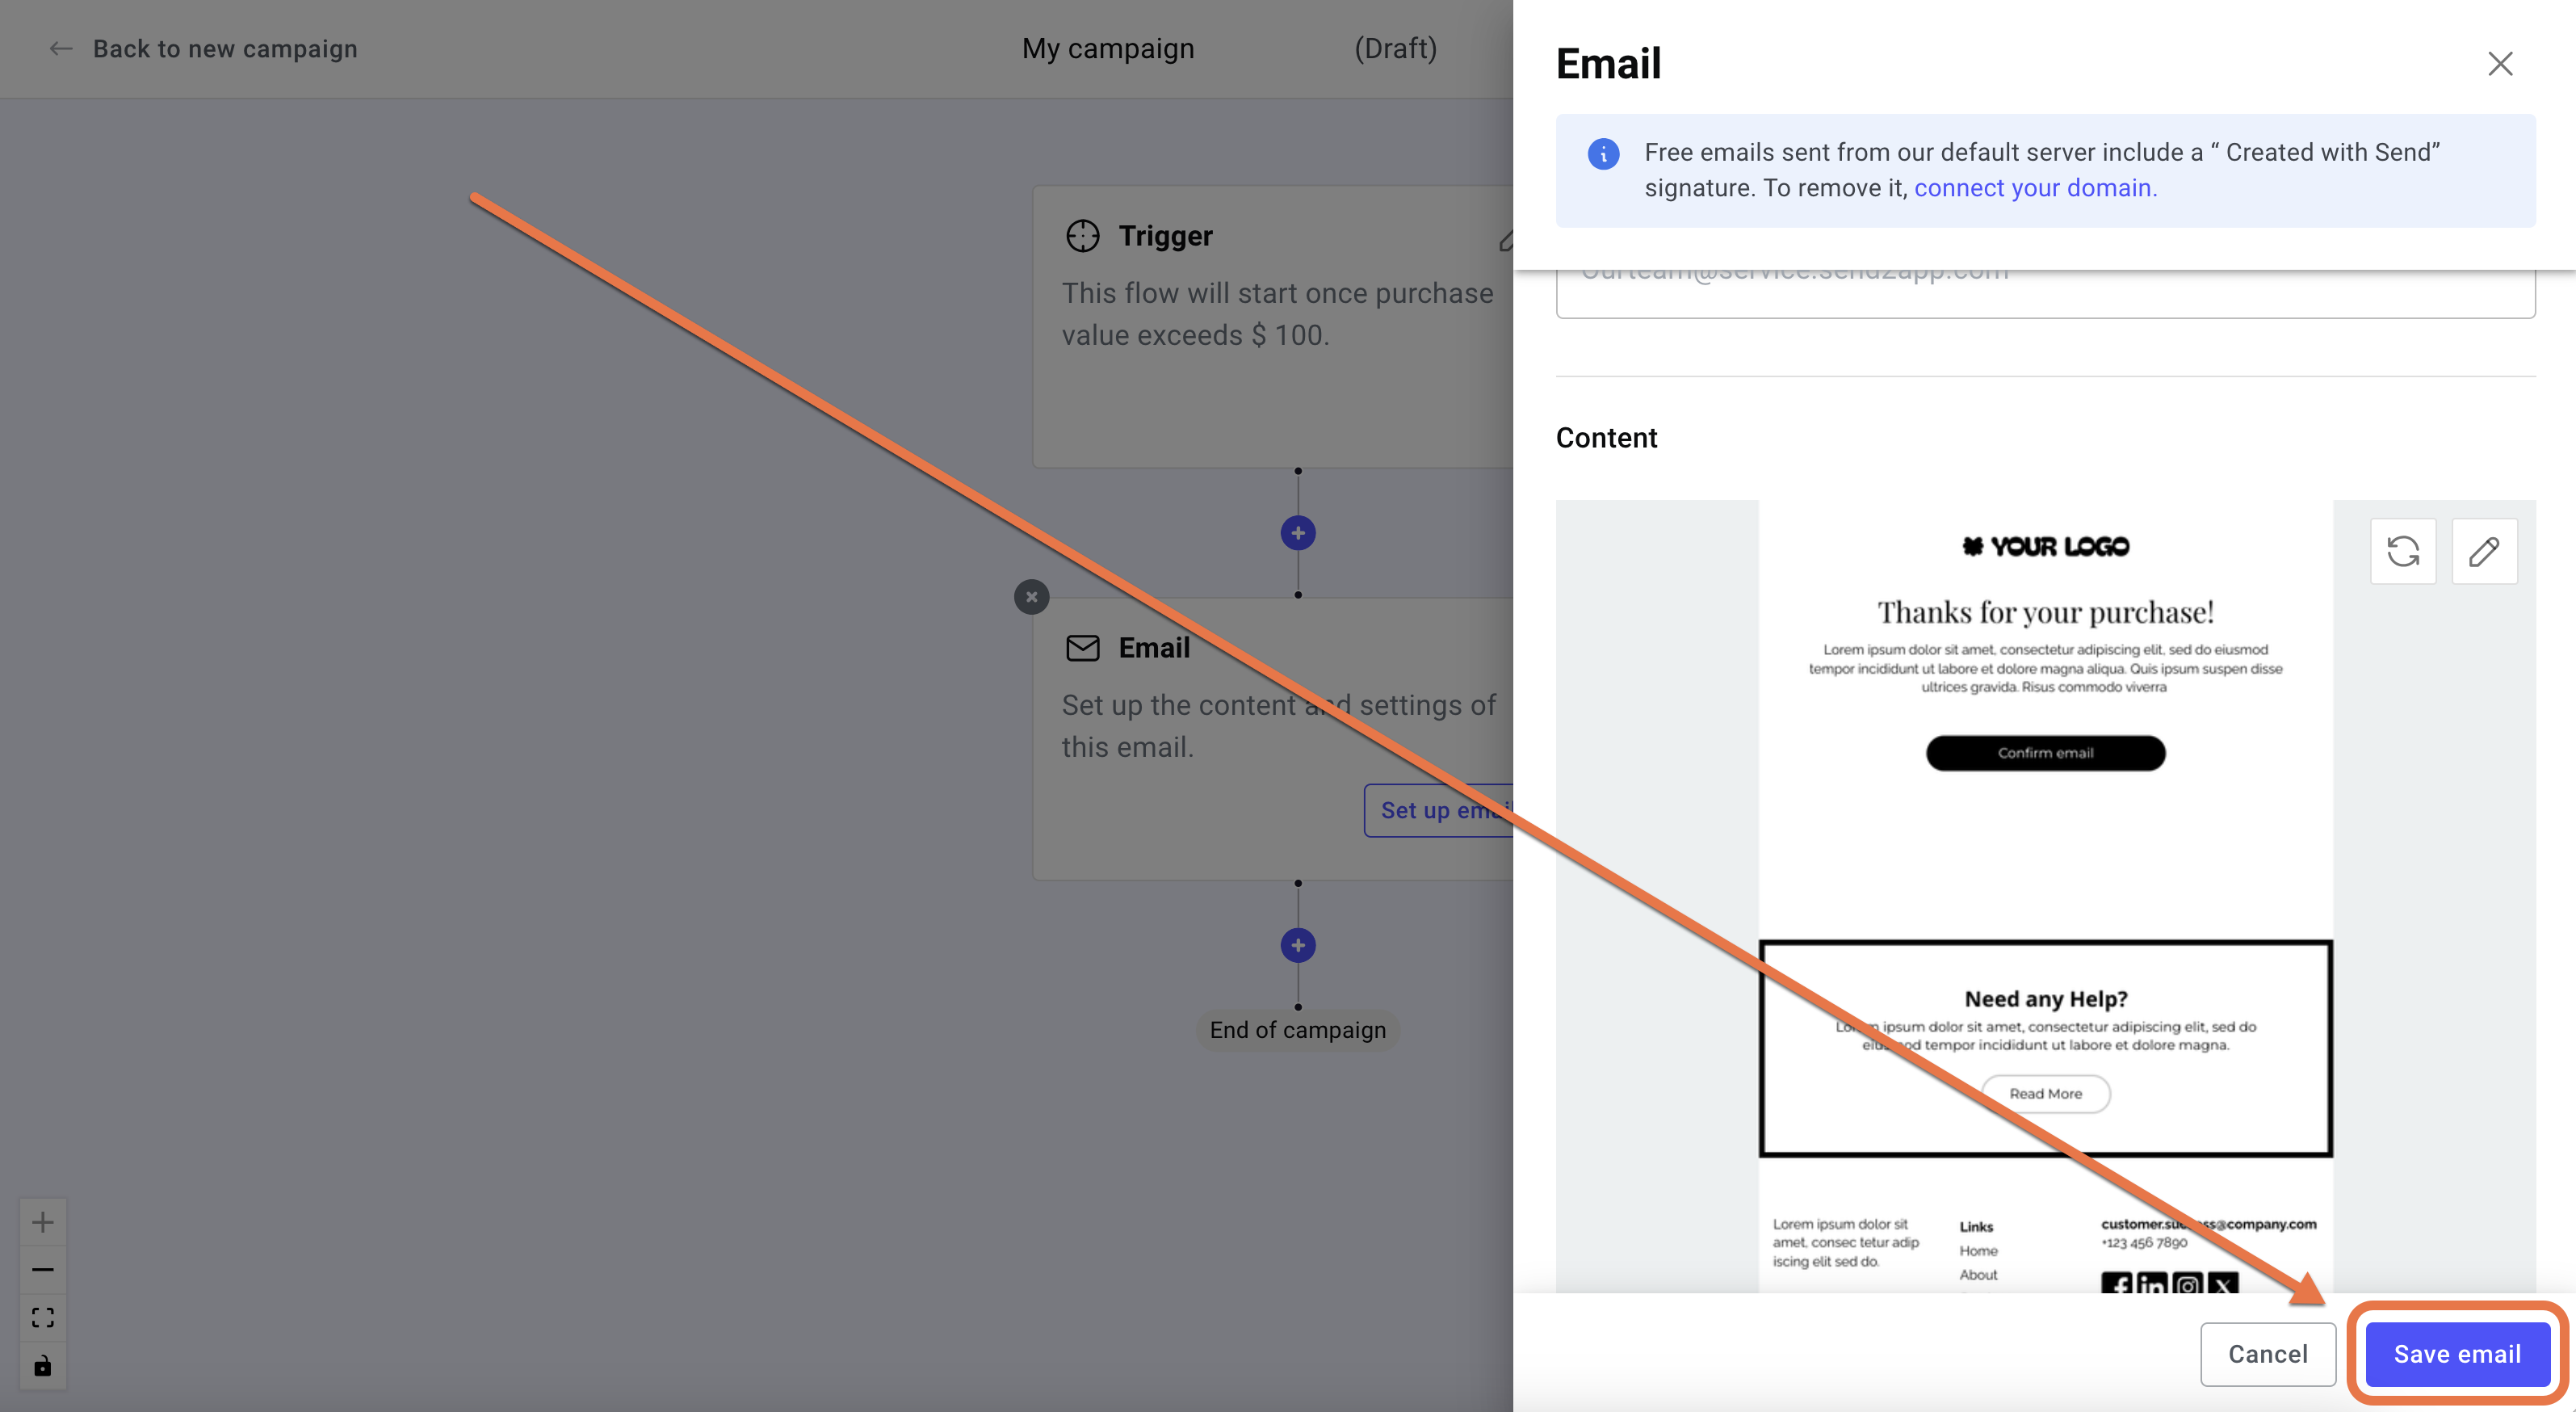
- Click Save email.
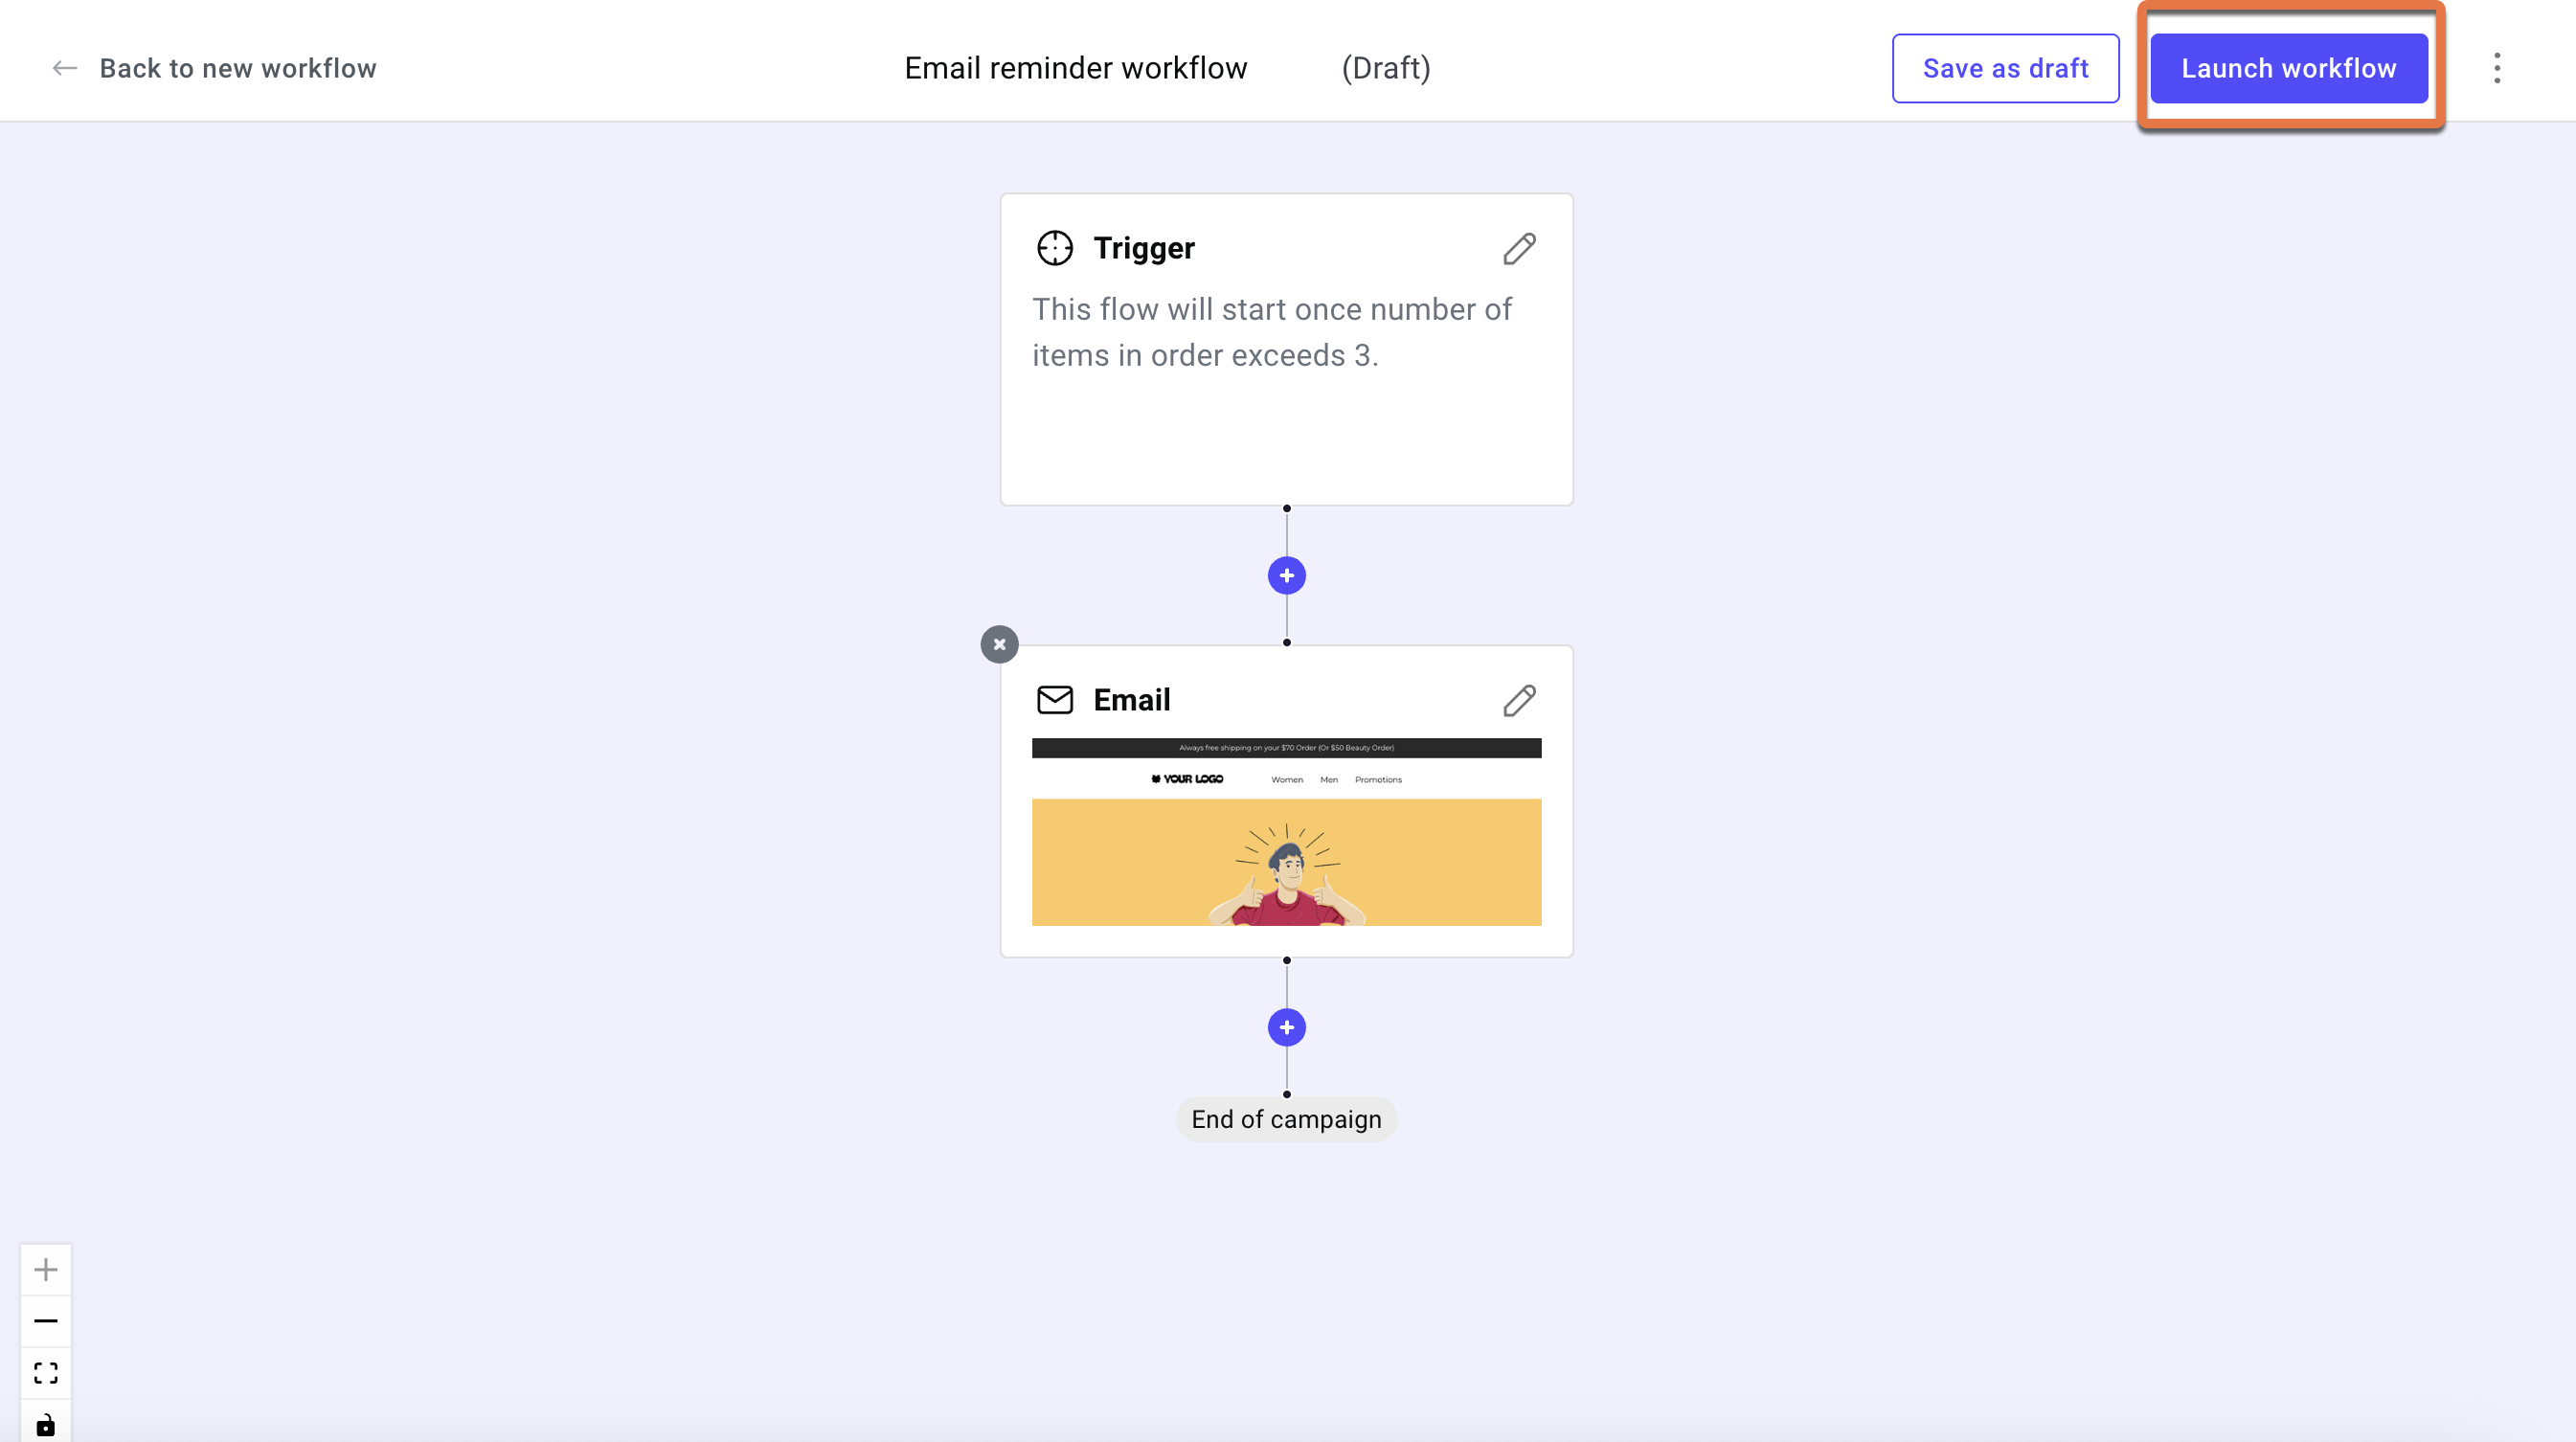
- Click Launch workflow.
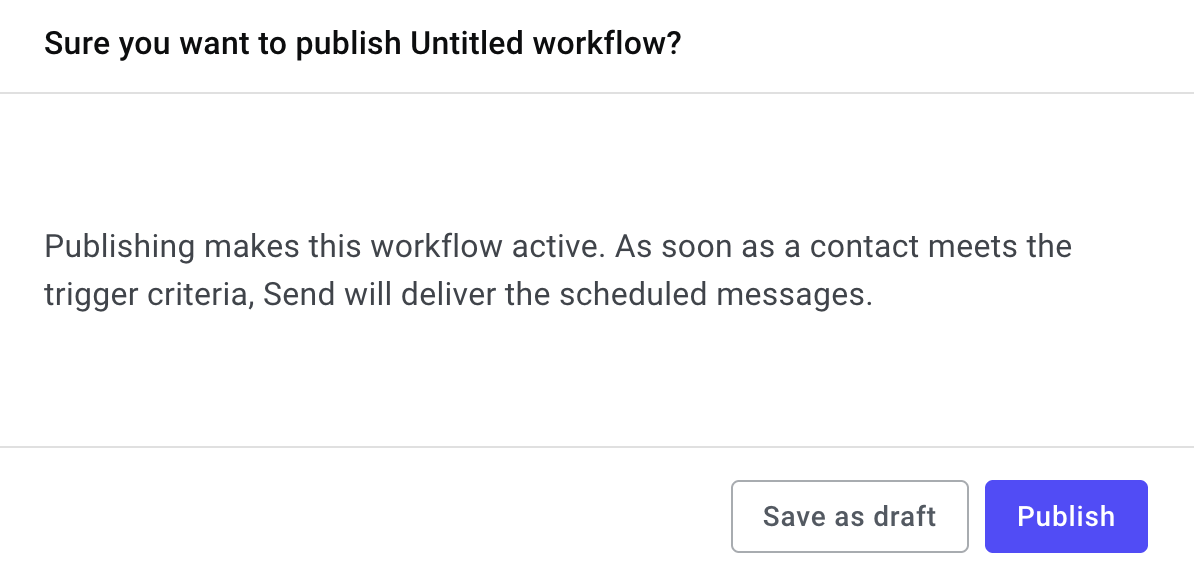
- You will be prompted once more to publish – you can Save as a draft or Publish and the campaign will go live.
Note: You cannot edit a workflow once it has been sent.