Contacts contain the names, email addresses and other information of those on your mailing lists. As your list grows you will need to add more contacts to your list. These new contacts can be added manually or by uploading a file.
Manually add a contact
To add a contact to your list:
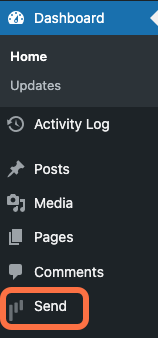
- From WP Admin, navigate to Send.
This opens Send.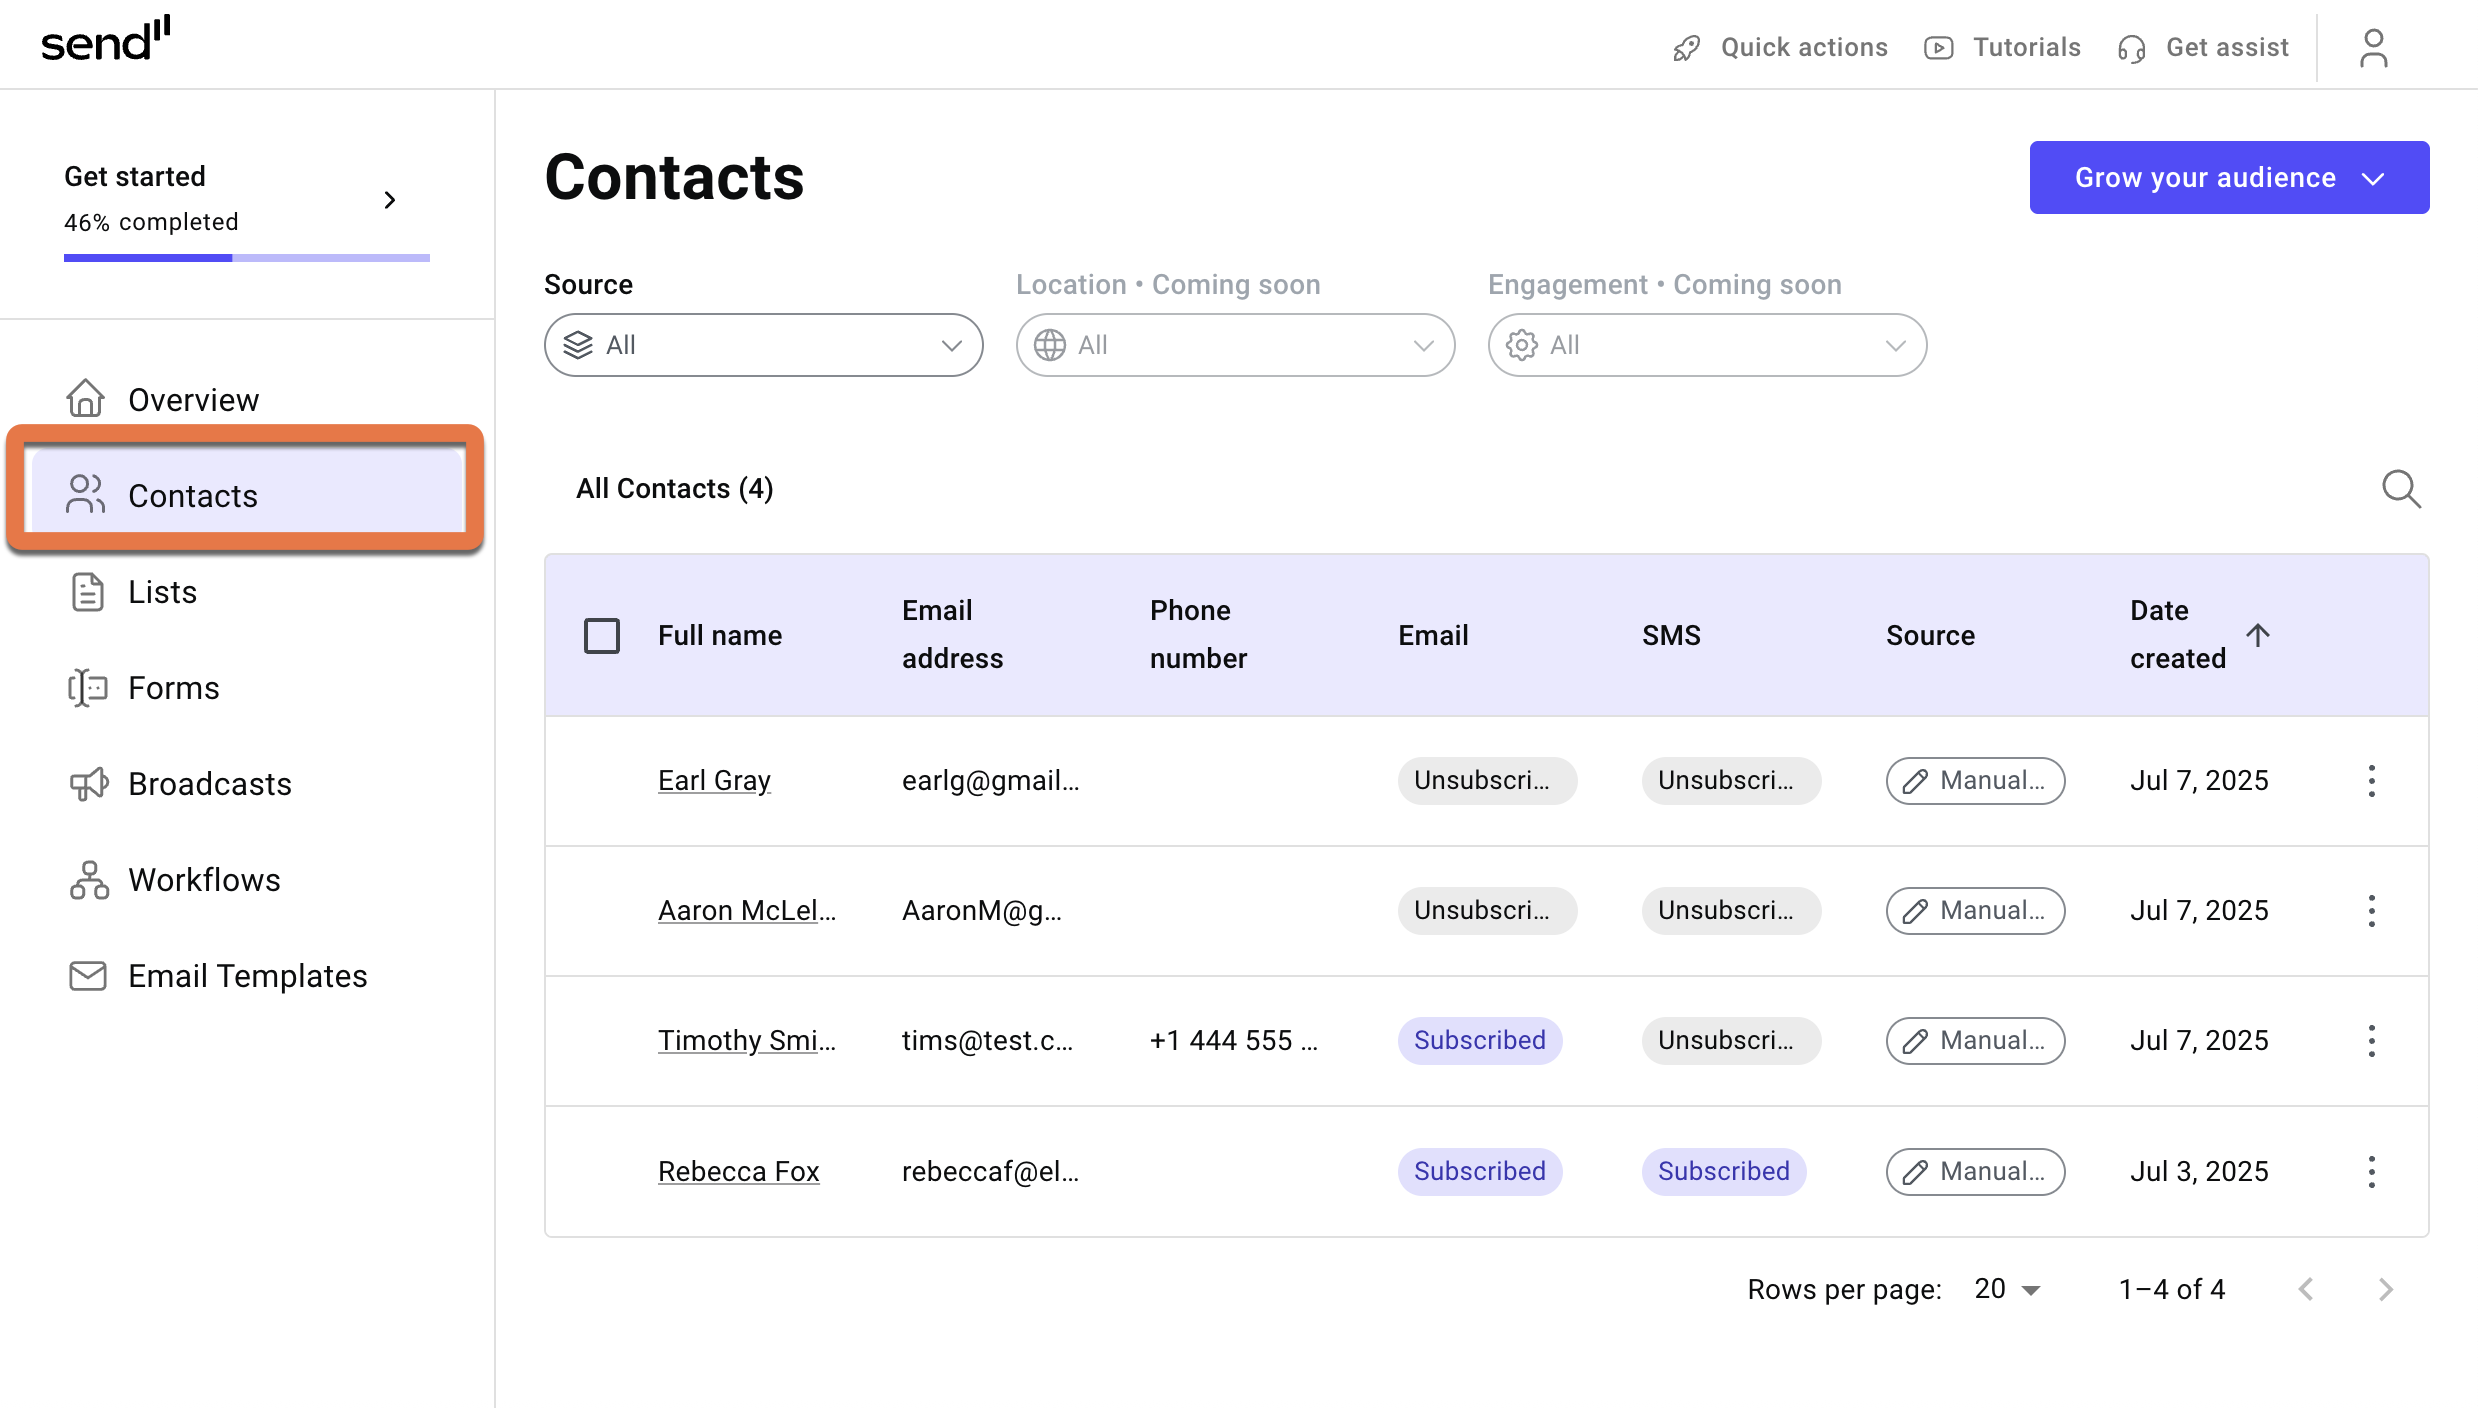
- In the Send panel, open the Contacts field.
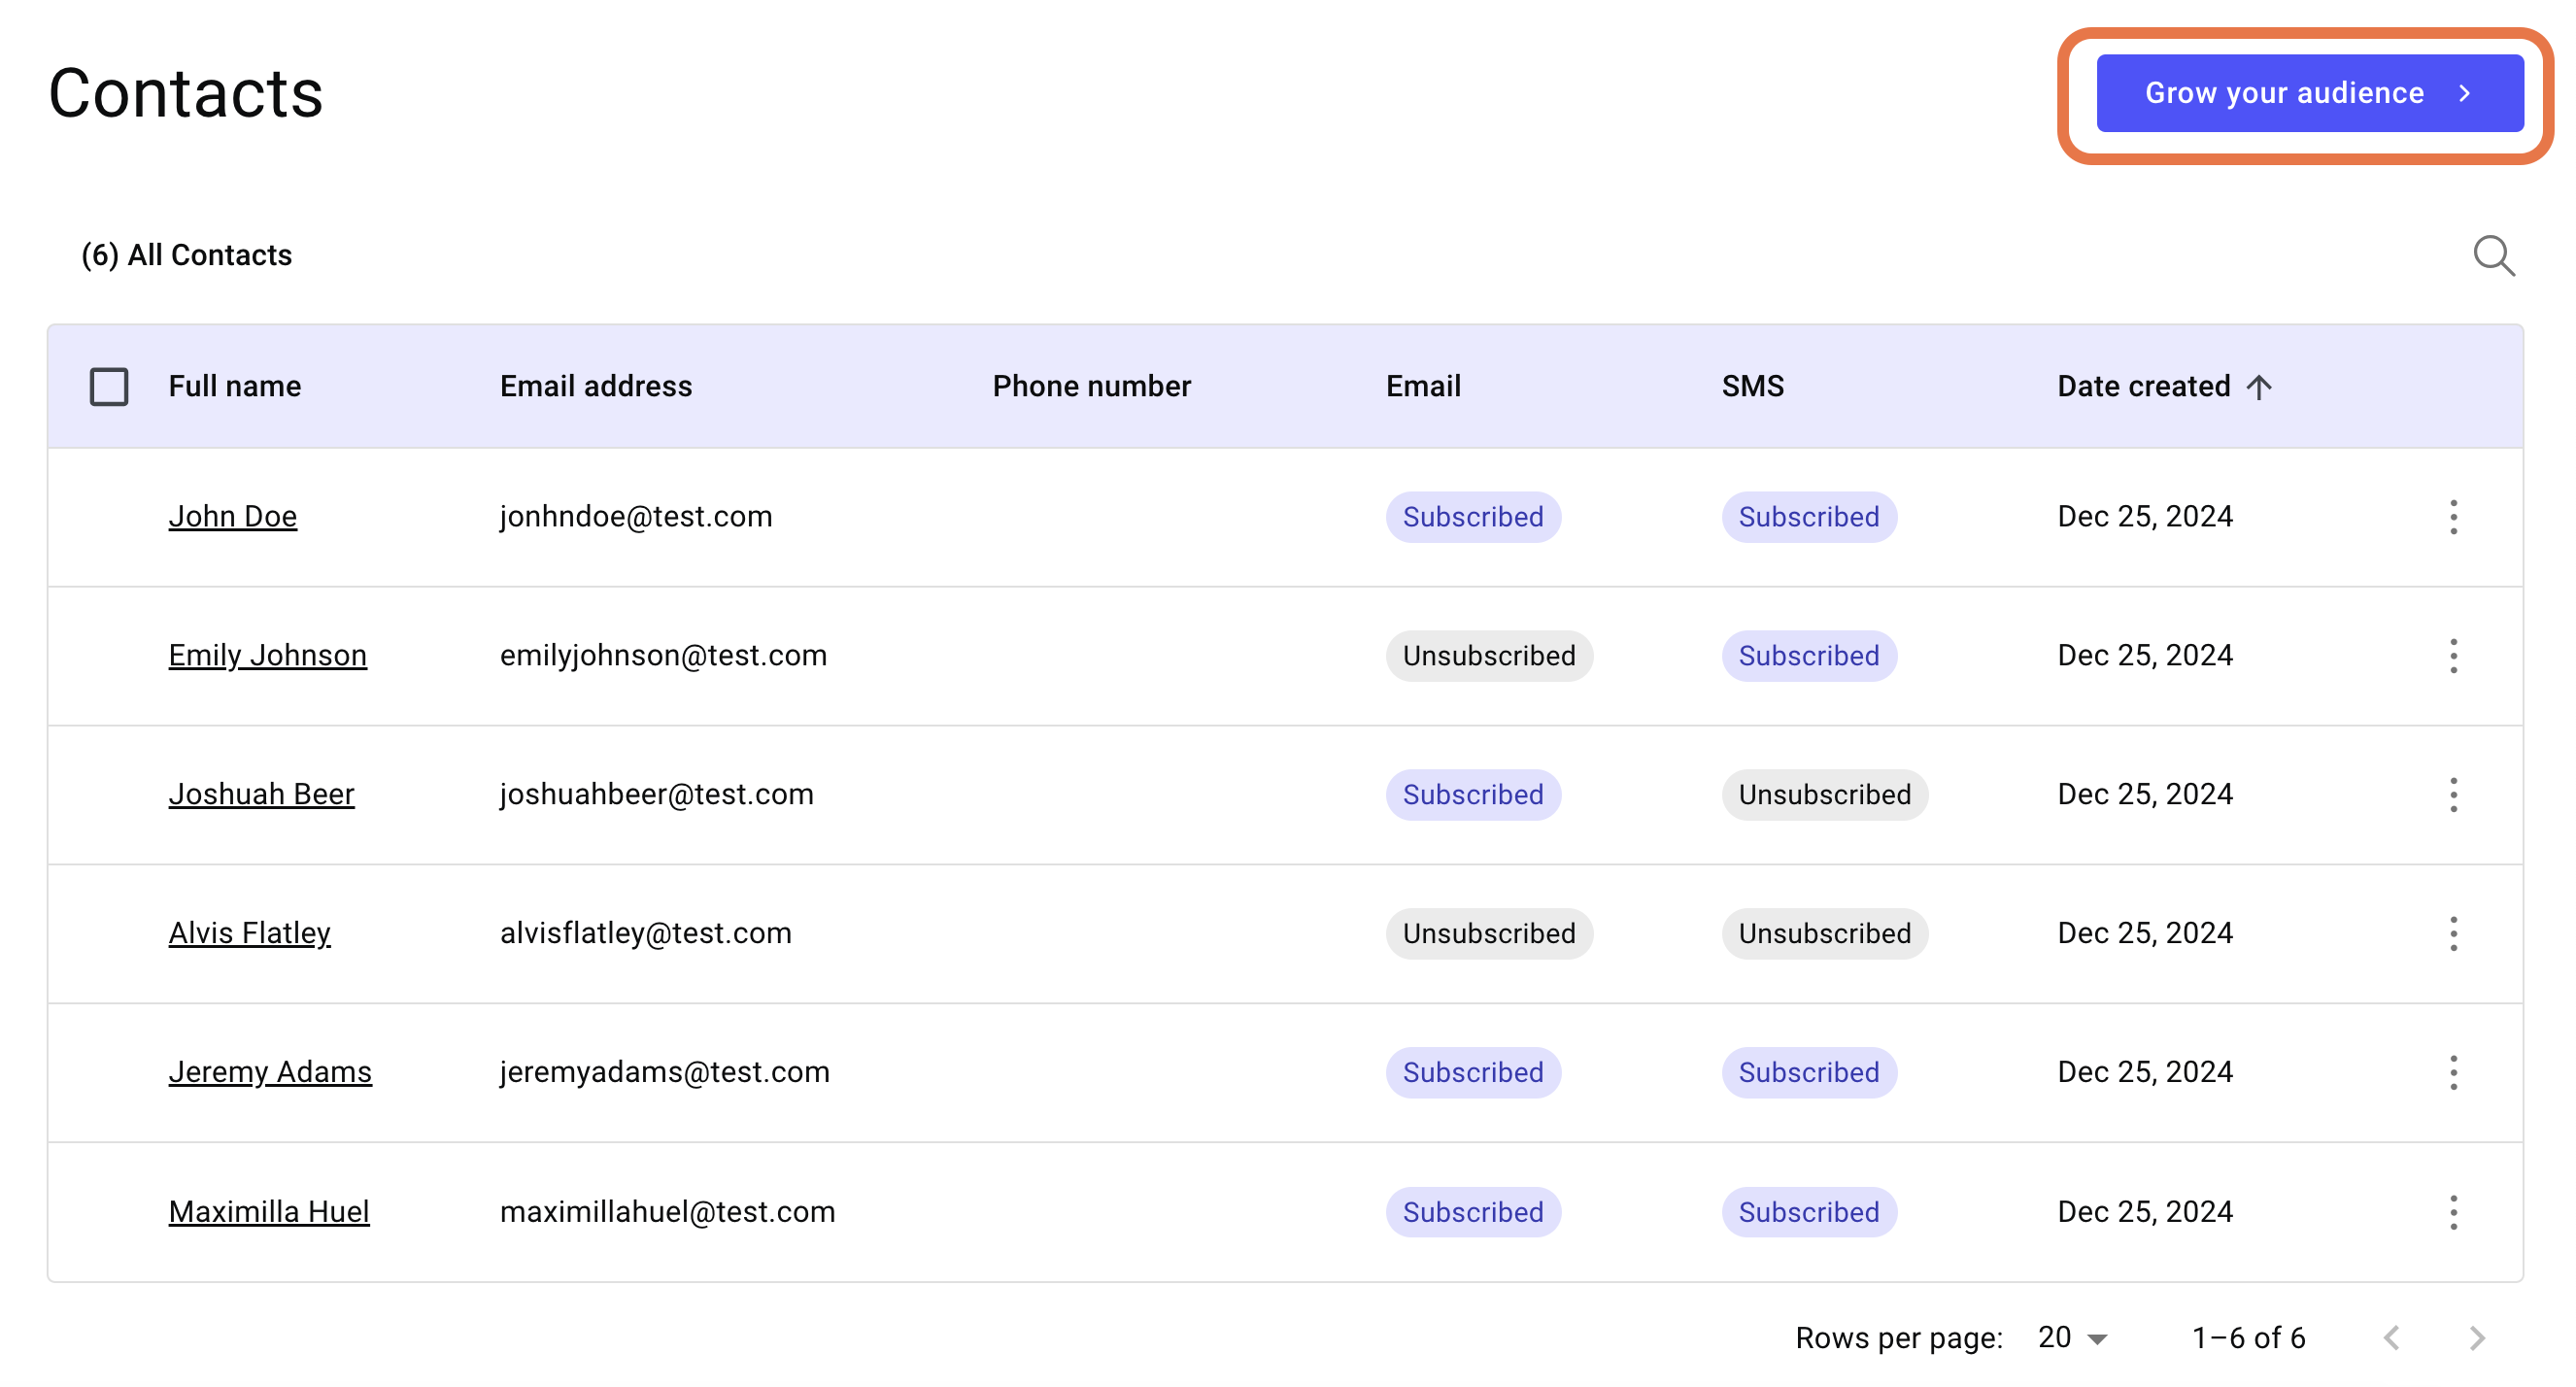
- In the right pane, click Grow your audience.
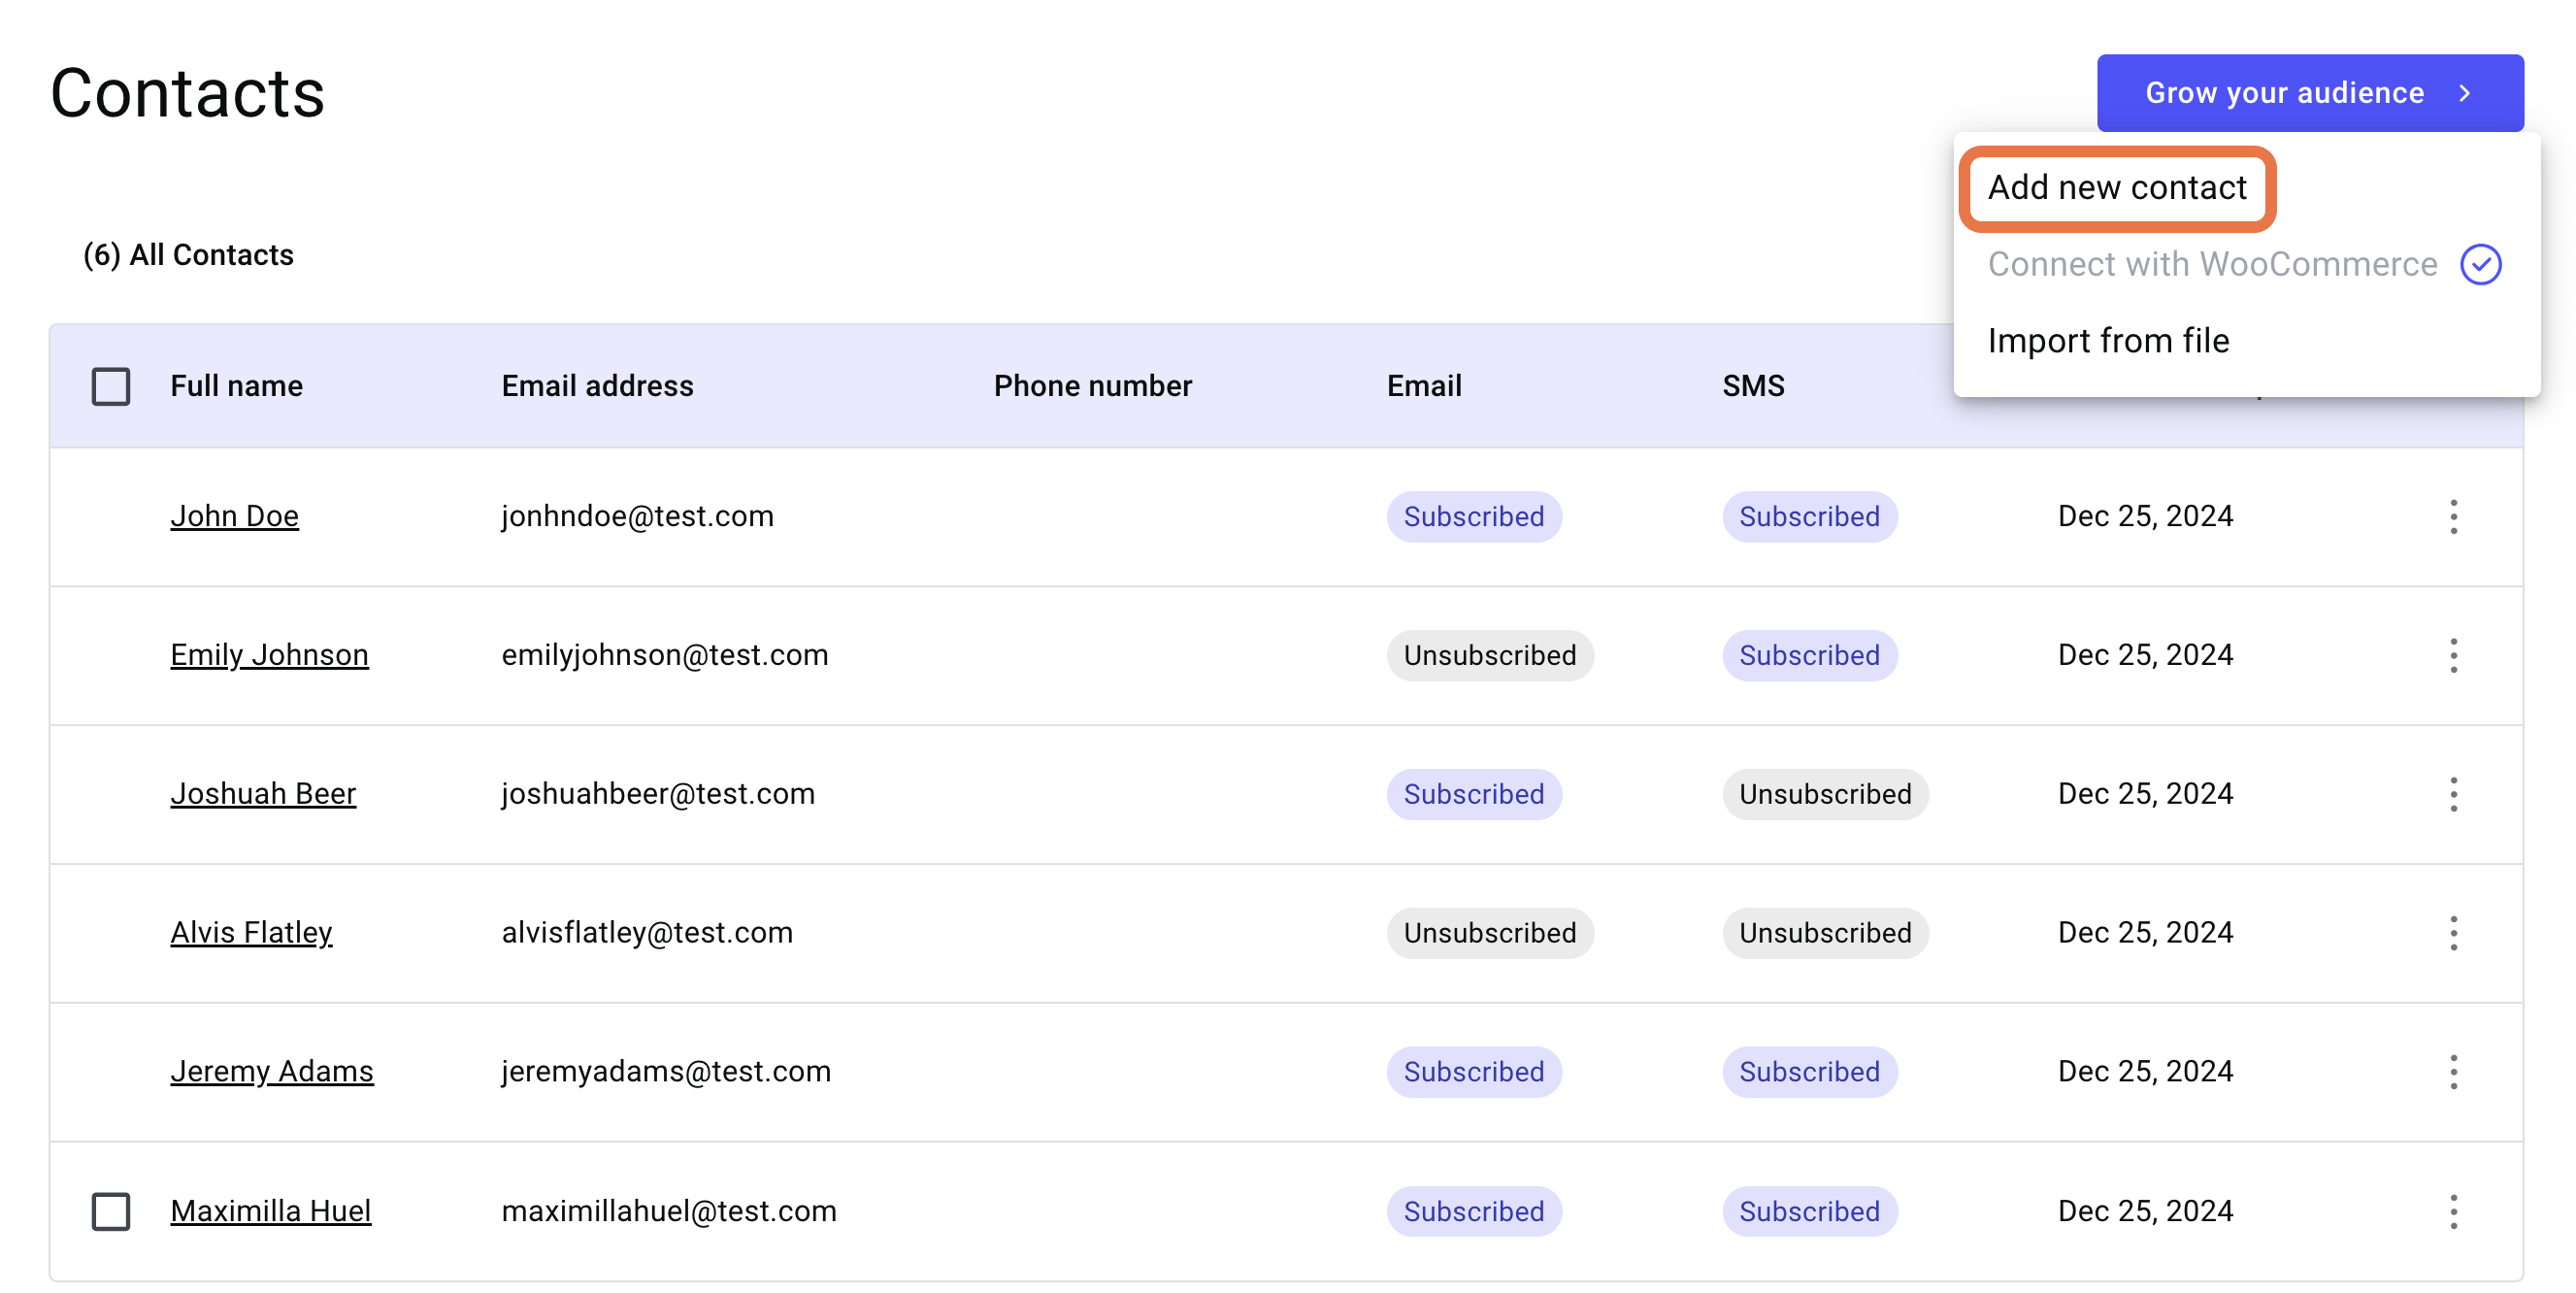
- Select Add new contact from the dropdown.
- In the right pane, locate the Add new contact card and click Add.
The contact details panel opens on the right.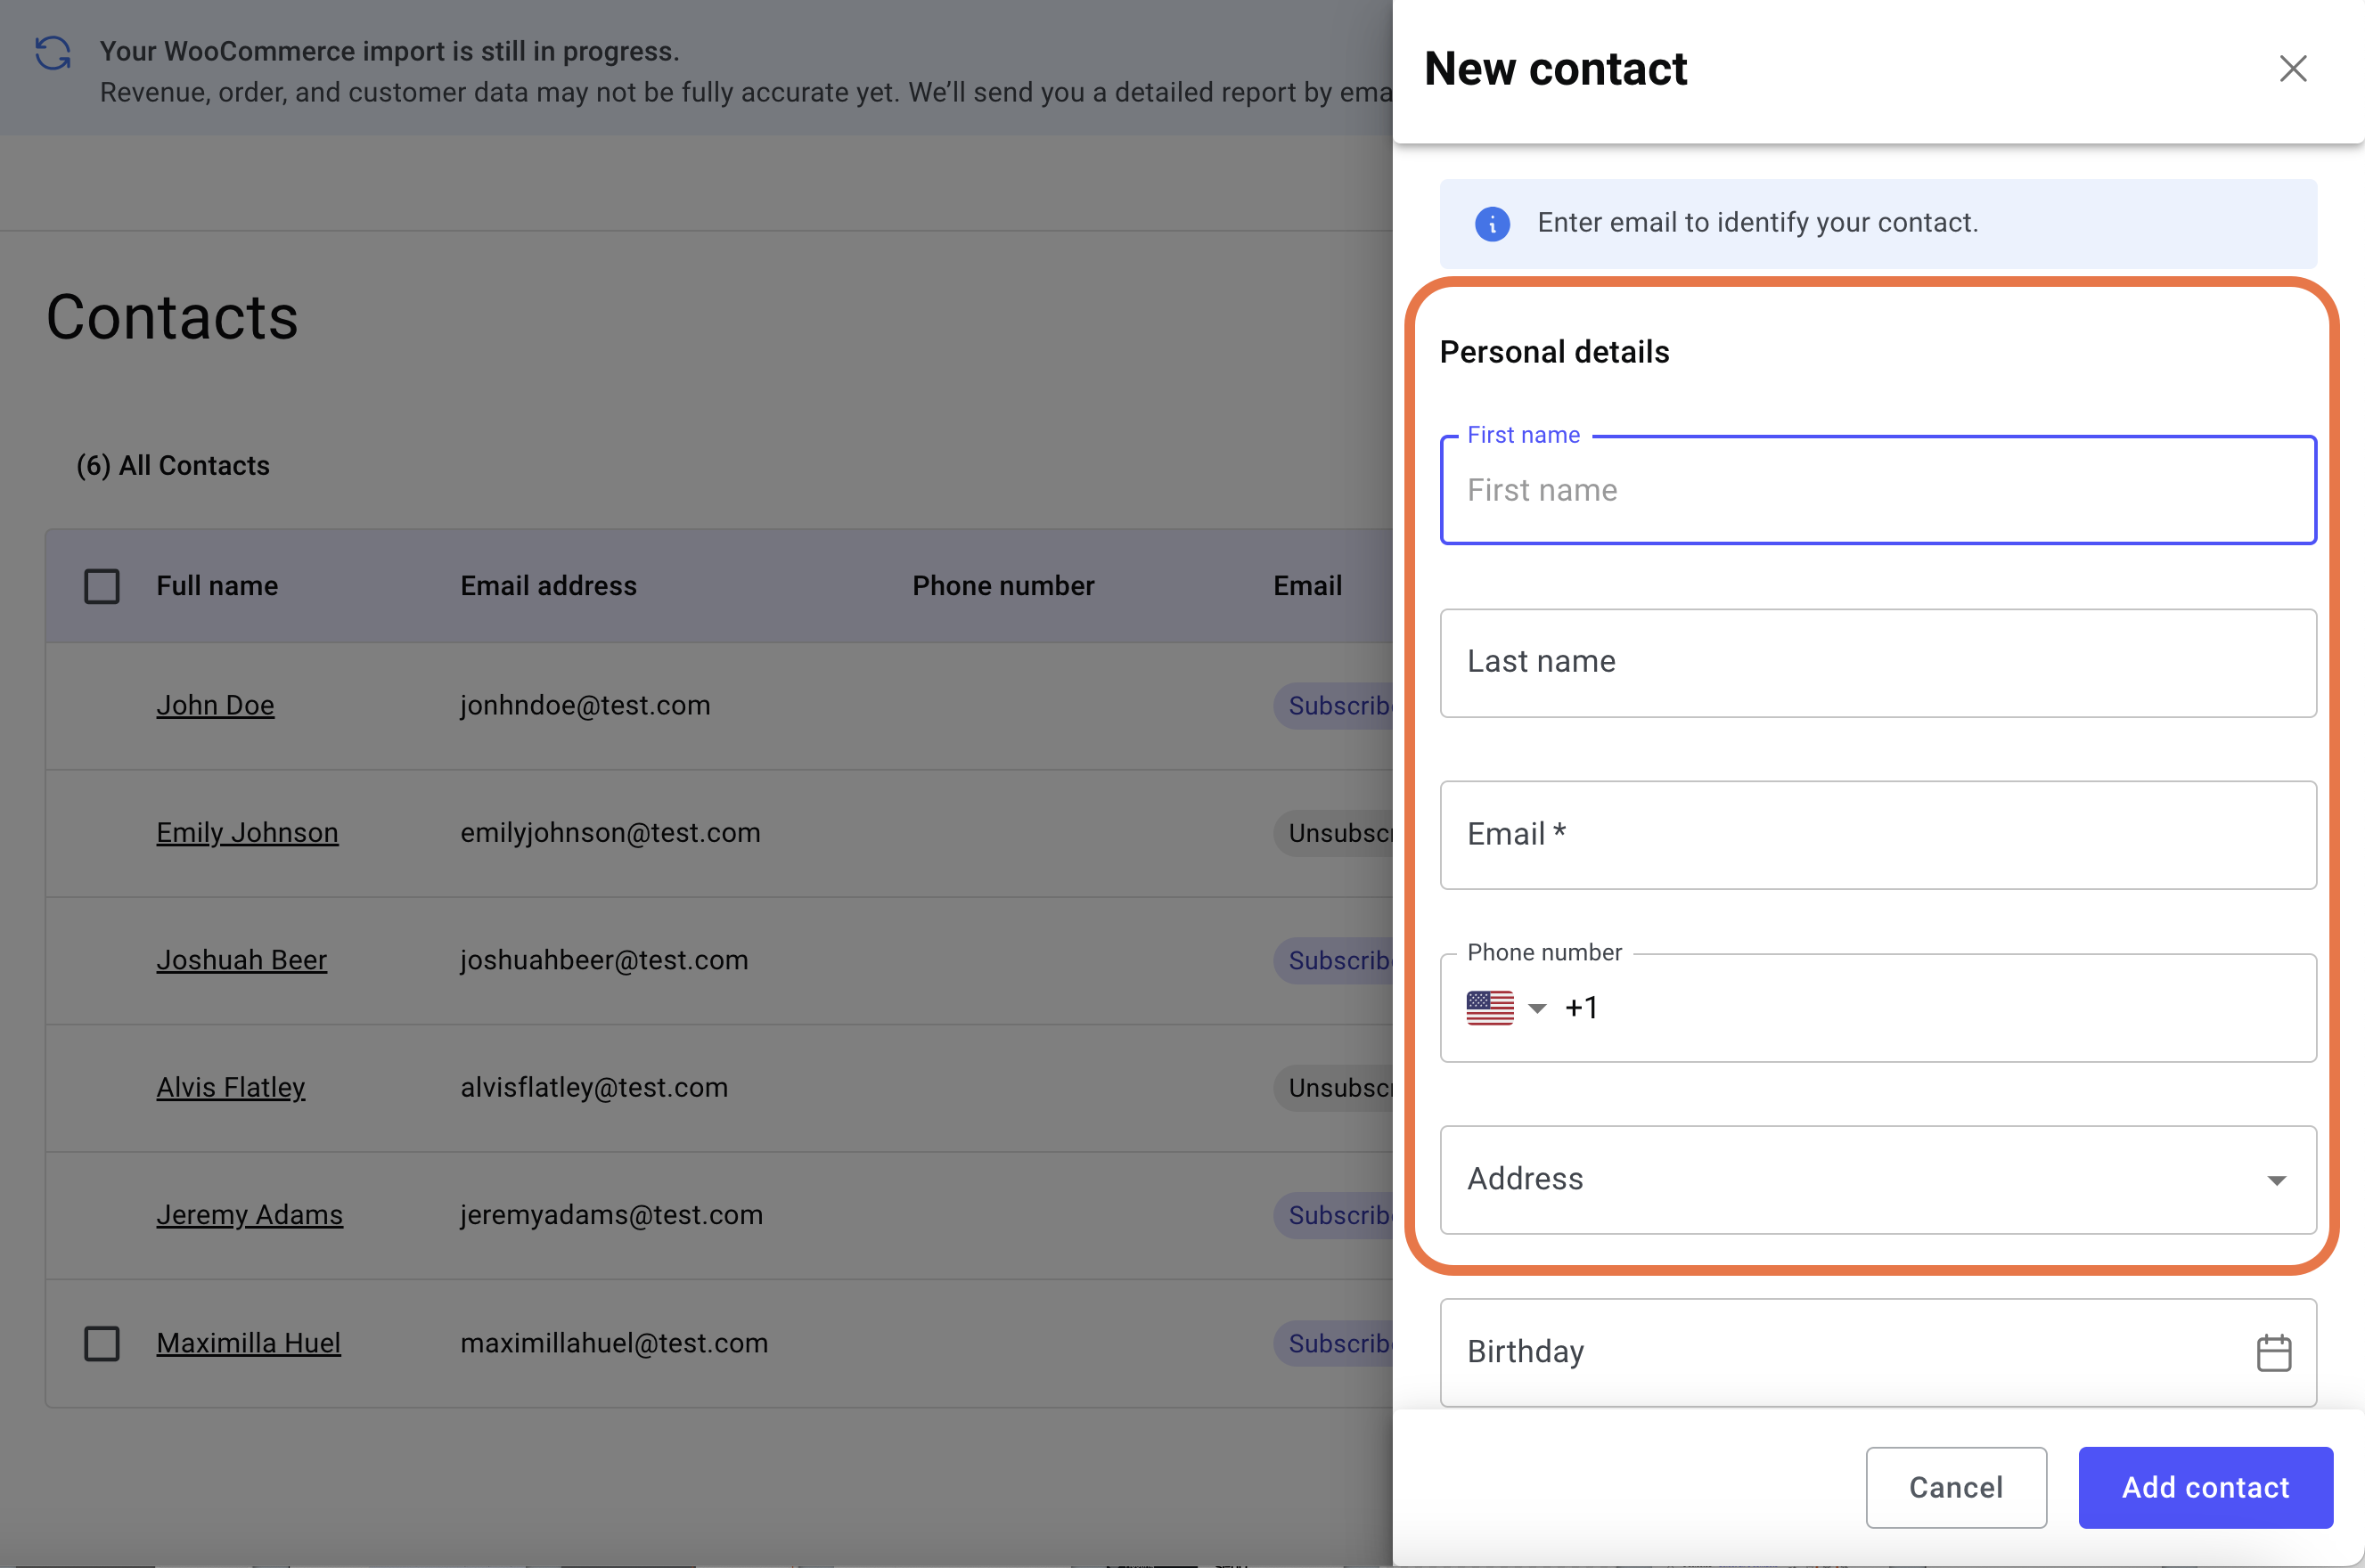
- Fill in the contact details.
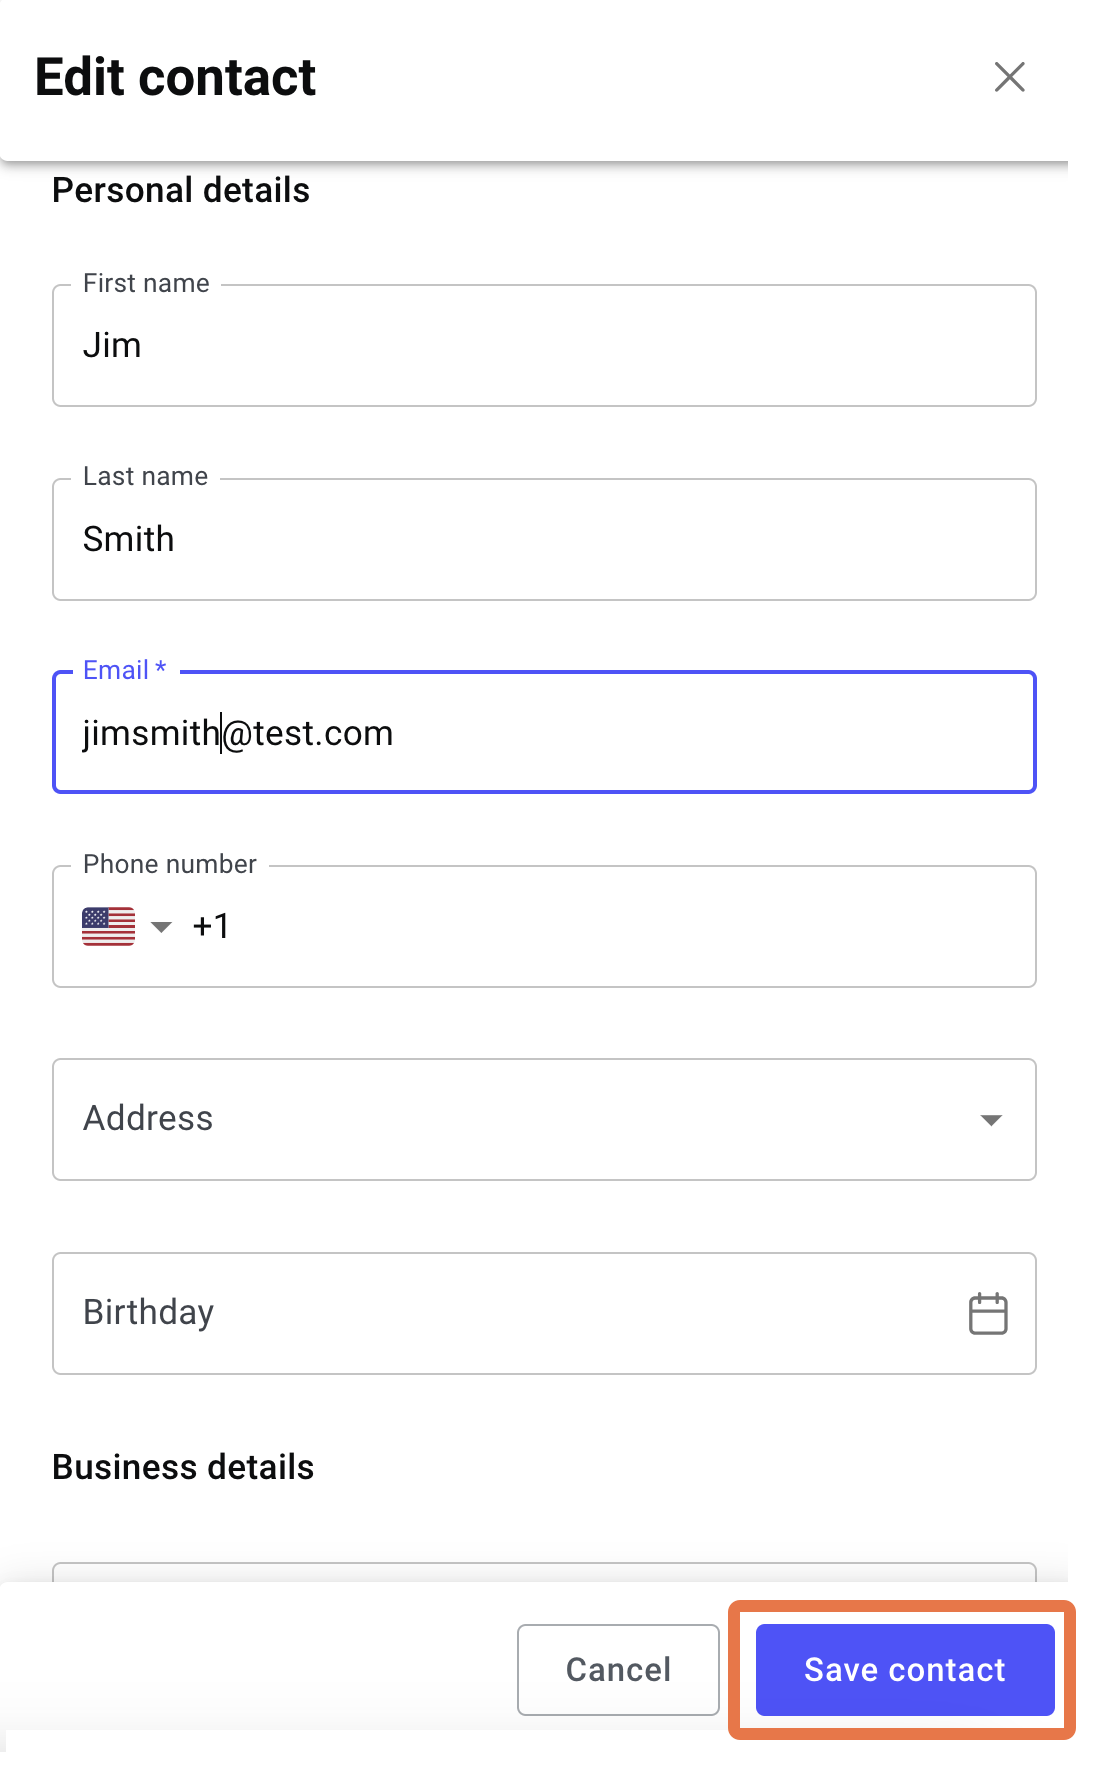
- Click Save contact.
The contact is saved to your contact list.
Add contacts by uploading a file
You also have the option of adding contacts using an xls or cvs compatible spreadsheet file. This is usually more efficient if you’re adding several contacts at the same time.
Note: Contacts will import more efficiently and cleanly if your spreadsheet uses the same fields as those used in Send by Elementor. For example, creating columns called, First name, Last name, Email, Address, etc.
To add a contact to your list:
- From WP Admin, navigate to Send.

This opens Send.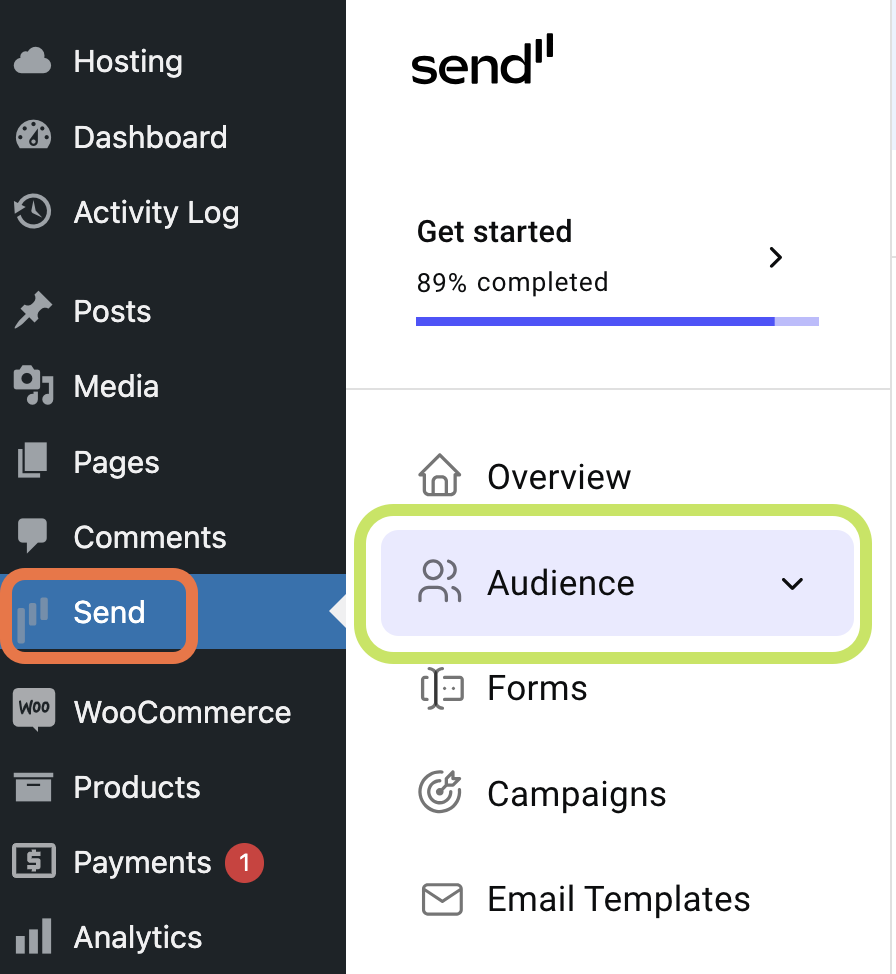
- In the Send panel, open the Audience field.

- In the right pane, click Grow your audience.
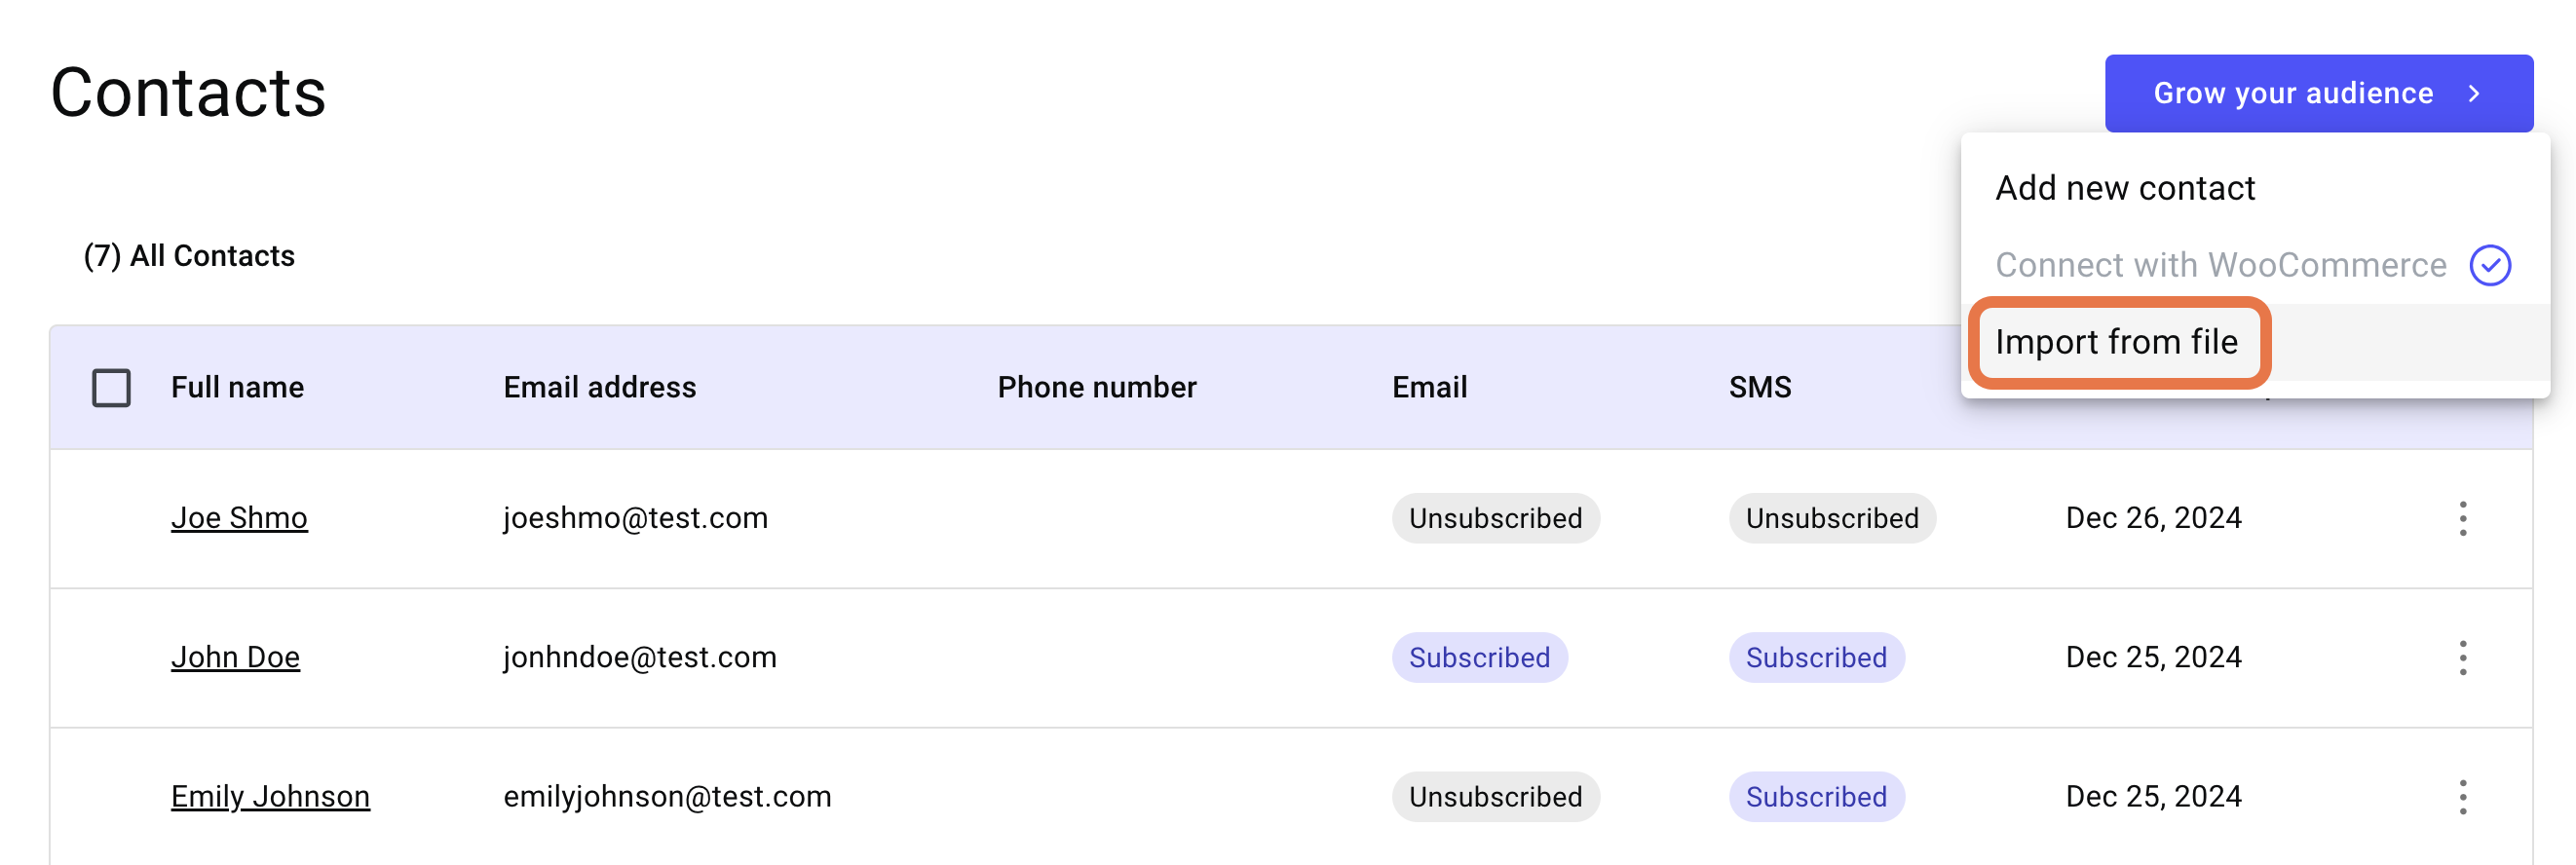
- Select Import from file from the dropdown menu.
- Navigate to the file you wish to import.
- Click Open.
The contacts in the spreadsheet file are saved to your contact list.
Import WooCommerce contacts
If you are already running an online business, you probably have a customer list. You can import these customers’ details into Send, adding them as contacts.
To import contacts from Woocommerce:
- From WP Admin, navigate to Send.

This opens Send.
- In the panel, click Audience.
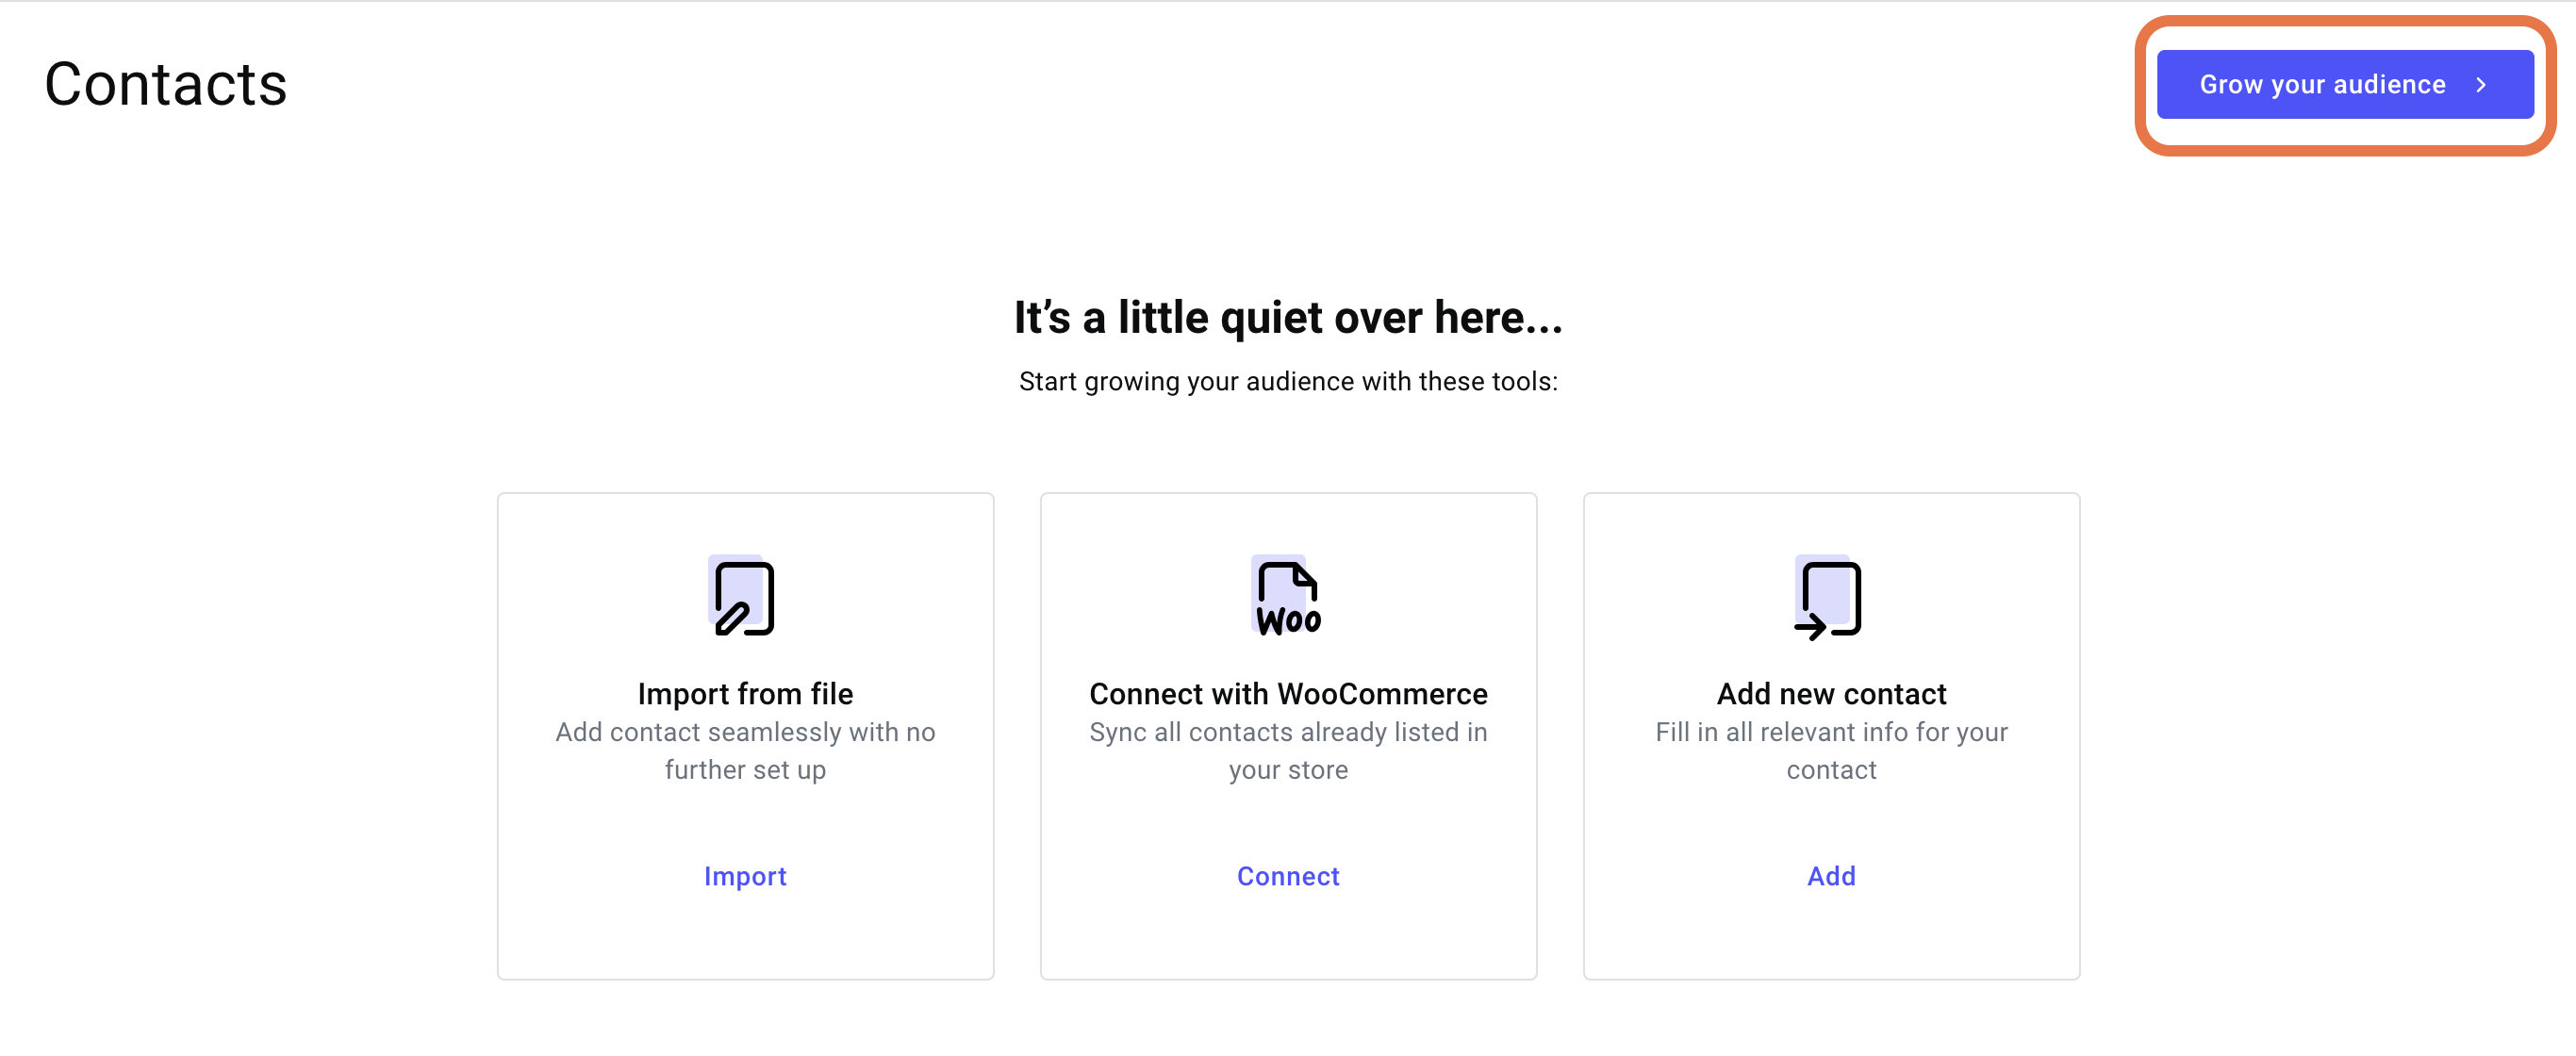
- Click Grow your Audience.
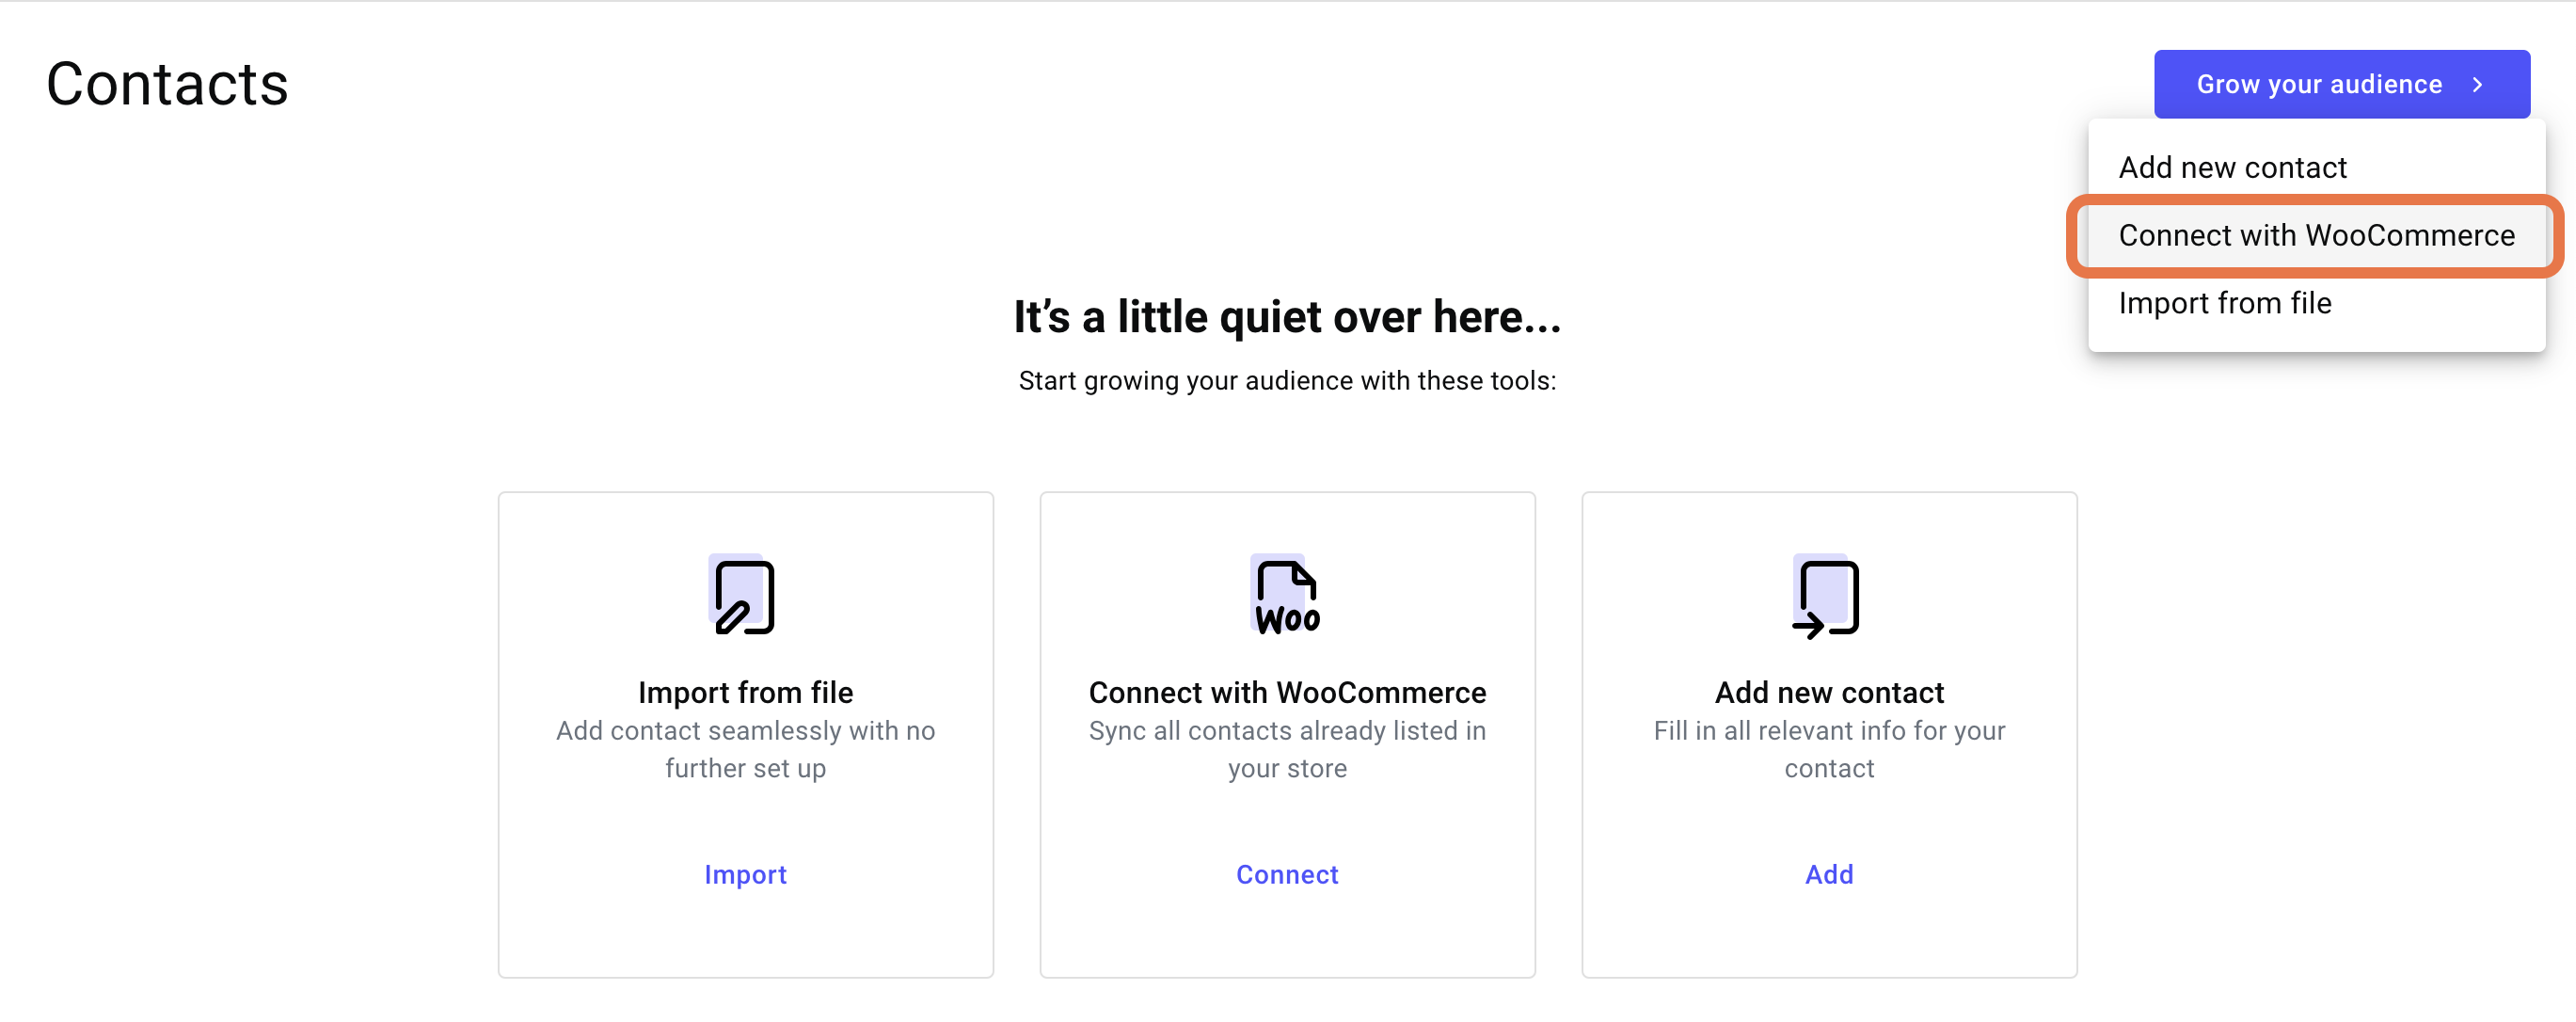
- Select Connect with Woo from the dropdown menu.
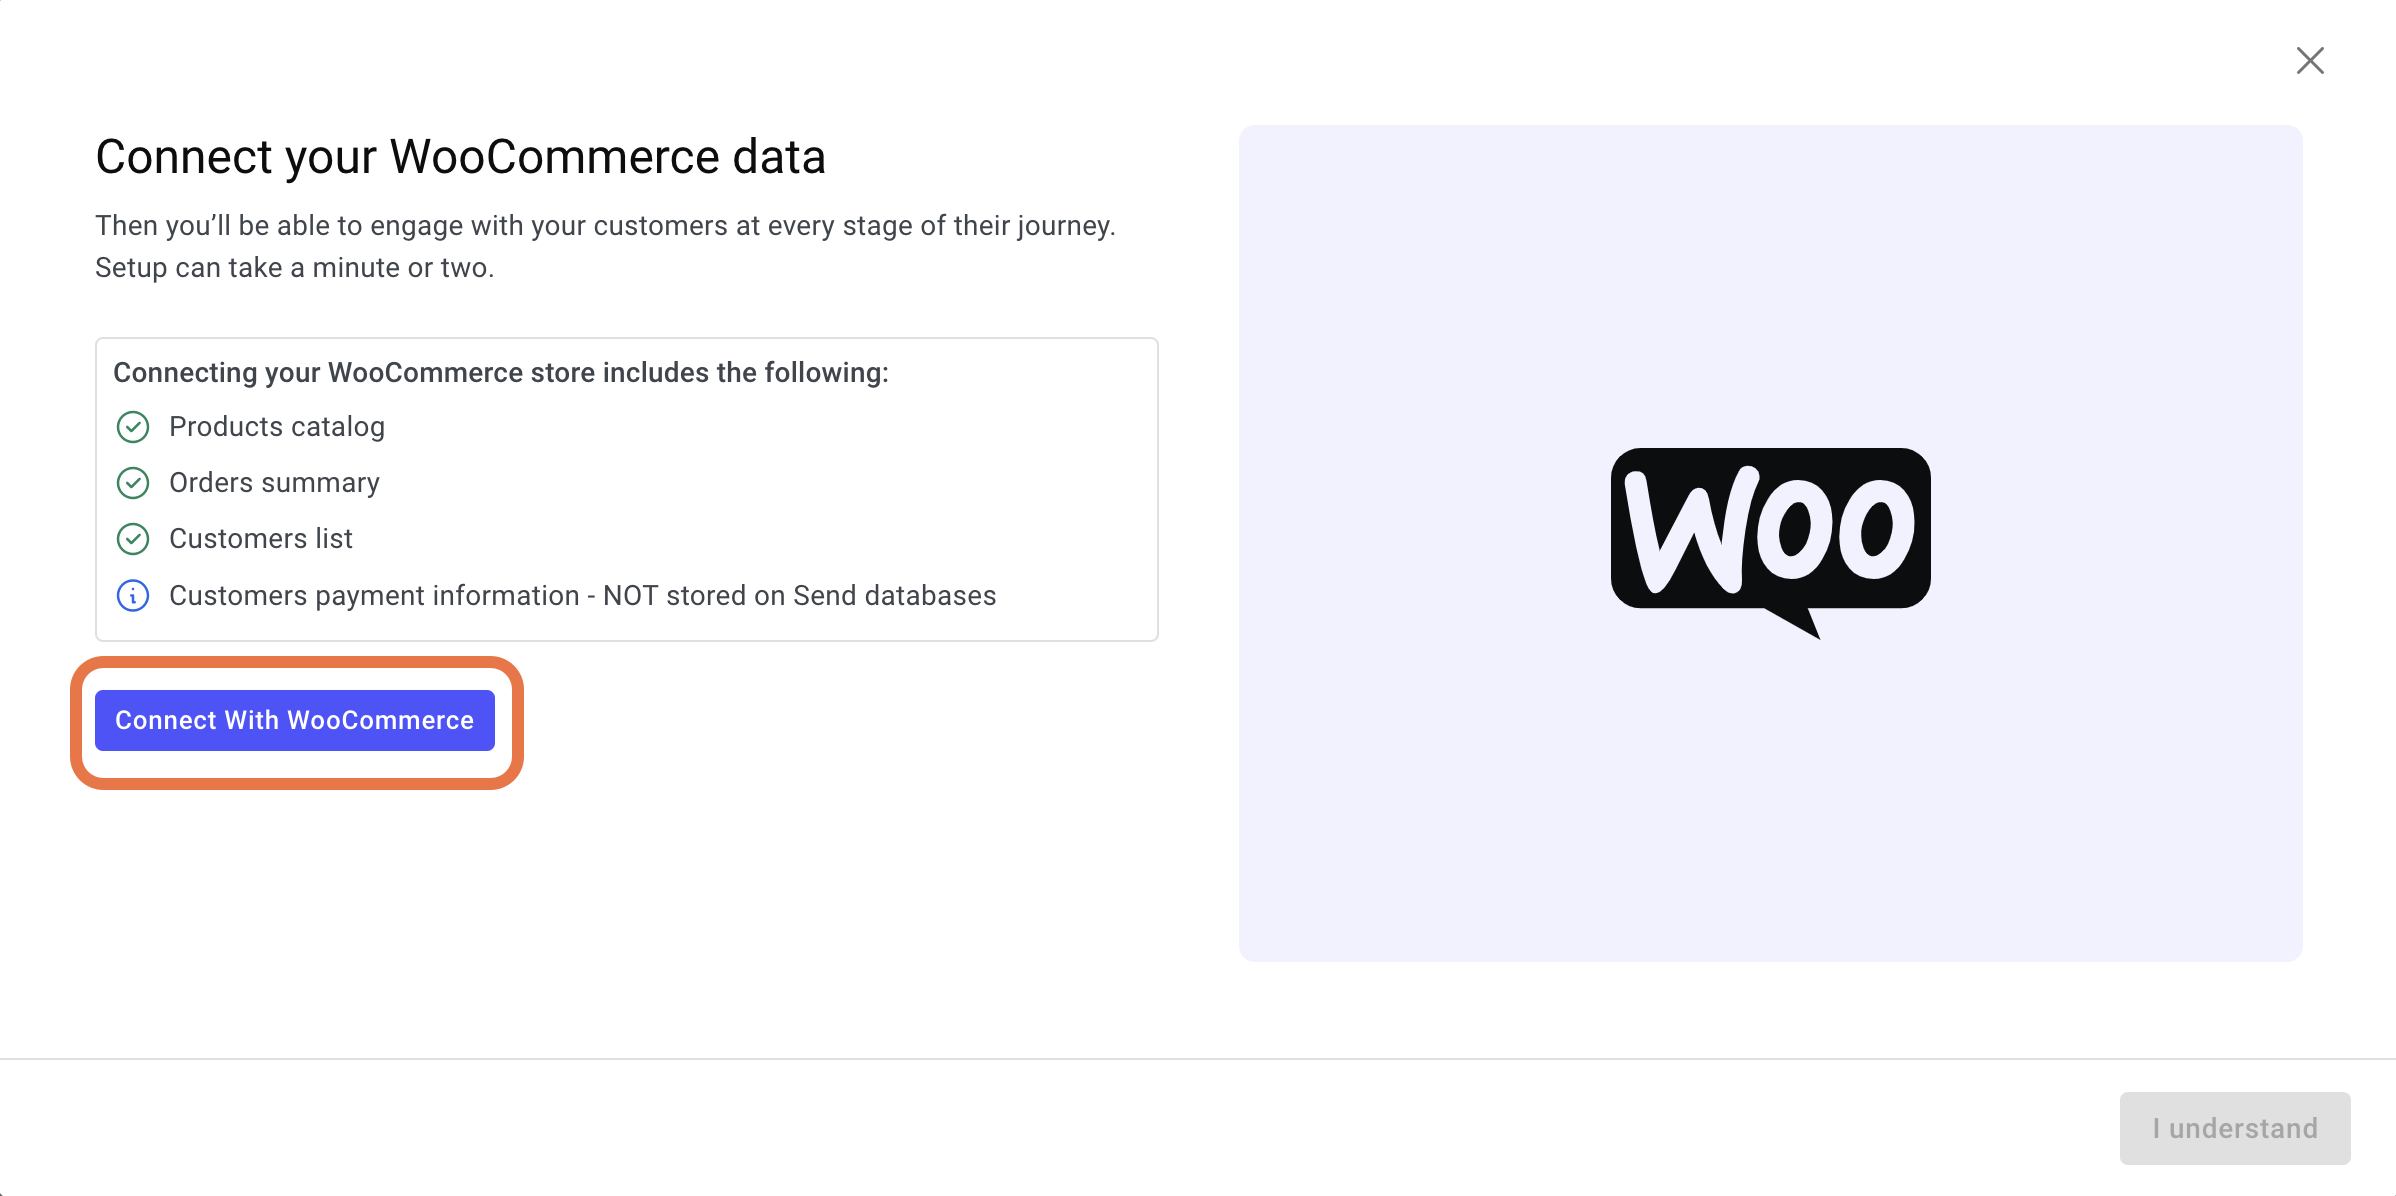
- Click Connect with WooCommerce.
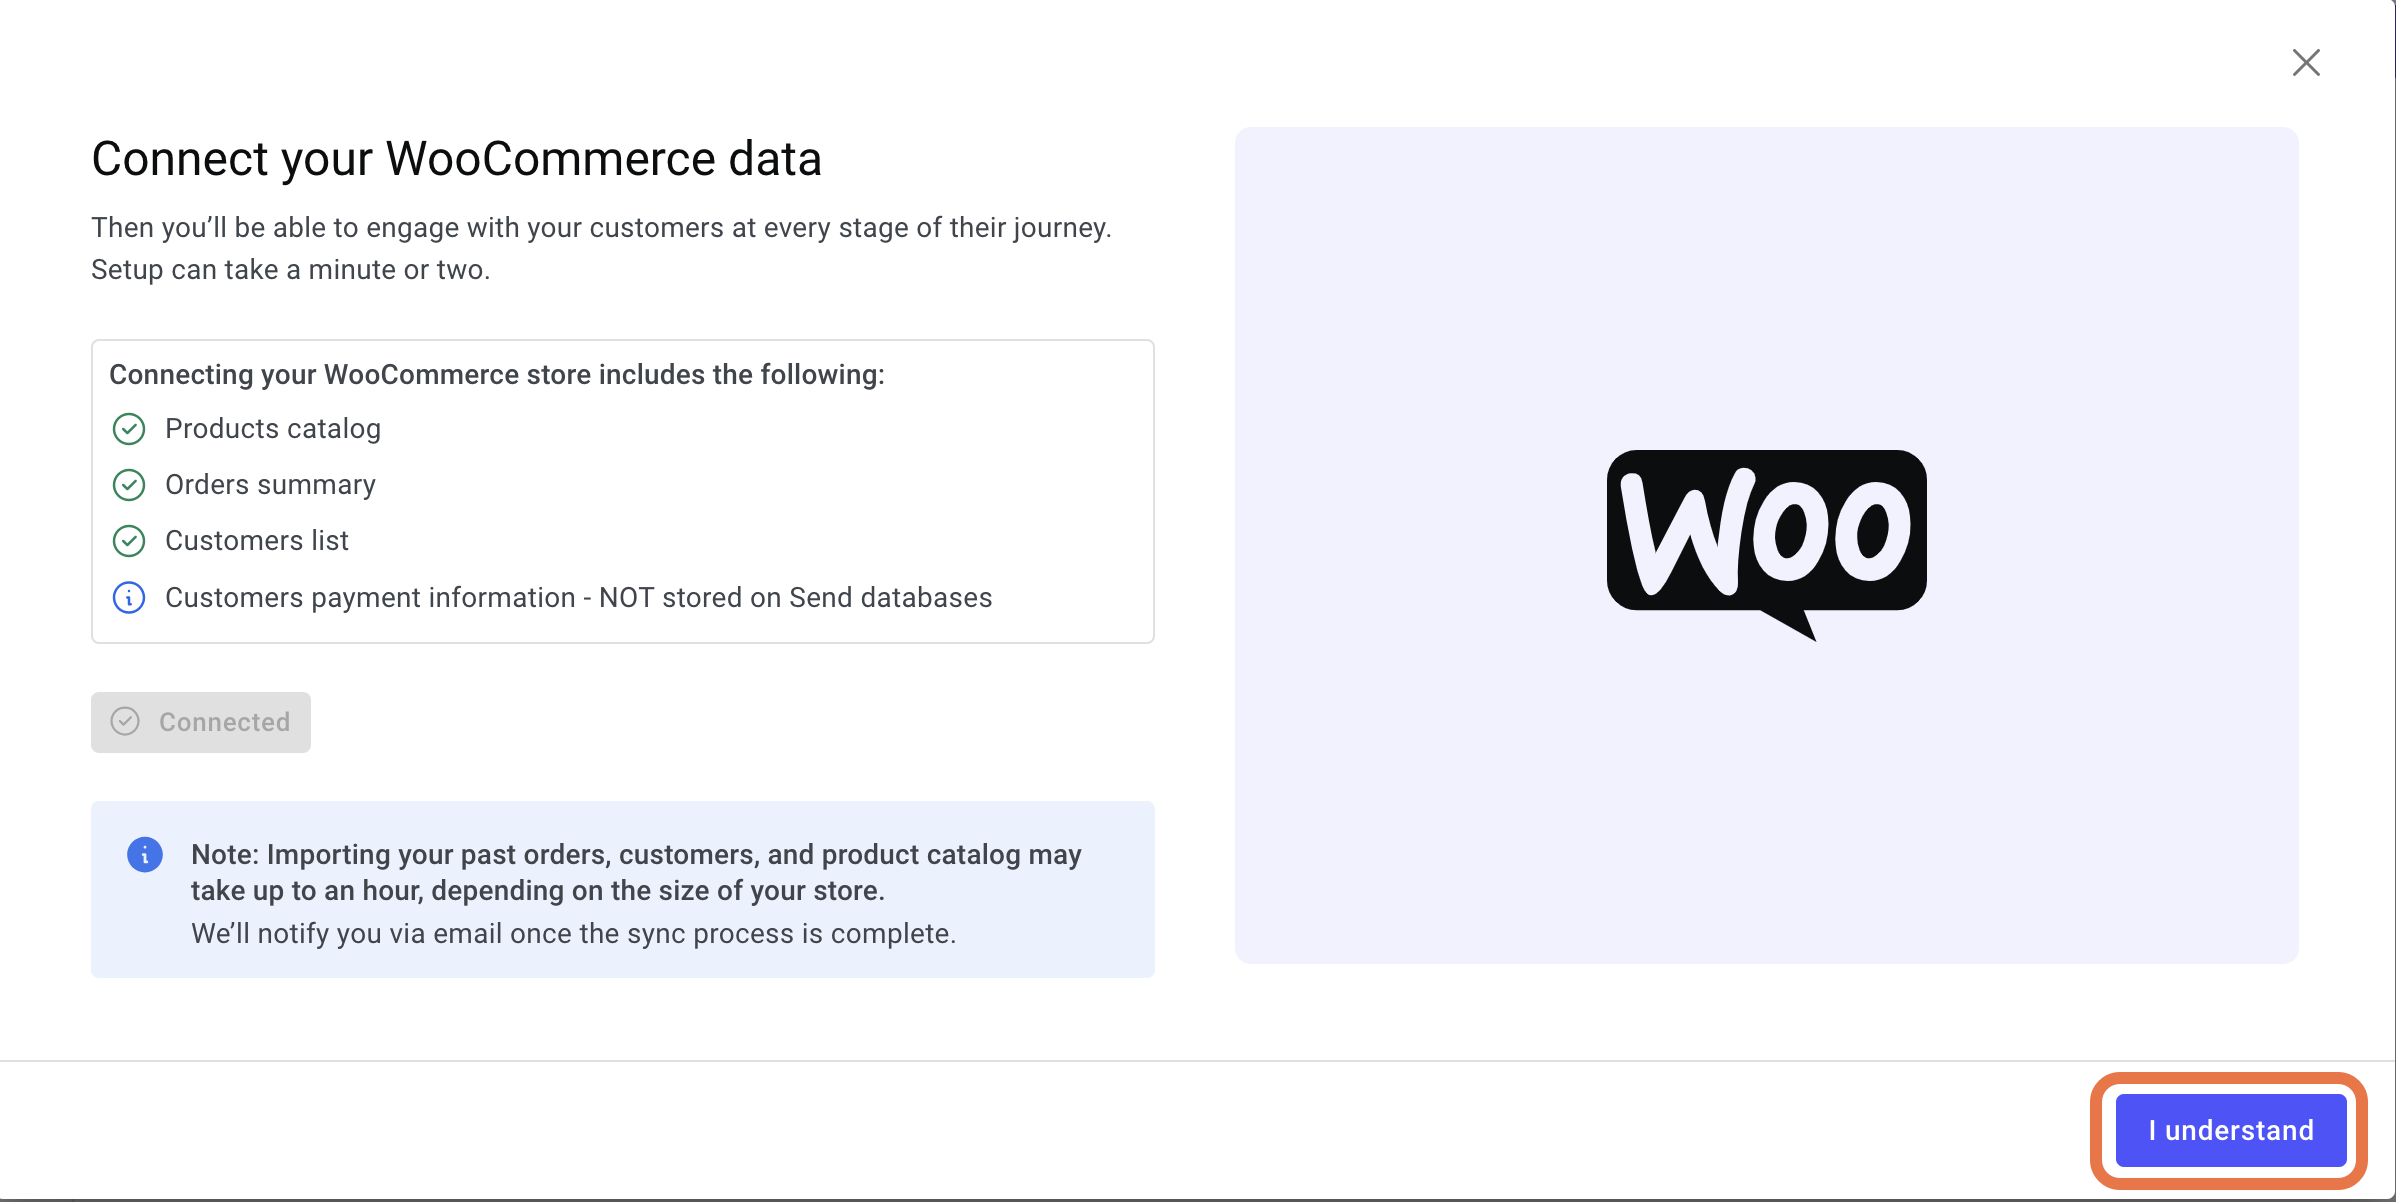
- Read the warning notification and click I understand.
Your WooCommerce customers are imported as contacts in Send.